Showing posts with label Weekend Projects. Show all posts

Thursday, 17 December 2015

Activity: Make Your Own Terrarium


So, what is a terrarium?


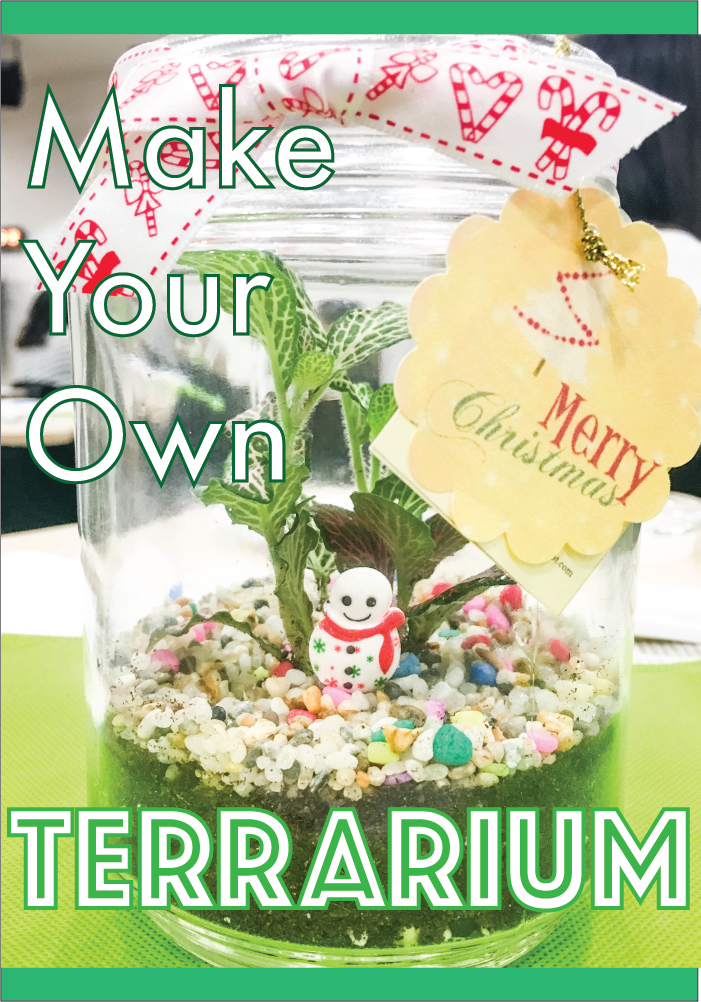
I've always wanted to create a terrarium of my own and my mini dream came true when UNISIM offered a 'Make Your Own Terrarium' workshop held by Little Green Pot.
Early Saturday morning
The workshop was only a short 1 hour so you can definitely tell that making a terrarium of your own isn't hard work. But i can tell you that the workshop definitely opened my eyes to the world of miniature plants.
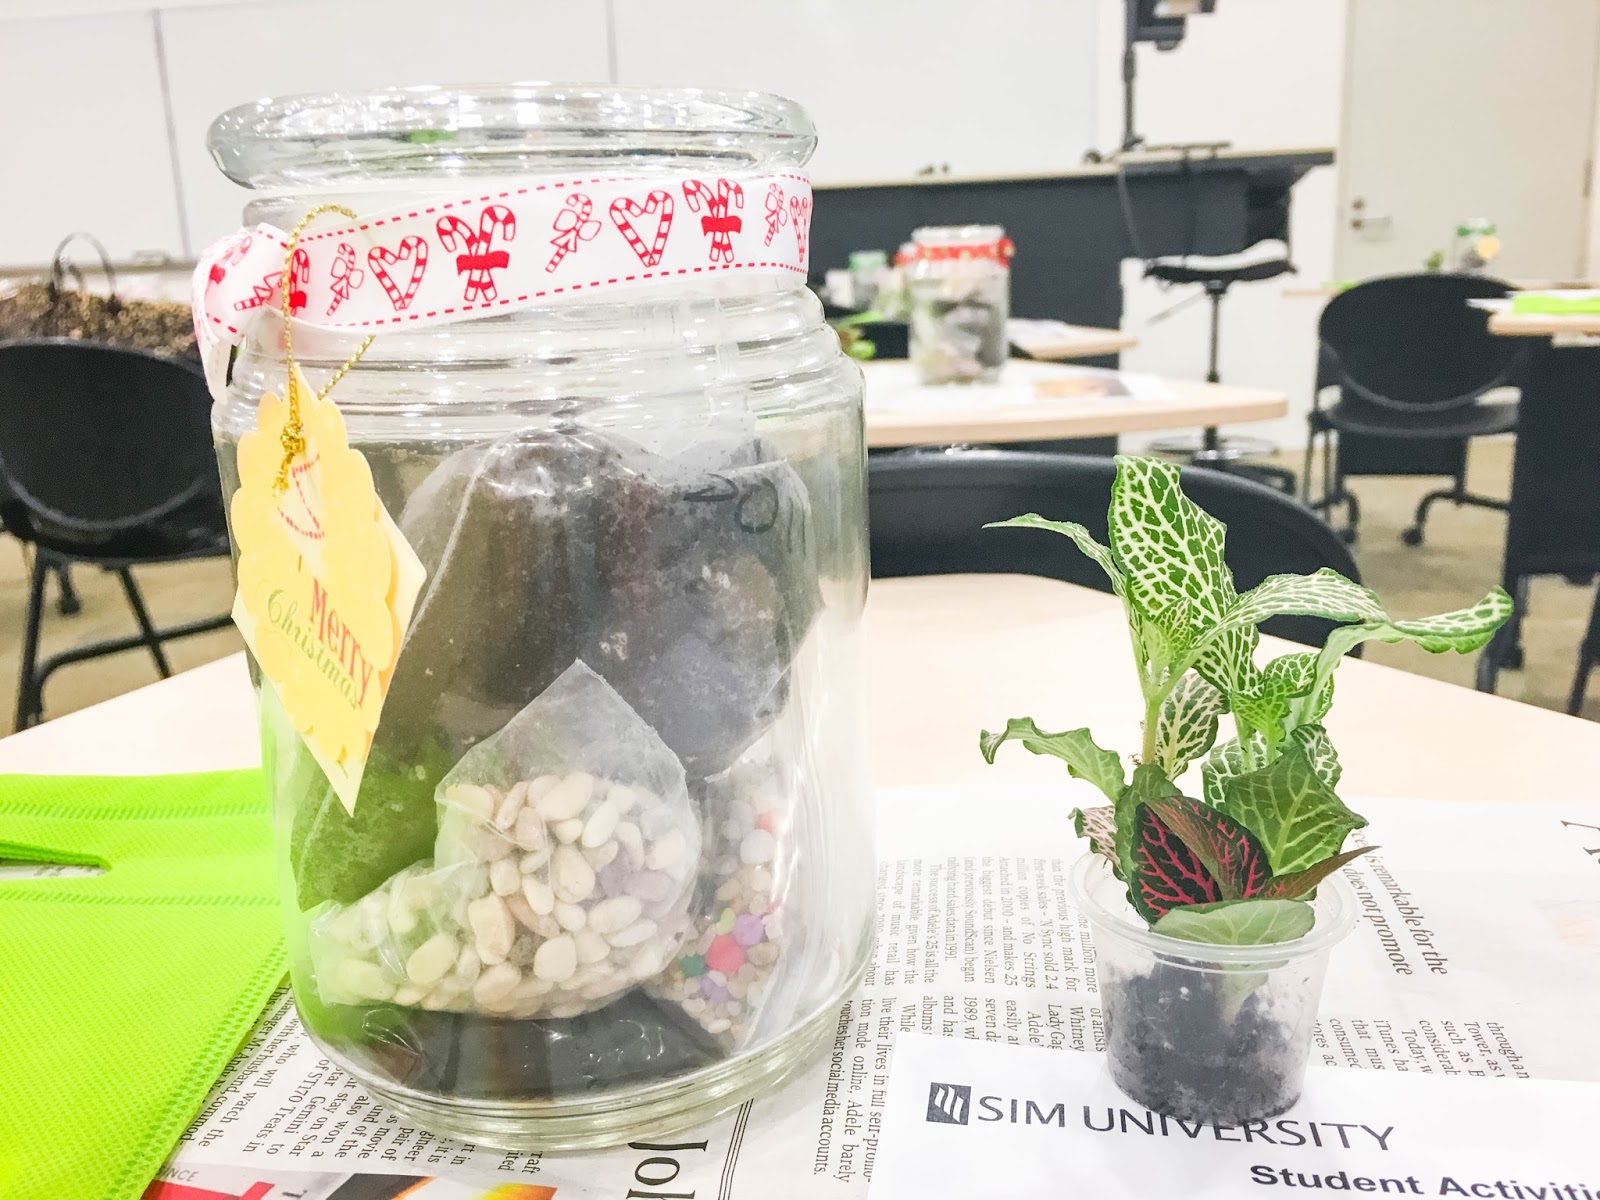
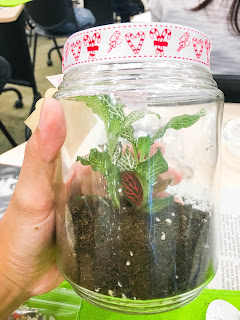
My chosen plant
The workshop instructor was also really good. He provided useful details and information (so that our terrarium wouldn't die by the next week :p). Theory-wise, it was a short jog of memory to my Plant Biotechnology days in Singapore Poly.
We were given a jar filled with the items needed and a plant each
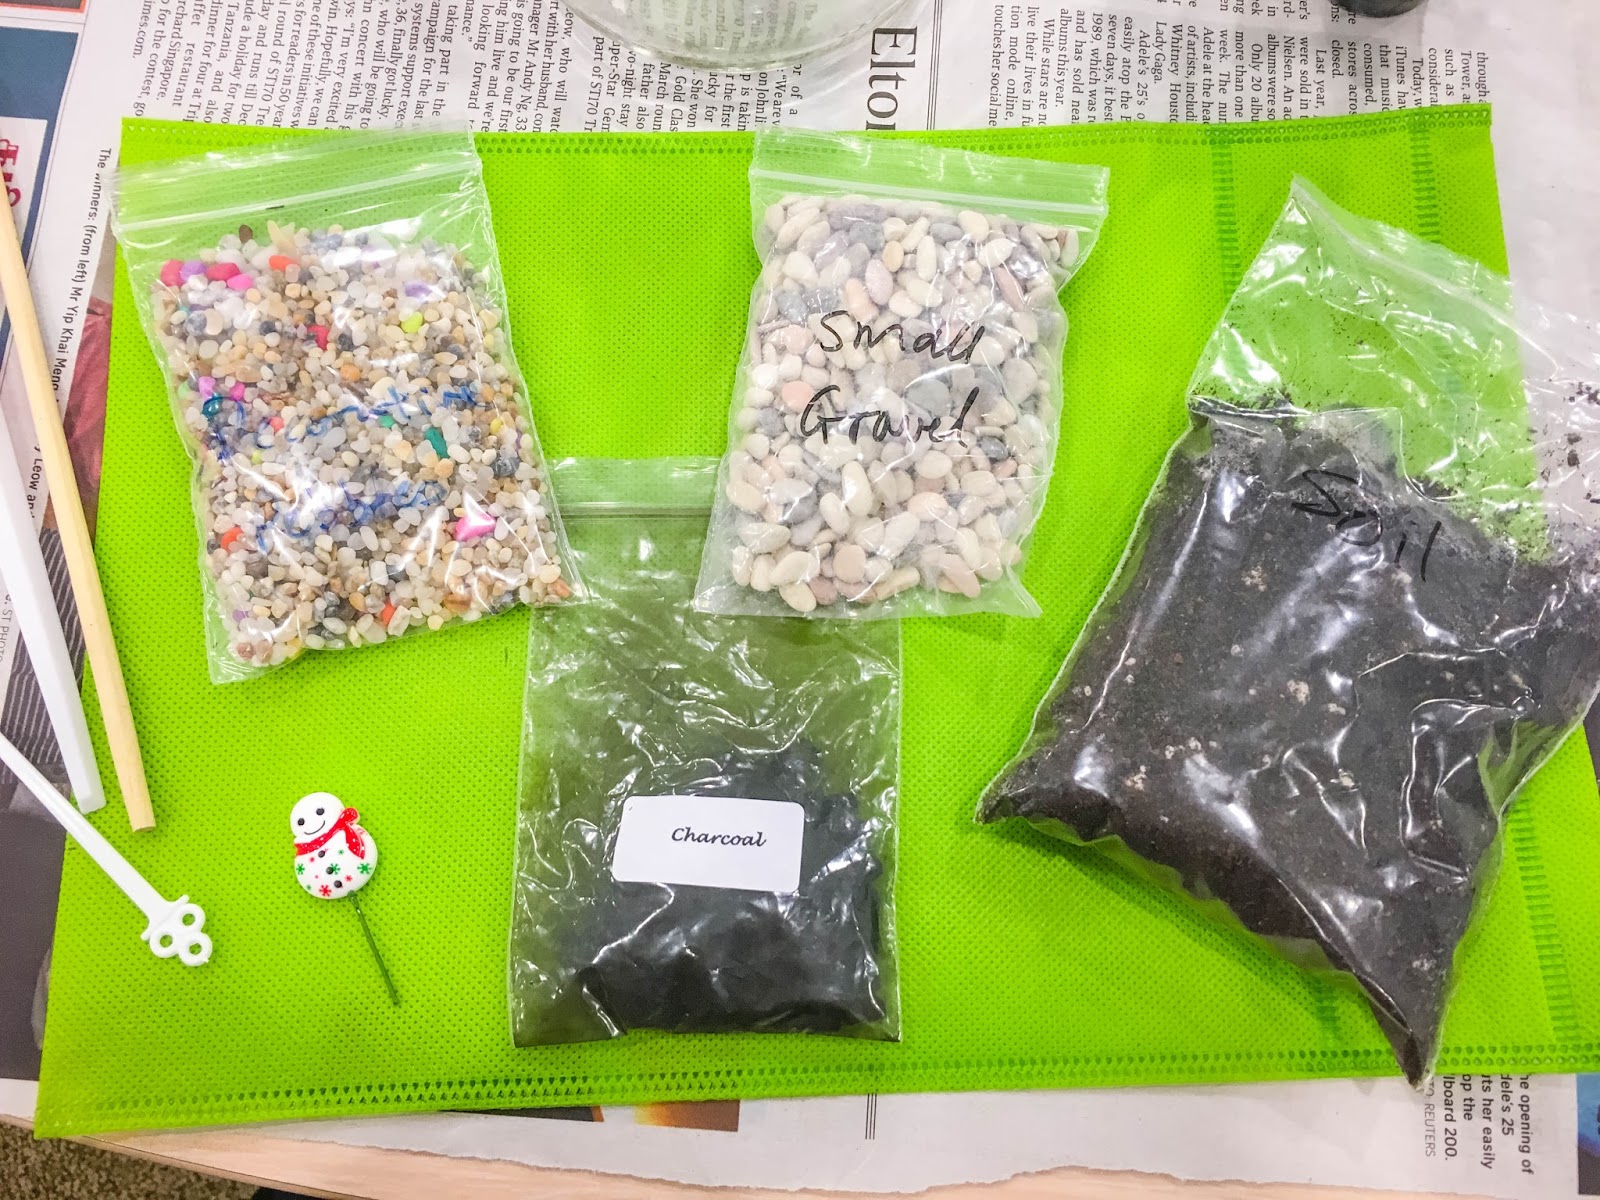
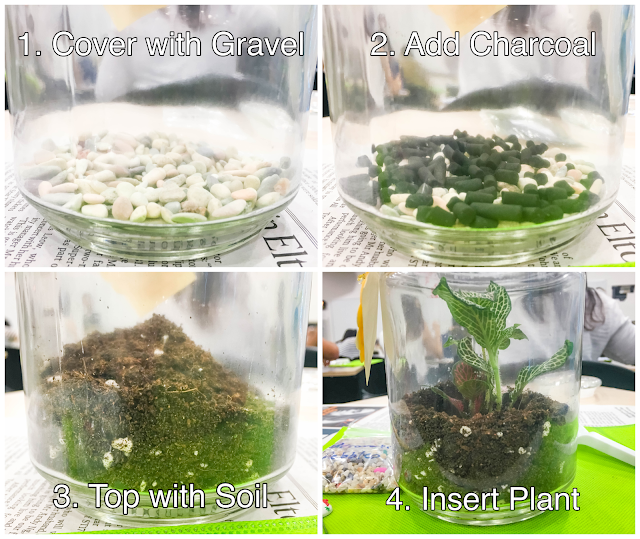
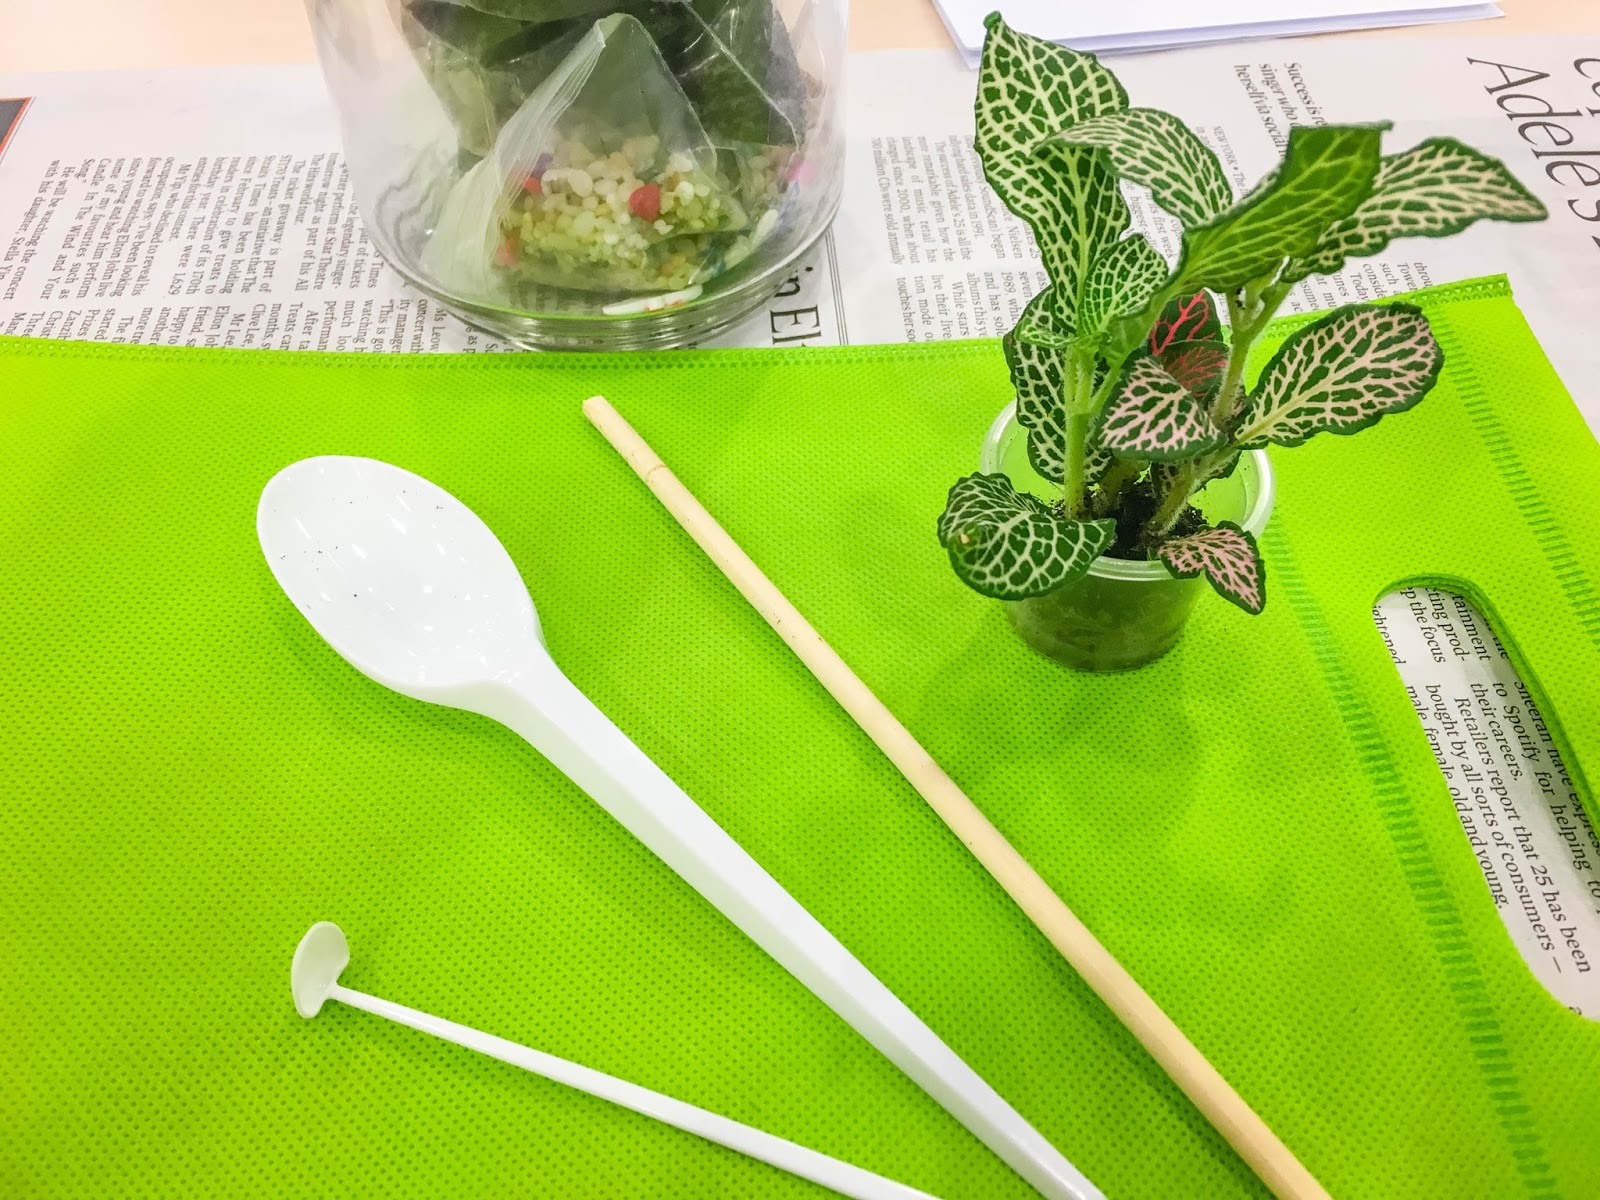
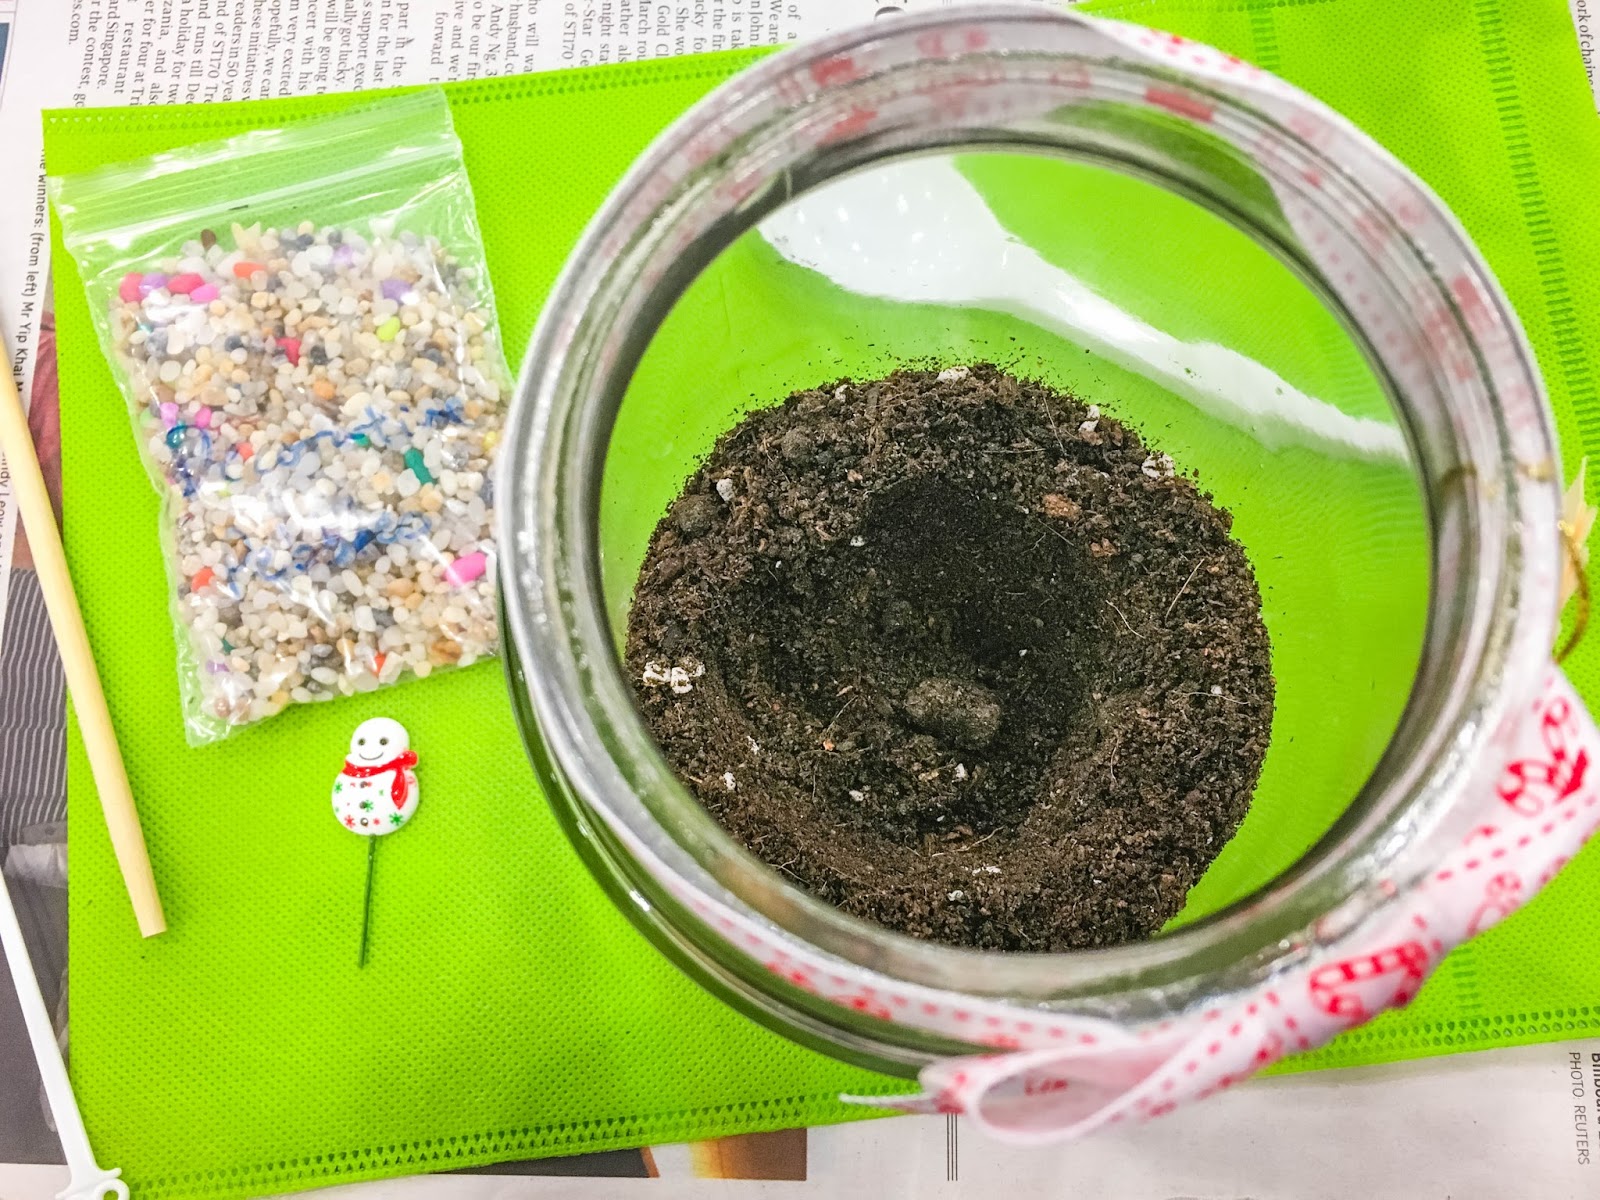
The 'ingredients' - Small gravel, charcoal, soil, decorative pebbles and decoration
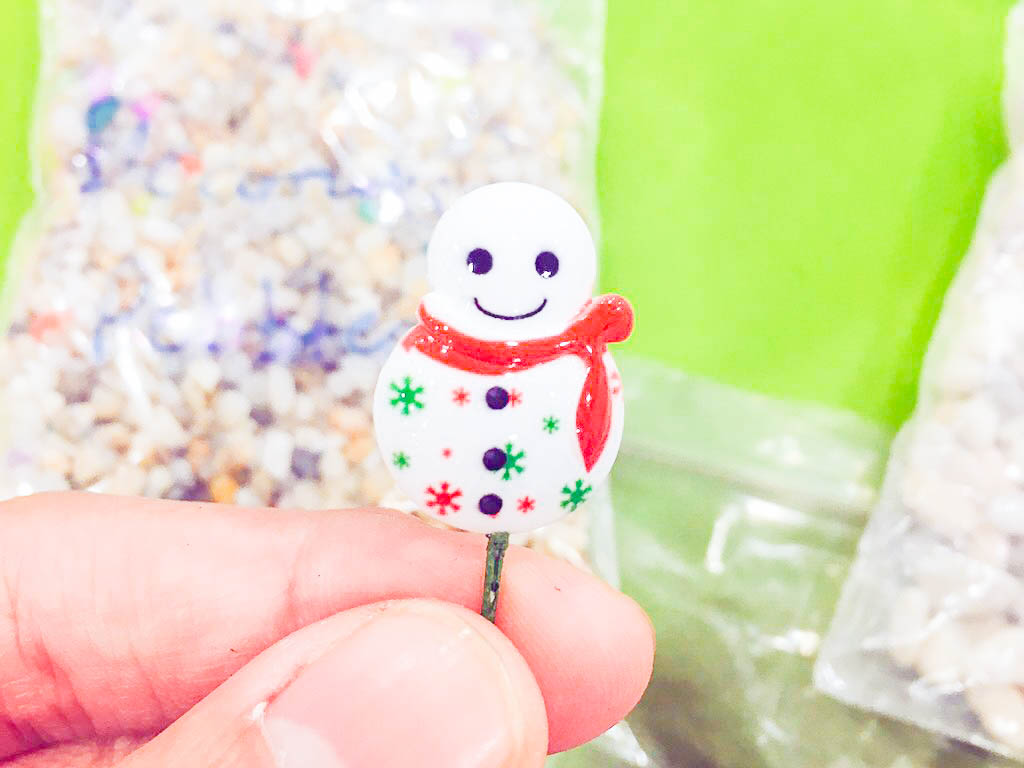
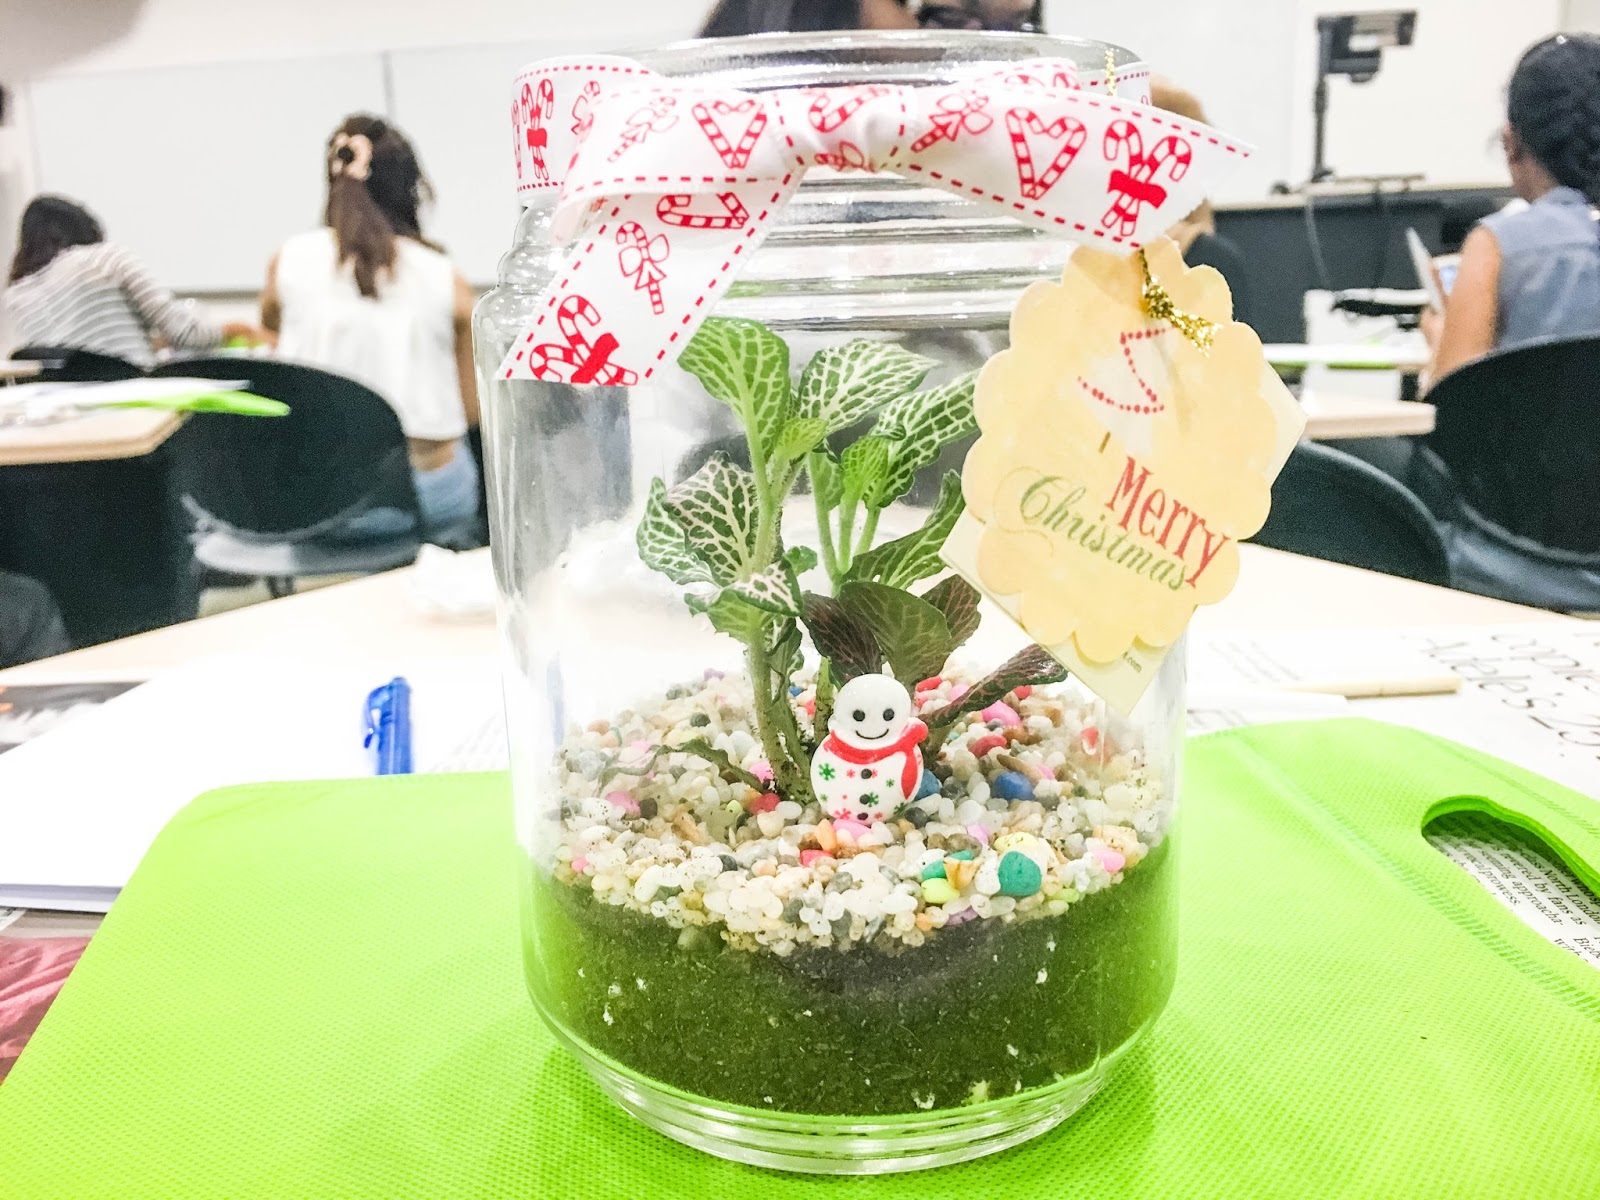
I'm so lucky that I got a snowman deco! I call him Olaf hehe
Before the hands-on, we had a mini theory session. A terrarium may live as short as 3 days to 3 years depending on how well it is maintained. (Which is really little as it is self-sustainable). These are the 5 useful tips I've learnt from the workshop:

  1. Keep the environment closed: A terrarium is self-sustainable meaning the entire water cycle and photosynthesis process will happen within the jar without any external help.
  2. No direct sunlight: Natural light is enough. Office desks work as well.
  3. Minimal water required: Only water once every 6 months.
  4. Condensation is normal. If big droplets appear, air the container for around 15 mins
  5. Once the plant is too big for the container, you can either:
           - Trim the plant
           - Open the top and grow as an open condition
           - Leave as it is, the plant will find a way to grow within the container

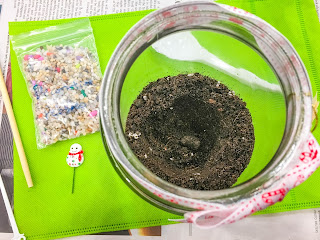
The tools
Our hands on sessions was facilitated and we followed the steps together.
The workshop instructor was there to make sure that we're doing it right and good enough.

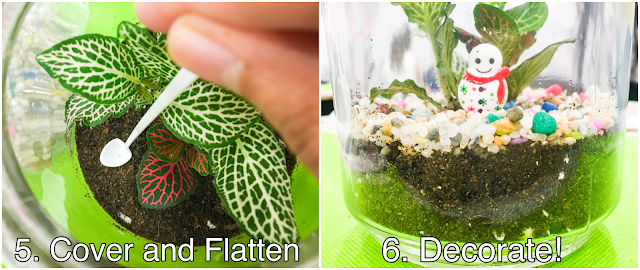
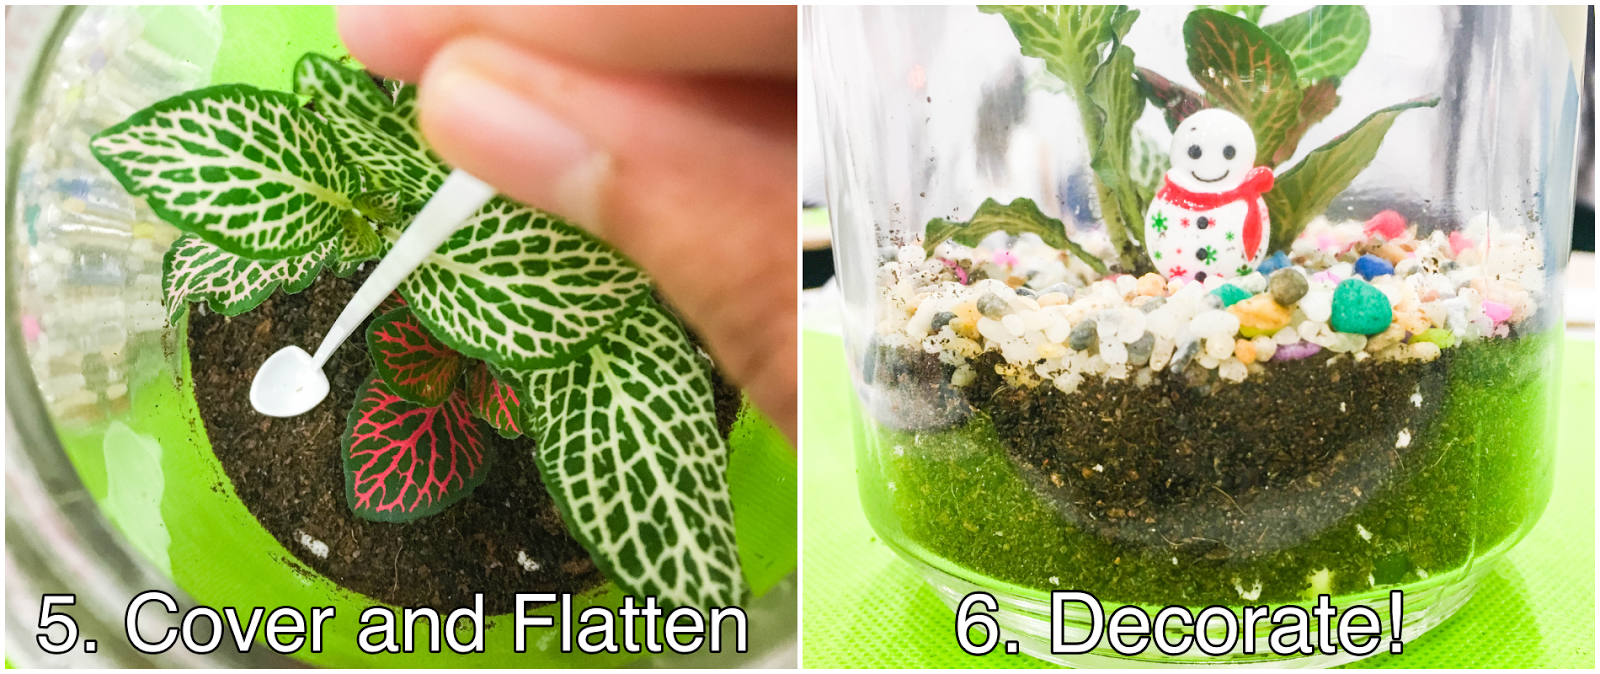
My favourite part was when we had to dig a hole as big as possible for our plant to be placed in. Soil was then scooped in from the sides to make sure that the roots are fully covered.

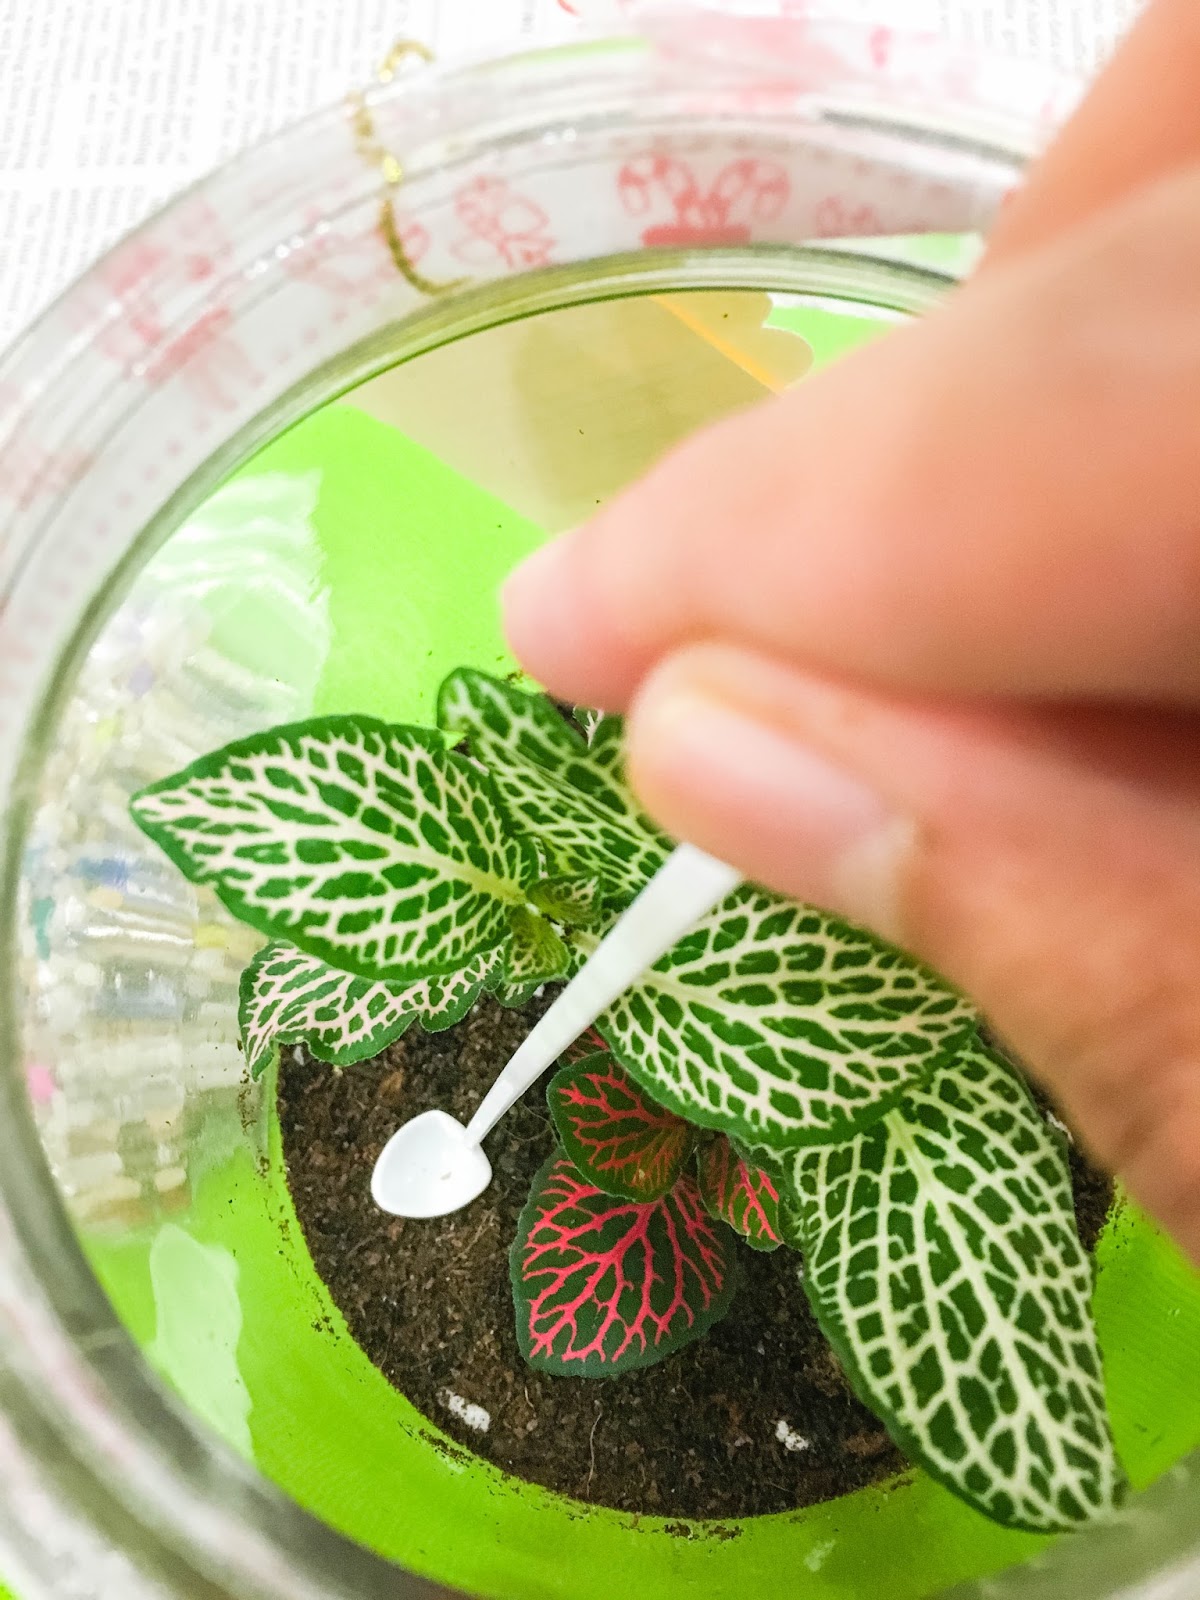
The challenging part was to flatten the soil around the plant. This will make sure that the plant stay rooted and stably upright. I had uprooted my plant once during this process HAHA but luckily i managed to get it nicely covered again without destroying my plant. 

I love this tool, it's like a stirrer but with a flat scoop used to flatten the soil.
The next step is simple - DECORATE! We were given colourful decorative pebbles and a mini deco item each. And then it's done! It's so simple right?
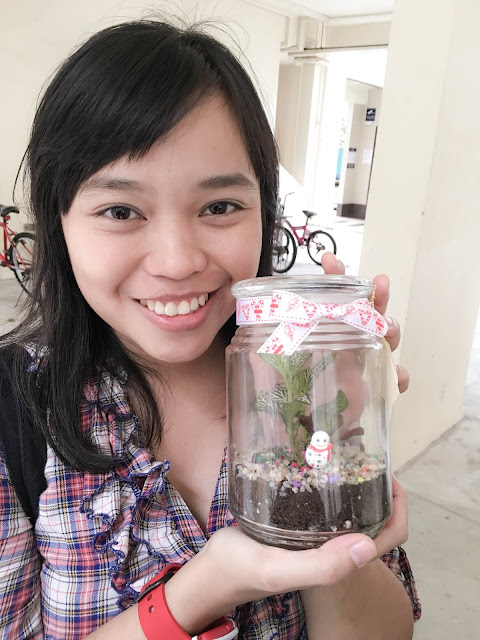
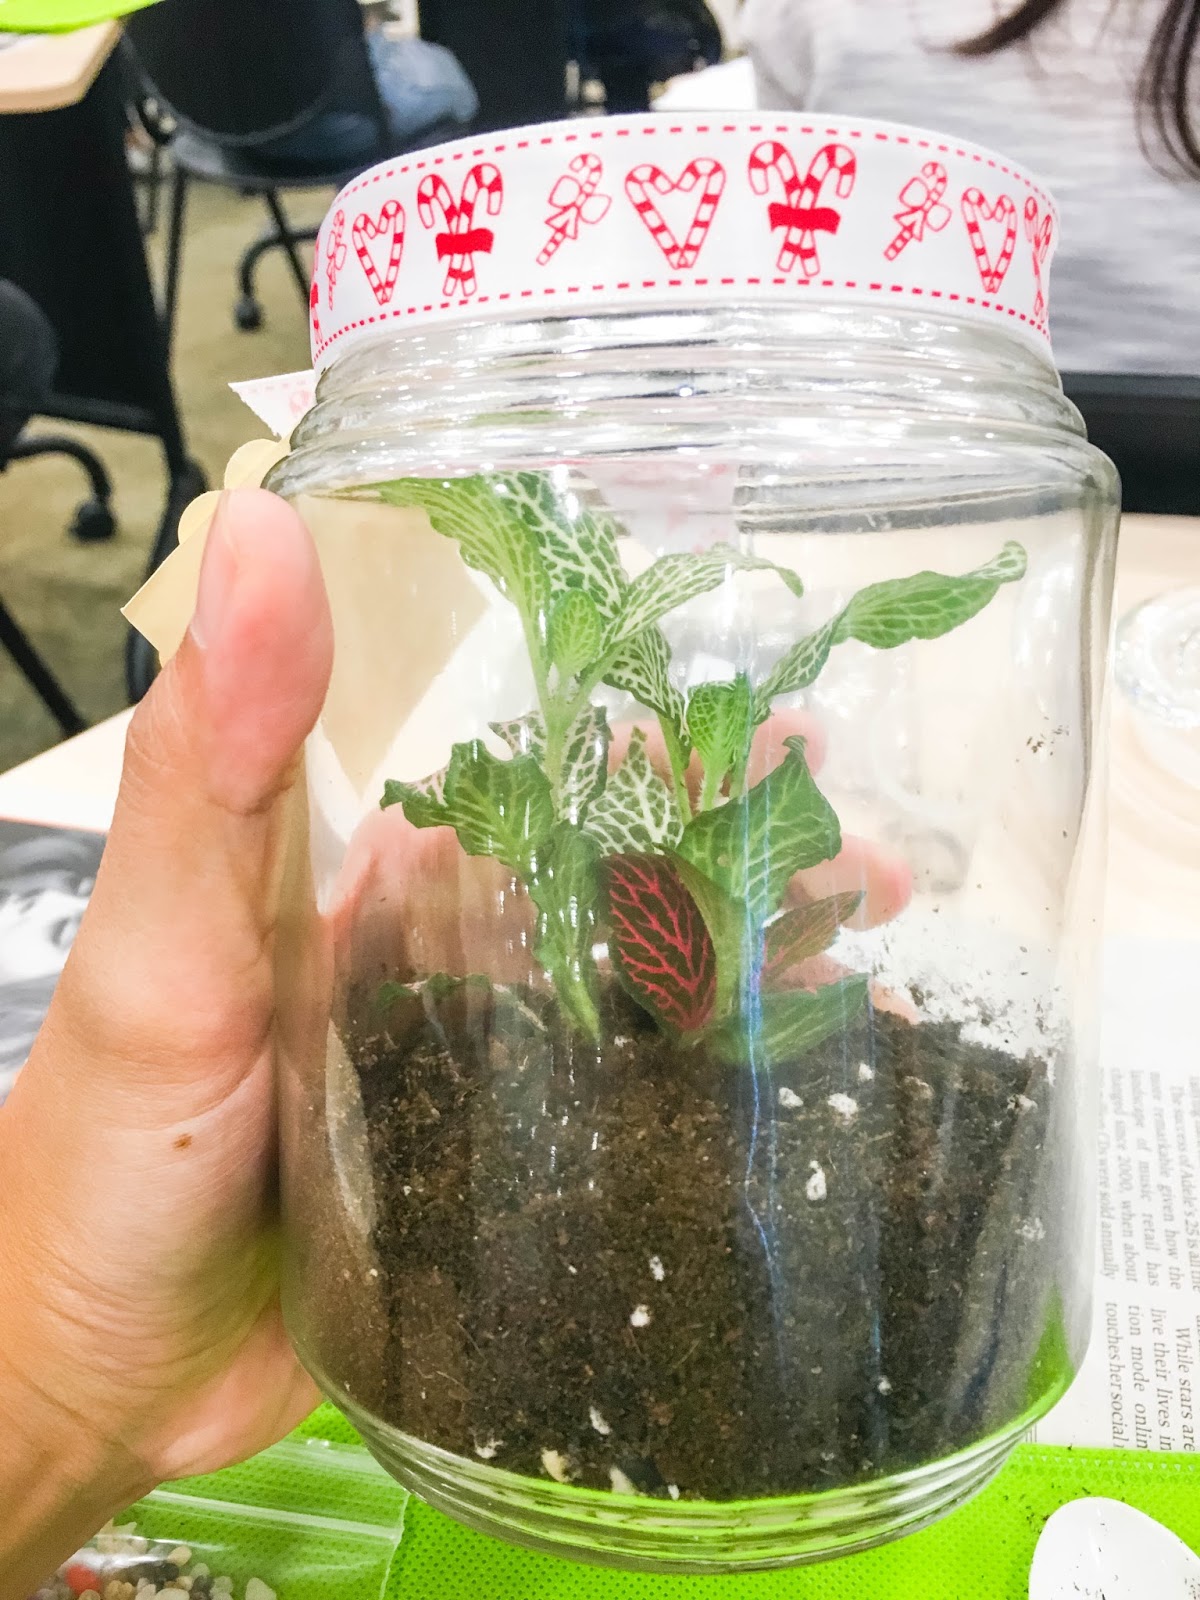
My happy Olaf in a tropical climate
Here are the summarise steps with pictures:

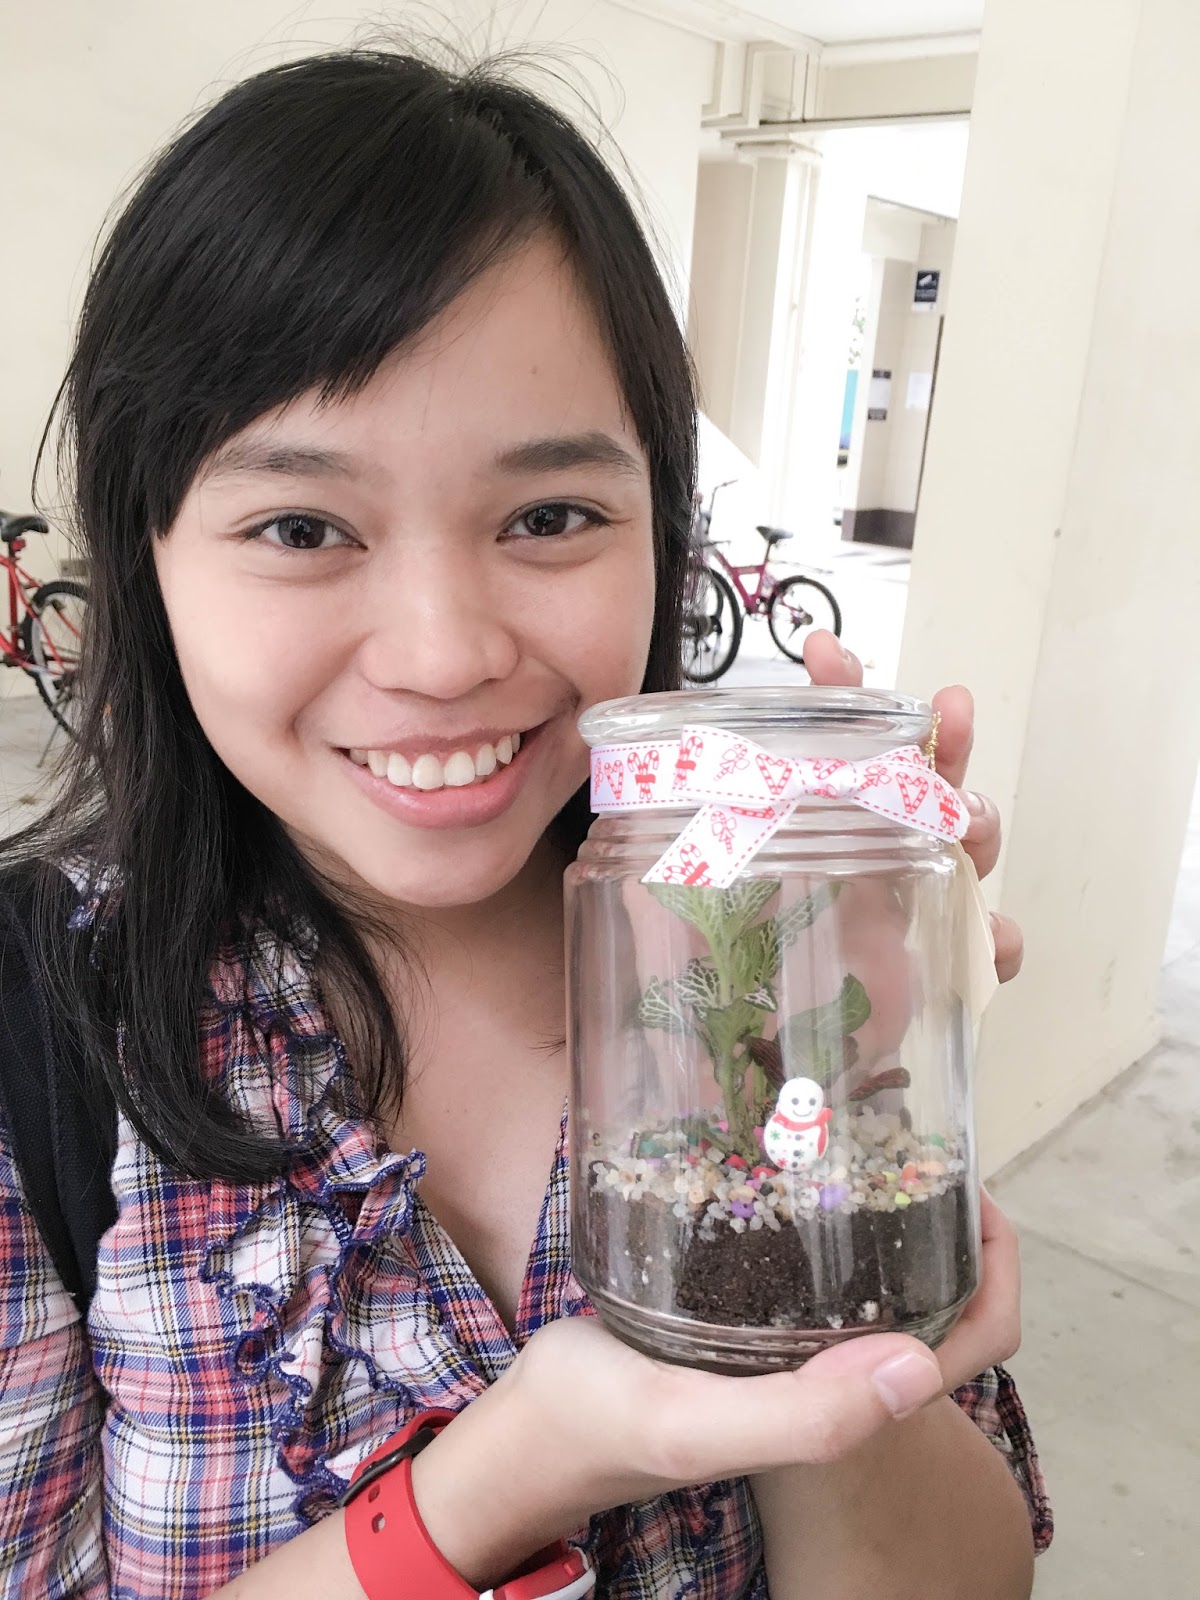
I really loved the workshop and I would recommend it to everyone. You don't even have to have green fingers and the maintenance required is almost none! These mini gardens are definitely pleasing to the eye and will make a wonderful decoration for home or office.

I am planning to decorate my future house with them! heh :D
My terrarium alongside one of the other student's
If you want to find out more about terrariums, you can visit Little Green Pot or their Facebook page to take a look. They usually hold 2 workshops per month and you can find out more information by e-mailing them.


Hope you've enjoyed this post! 
Please let me know what you think in the comments below and share the post if you like it :)

Thursday, 22 October 2015

Exploration: Jurong River

Highlights of our trip
Hi everyone! It's another Exploration post - we will share a place which requires you to get up on your feet and jump right in into an adventure :D

This time round, we're bringing you to Jurong River. Located in between Singapore Straits and Jurong Lake Park, the Jurong River can also be seen from AYE.
The star indicates the 'entrance' from which we entered from.
Walking to the entrance is not a hassle from my home in Teban Gardens, so it will be as easy if you're here in the neighbourhood.

The entrance
With my family, so excited!
Be prepared to walk through some tall grass and soft, muddy ground.
The path was better maintained than I last remembered.
Do remember to use your CALAMINE LOTION if you're worried about mosquitoes.
My auntie and cousins were already there when we reached and they have set up a fire to chase off the mosquitoes away + to cook whatever catch we managed to get.
Setting up the fire
When we reached at around 2.30pm,it was high tide so we couldn't go further in to dig for clams. You can always check out the high/low tide timings HERE.

The tide information for that day. H indicates High Tide and L indicates Low Tide.
High Tide - Suitable for fly-fishing or netting.
My mum and brother tried their hand at netting. Me too actually, but I was totally noob about it. lol
The surprising thing was that my cousins found some oysters. These shellfish can be found clinging to rocks and you can pry them off slowly. The important thing is to watch out for those barnacles (!!) those things are horrible and they can easily cut your hands.

Of course these are not the best grade of oysters and the only way I would suggest to eat them is by really making sure they are fully cooked. I managed to find one oyster of my own and it was the smallest! (Bottom right pic)
Shucking and cooking the oysters.
Playing in the water
After a few hours, we could see that the tide was slowly going back down. We managed to find some clams which most we cooked straight and ate over there. :D
Lol. My mum posing, this is possible during low tide.
Low tide: Best for digging for clams, finding oysters and netting. My sister found the biggest clam!
These clams are also known as lala and they have a slight sweet taste.
The yellow canoe is good for resting.
Also, as written on the tree: Please Keep This Area Clean :)
It was close to 6pm so we made our way back home. Us siblings would have loved to stay longer as we started to find more clams since the tide was getting lower. The netting didn't go so well so it probably would be better in low tide as well.
The journey back home was as beautiful (From top left clockwise: Flowers creeping on fences, Containers and machineries on both sides, Spot the bird!, Going back where we came from)
Into the dustbin they go.
Also, my jogging shoes were totally gone by the time I reached home! Okay these were quite old (at least 5 years old) so there wasn't any hard feelings for me to part with them. Also, do wear old clothings which you wouldn't mind getting a bit dirty.
One last wefie before we head back home
It was really a fun and fruitful experience and great for family bonding. My parents have already started planning on their next visit and I would also love to go again when it is low tide. 

Hope you liked this post. Thank you to my family, my auntie and cousins for being there. Wouldn;t be possible without you all! :)

Thursday, 19 February 2015

Recipe: Mandarin Orange Cookies

Happy Chinese New Year to all our Chinese friends and readers!!

It's a long weekend, what are you guys doing to enjoy these few days? Probably collecting hong baos right? :D If you're like Mr @amsyarstifler, he's currently at work. Time doesn't stop for our Singaporean heroes like him ;) Well as for me... I had a lazy morning and then baked some goodies for tea! 

In the spirit of CNY what best to celebrate it with other than Mandarin Orange Cookies!

Orange butter cookies
You can use any butter cookies recipe. Scroll down if you're interested to use the recipe I used. To get the orangey flavour, I added about a tablespoon or two of grated orange peel and half the juice from a mandarin orange.

After that, the dough is chilled in the freezer for about half an hour while I preheat the oven and prepare the frosting.
Into the oven they go
Place the cookies on a cooling rack once they're out of the oven
The orange frosting recipe is very simple, the recipe is provided below but I didn't do any exact measurements. I kept my frosting very thin (it's almost like a glaze) and not too sweet. The orange flavour is intense and the smell is really wonderful!! I love this frosting so much, I will probably drizzle it on cakes next time :)

Remember to place a sheet of plastic below to catch the excess drips!
I would recommend to add a bit of cinnamon powder, it really does wonders!

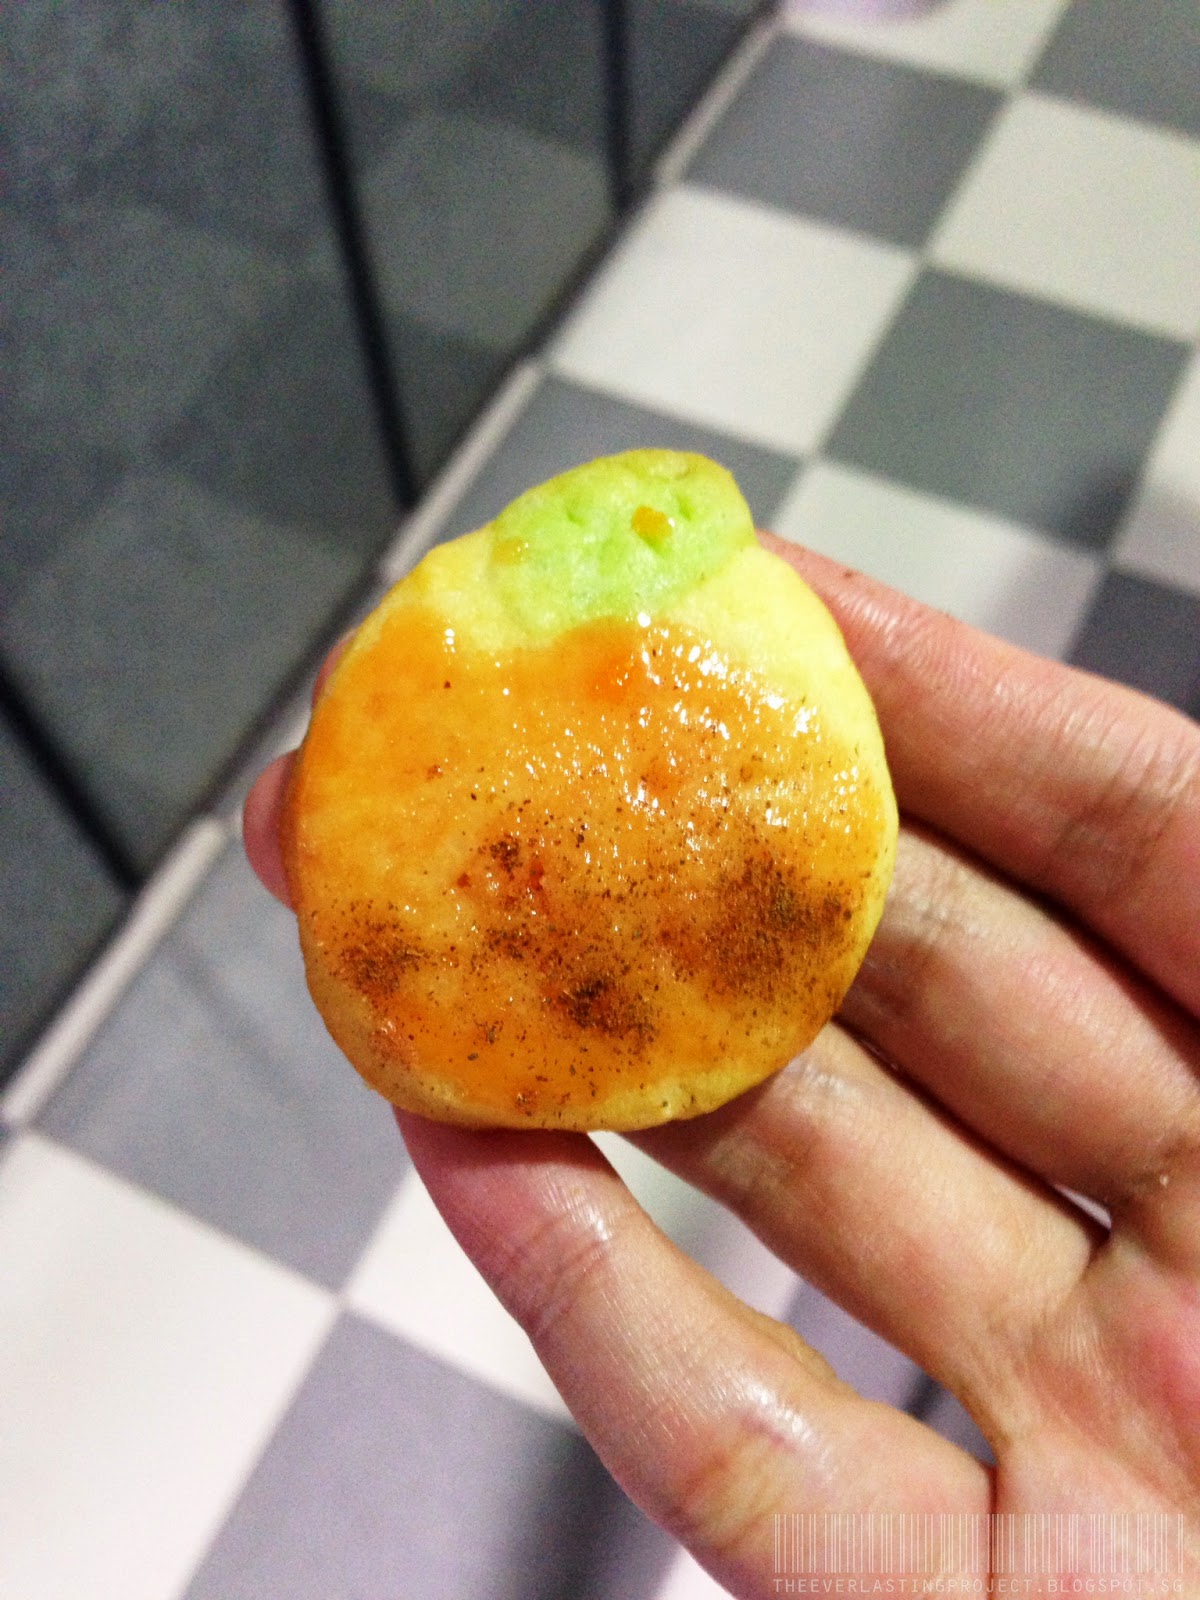
Hehe. My cute orange cookie!

...and half of it! :D yumms

Mandarin Orange Cookies Recipe:

Serves 5-6 45 minutes Butter Cookie mix
250g unsalted butter (softened)
220g sugar
1 egg
Squeezed juice from 1/2 of mandarin orange
2 tablespoons of grated orange peel
1 teaspoon vanilla
300g all-purpose flour
1 teaspoon baking powder
A pinch of salt

Combine butter, sugar and egg in a bowl. Beat at medium speed until creamy. Add orange juice, orange peel and 1 teaspoon vanilla. Mix well. Add flour and baking powder, beat at low speed until everything's combined together.

Divide dough into thirds and shape each third into a ball. Cover each ball in plastic wrap and refrigerate (by right, it's supposed to be for 2-3 hours but I couldn't wait that long). For the last third, add green food colouring. (this will be for the leaves). Meanwhile, preheat oven to 190 degrees Celsius.

Roll out one ball of dough on lightly floured surface. Keep it at about 1/2cm thick and use cookie cutters to cut it into round shapes. Place about 3cm apart on baking sheets and bake for 8-11 minutes, or until corners appear slightly golden brown. Once done, remove to a cooling rack immediately. Cool completely and apply frosting.

Frosting
Powdered sugar ~80g
Butter ~20g
Juice from the other half of the mandarin orange (Add lesser for thicker consistency)
1 tablespoon of grated orange peel
Red and yellow food colouring = Orange!
Cinnamon powder

Mix everything except the cinnamon powder and it's done!
Frost cookies and sprinkle with a bit of cinnamon powder.


There you did it! Your very own mandarin orange cookies!
*applause*

Best enjoyed with a mug of homemade Ice Lemon Tea!
Thanks for reading! Hope you liked it :D

Happy holidays everyone!
And happy baking ;)

Tuesday, 20 January 2015

Activity: Weekly Painting (Part 2)

This time round, our youngest sister decided that she wants to join in the fun. Firstly, let's take a look at what we're gonna paint today...

Haha! Cute kitten right! My sisters were the ones choosing this photo.
Painting is a great activity which usually takes up 1 hour to 2 hours of our weekend. I'm just happy that it gives us a reason to get away from all our electronic gadgets and just bond over colours. I'm also surprised at all the things we all managed to come up with even though we're not professional artists. ;)

 I luff you.

This is unfinished! Simply because we quarreled halfway through painting. :p

My version. Lol


Hope to paint together some time soon. Will need to remember that amidst our busy lives, we need to make time for people and things that matter :)

Happy weekends everyone!