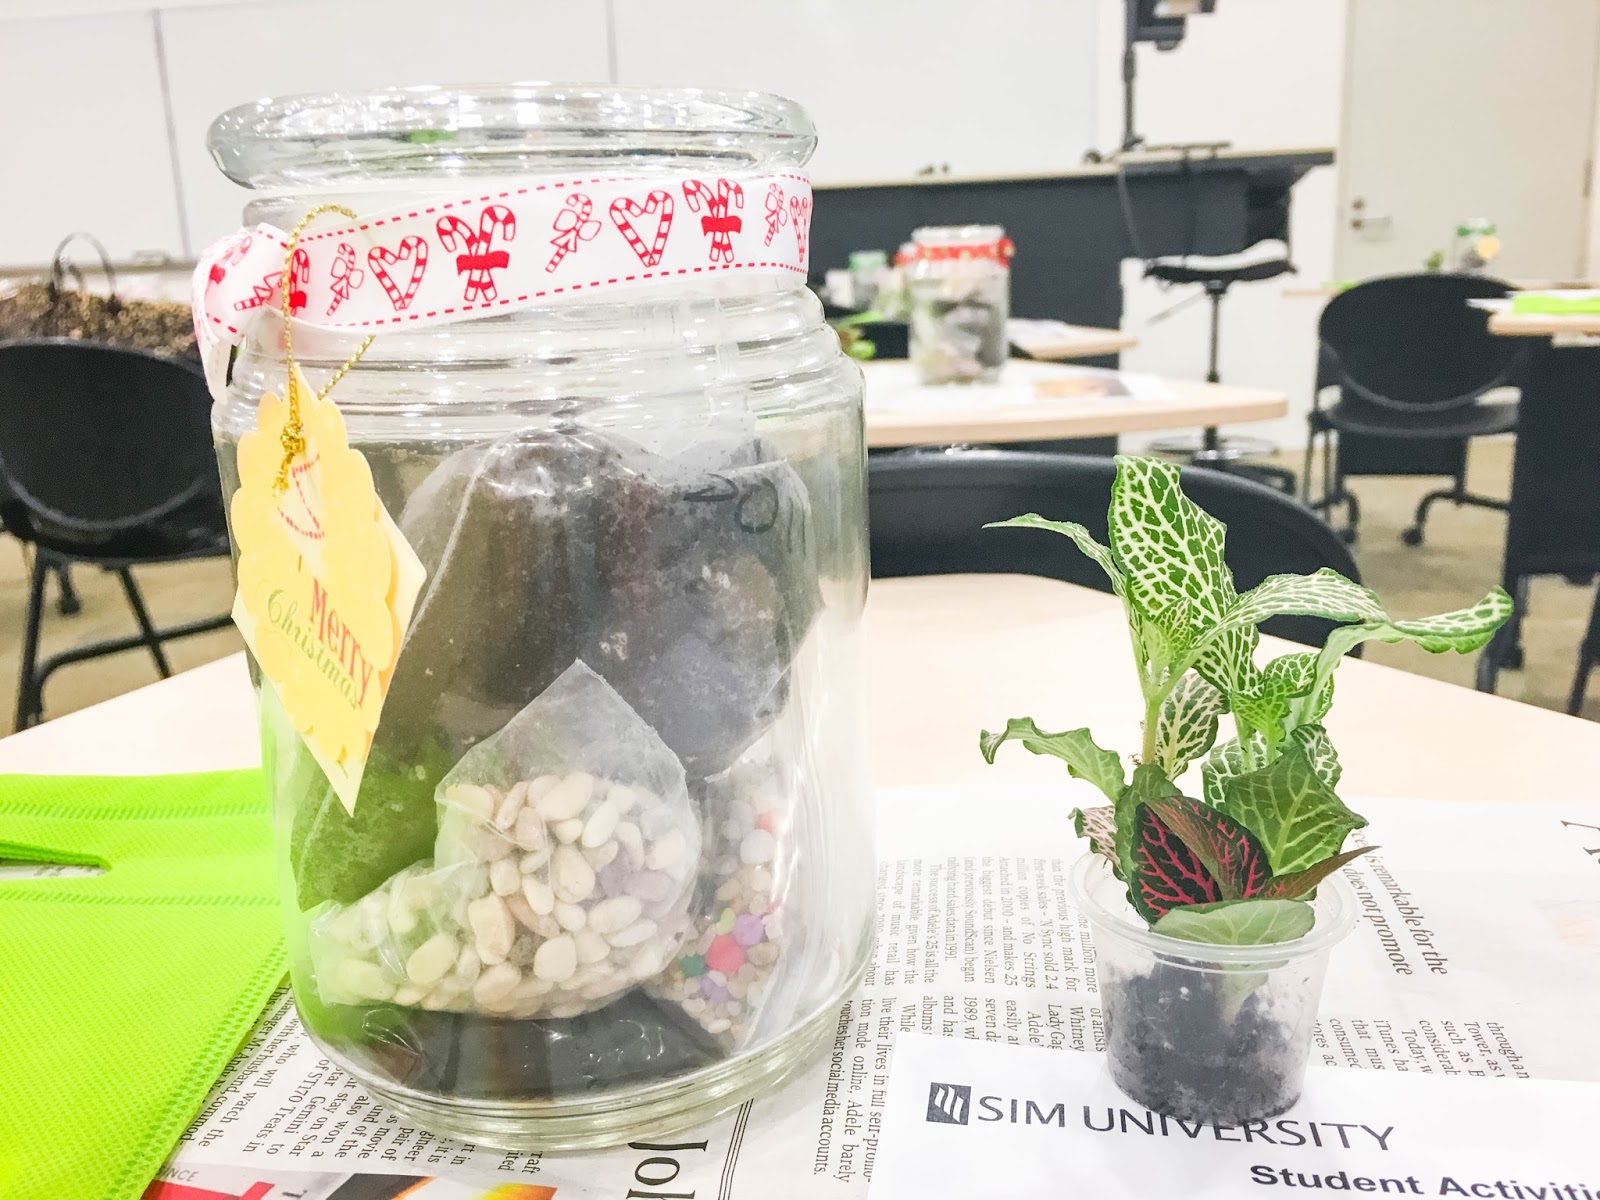
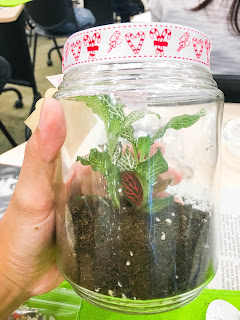
- Leave as it is, the plant will find a way to grow within the container
 |
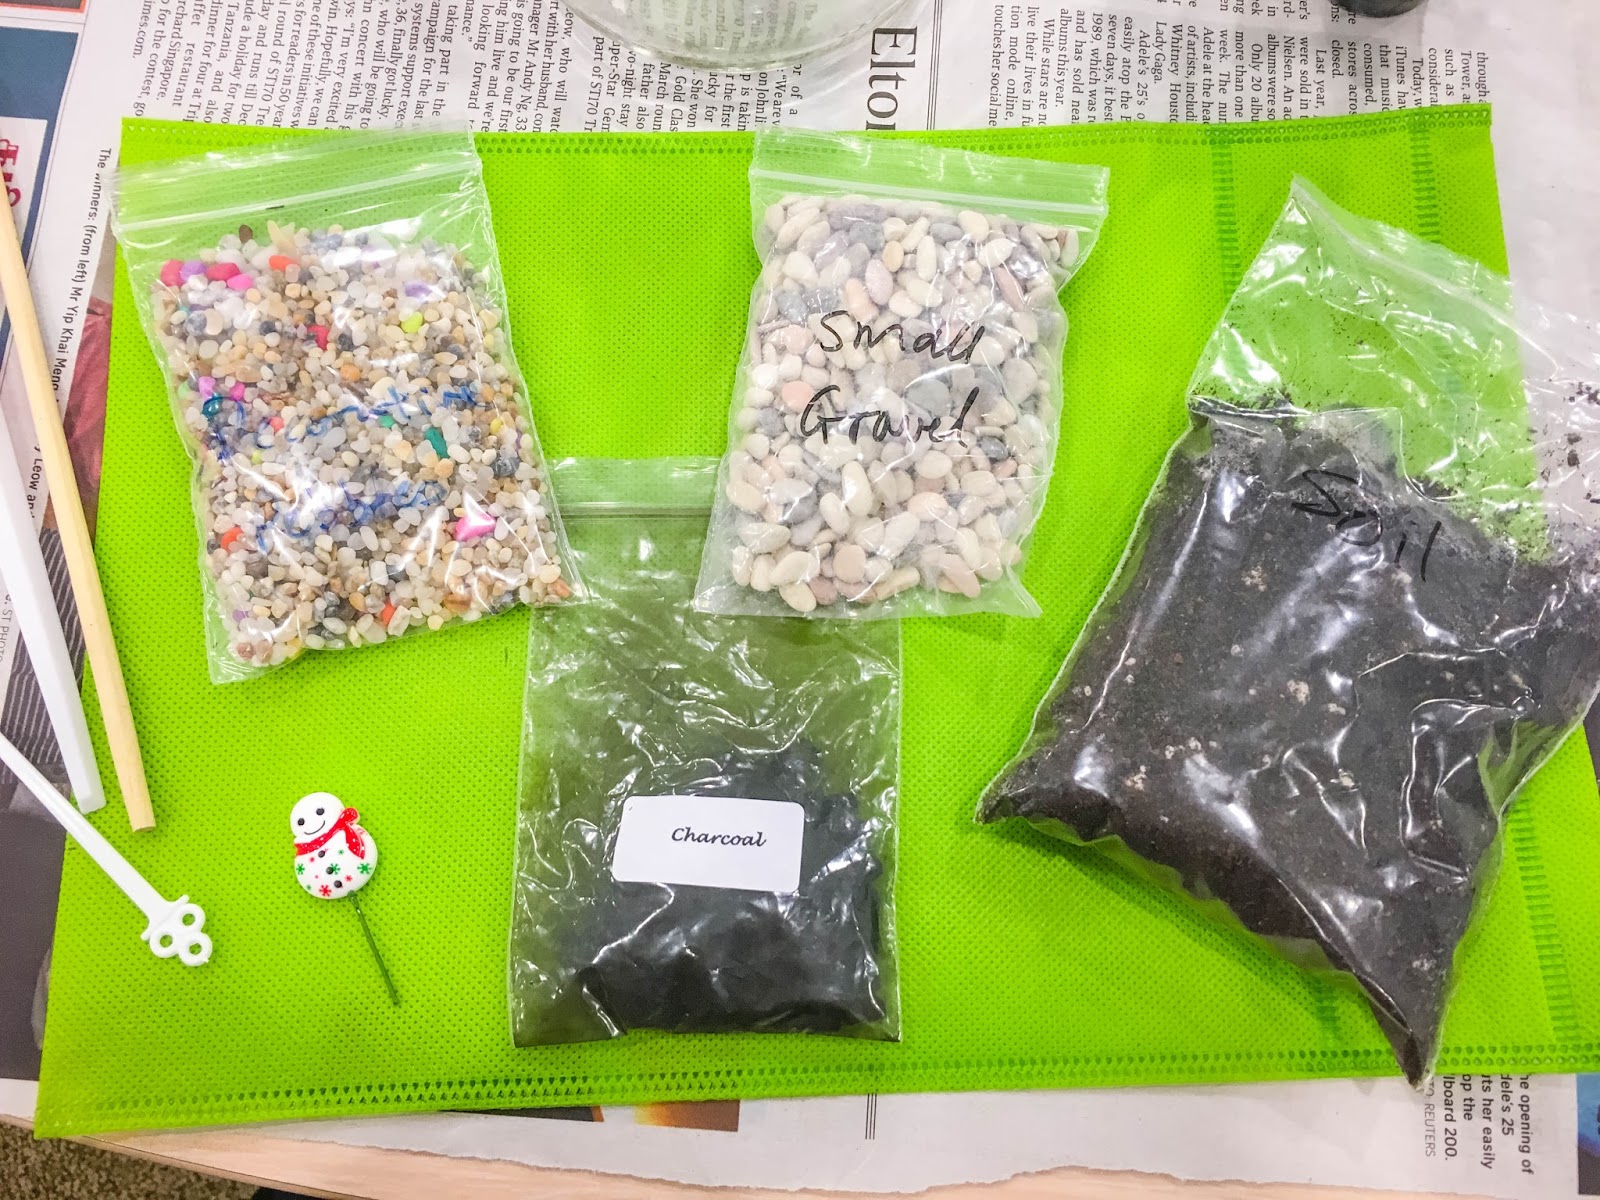
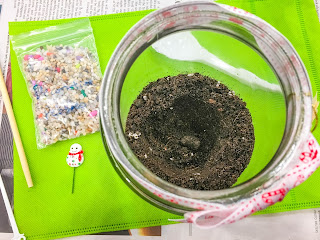
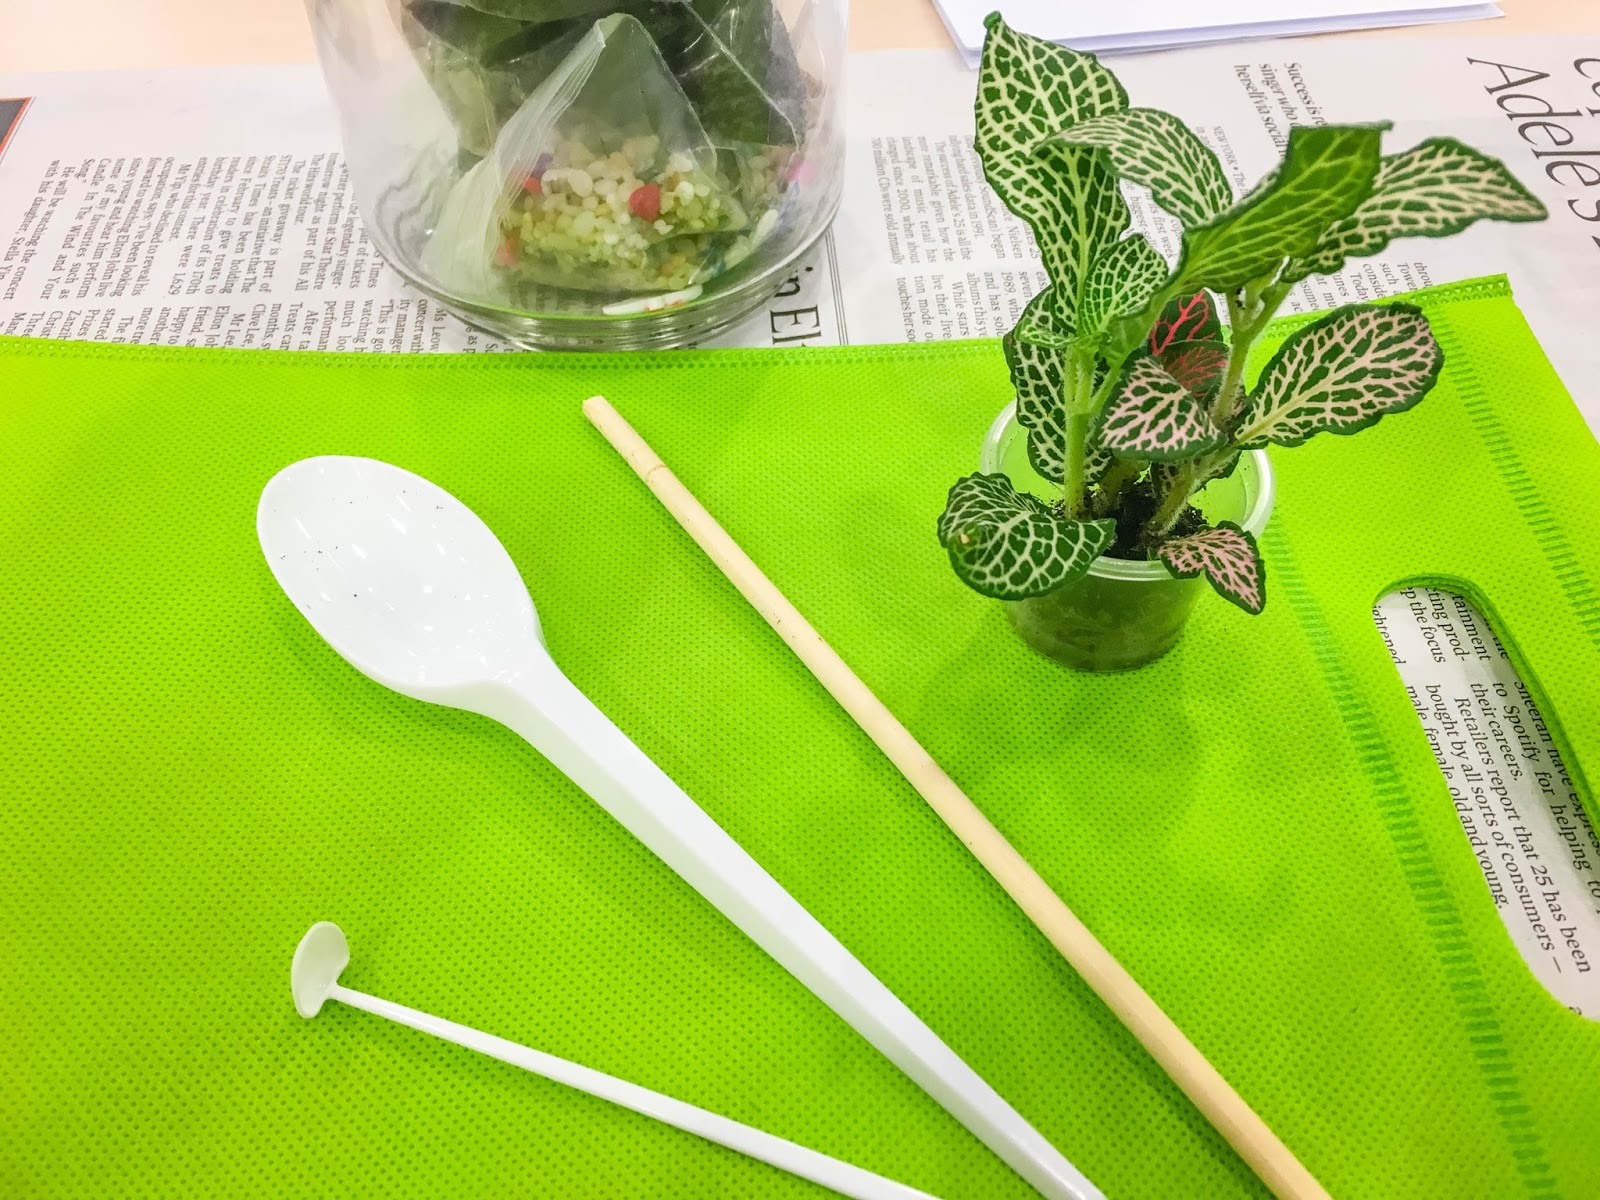
| The tools |
Our hands on sessions was facilitated and we followed the steps together.
The workshop instructor was there to make sure that we're doing it right and good enough.
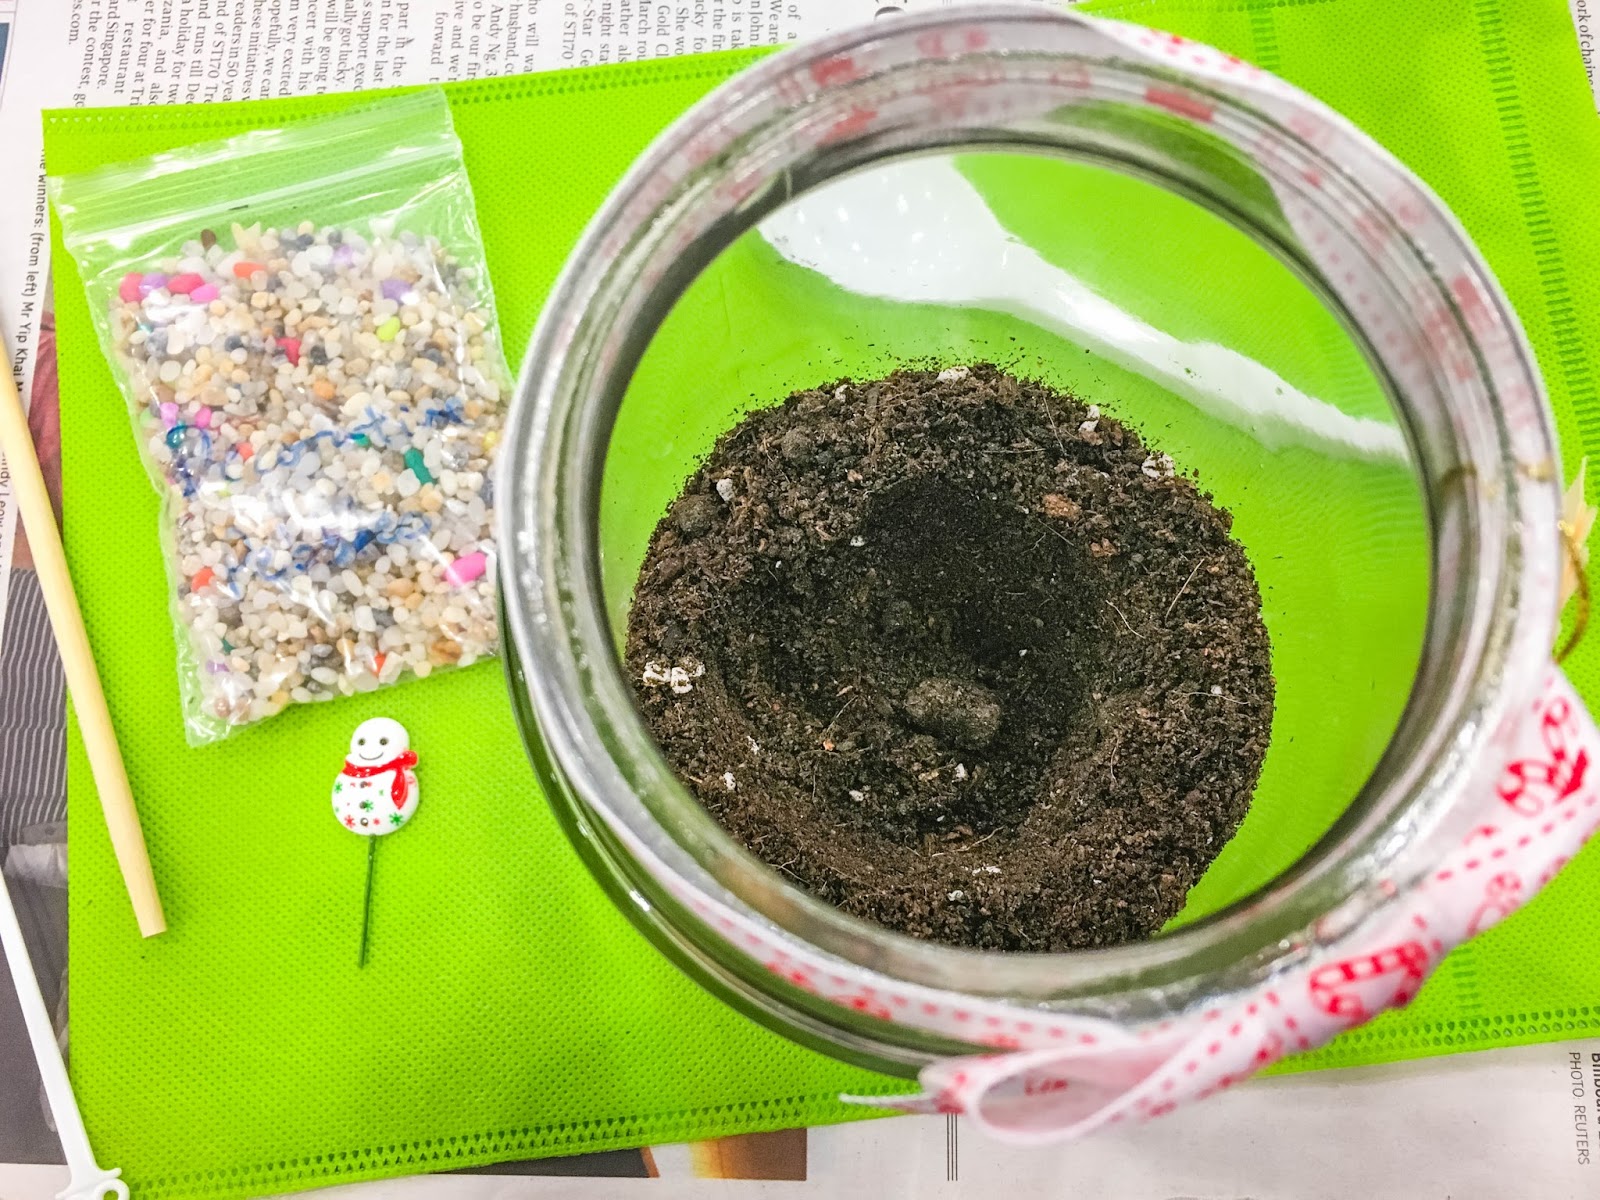
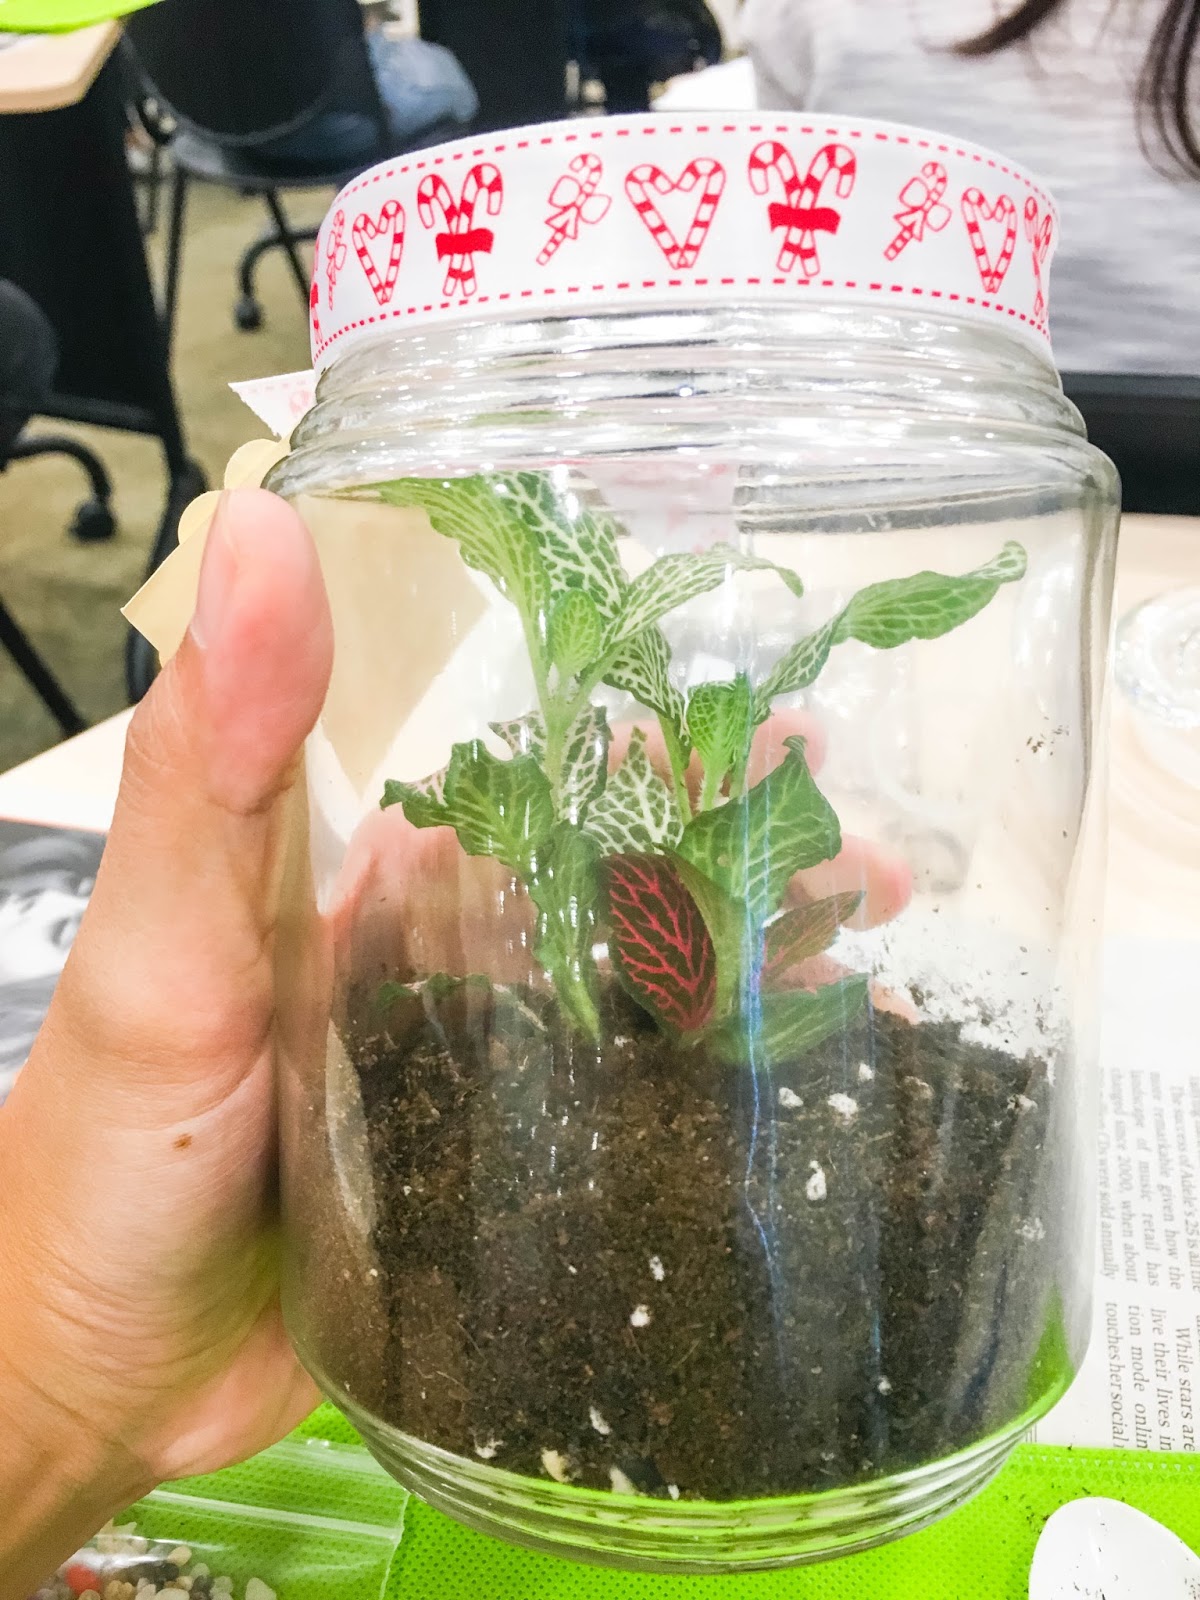
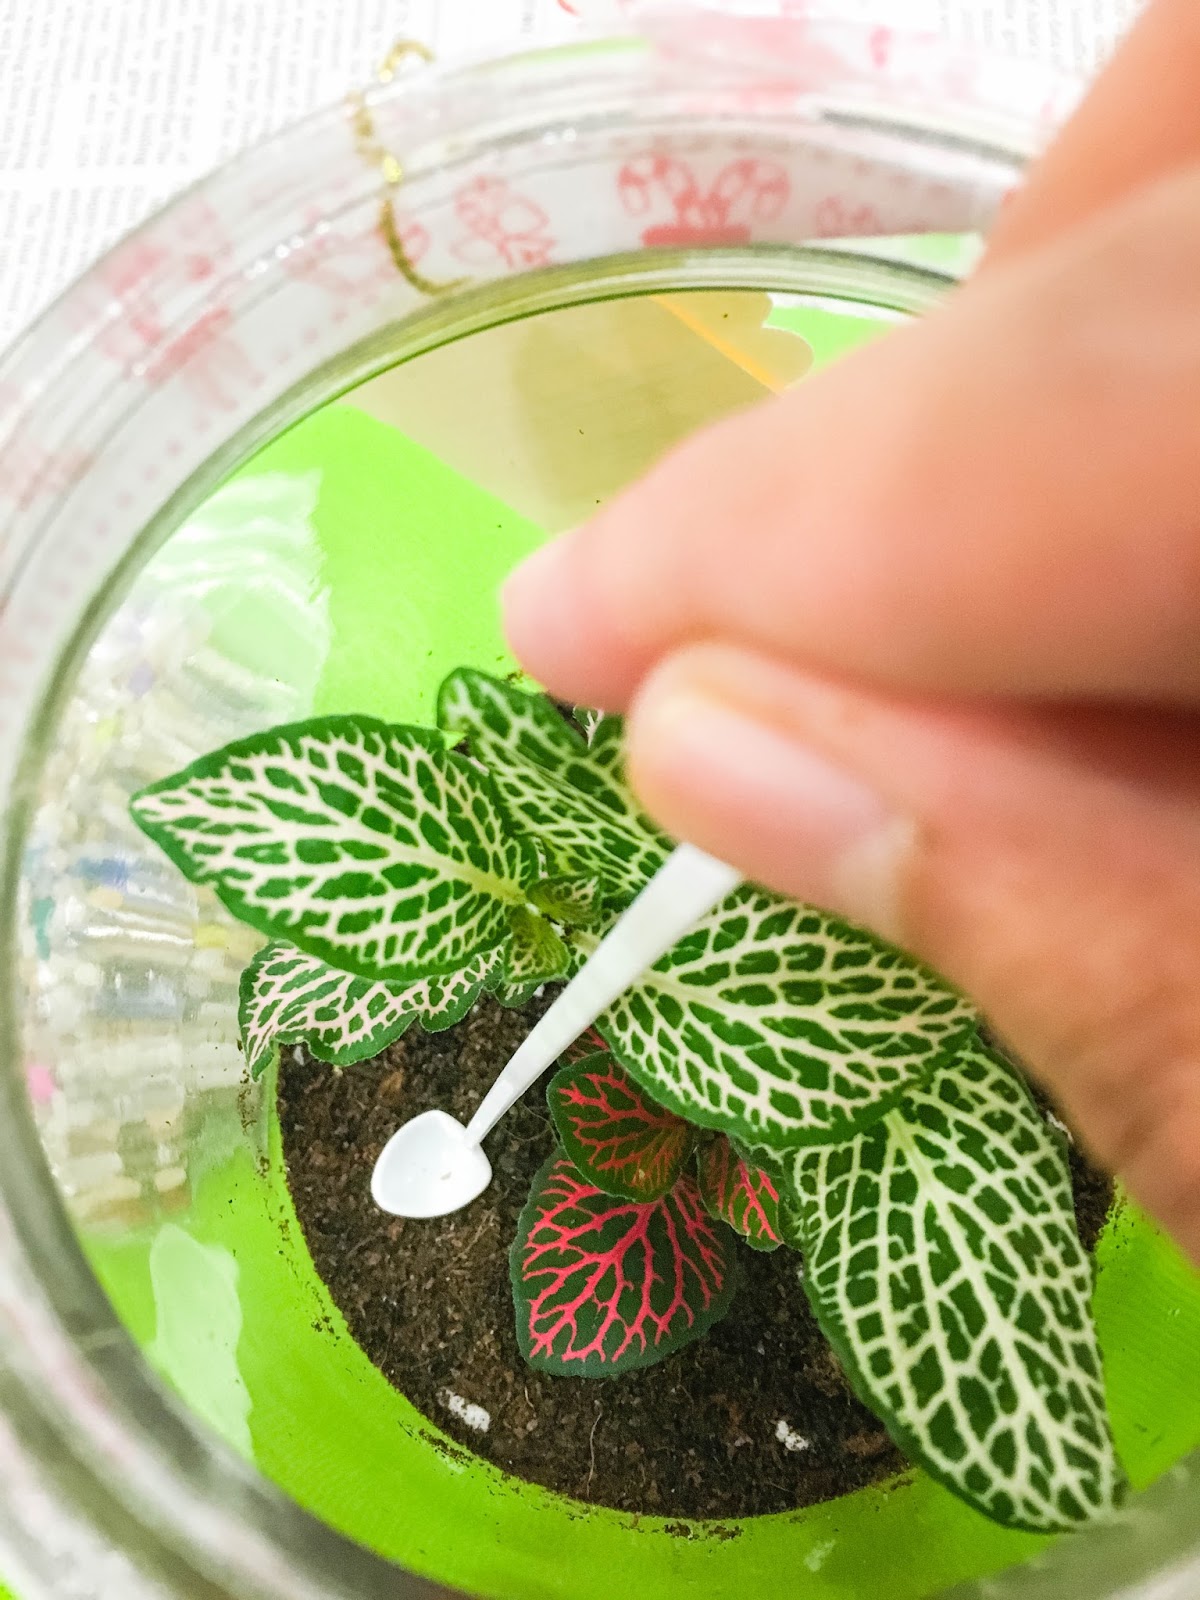
My favourite part was when we had to dig a hole as big as possible for our plant to be placed in. Soil was then scooped in from the sides to make sure that the roots are fully covered.
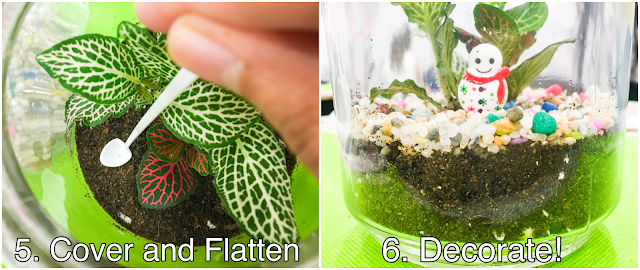
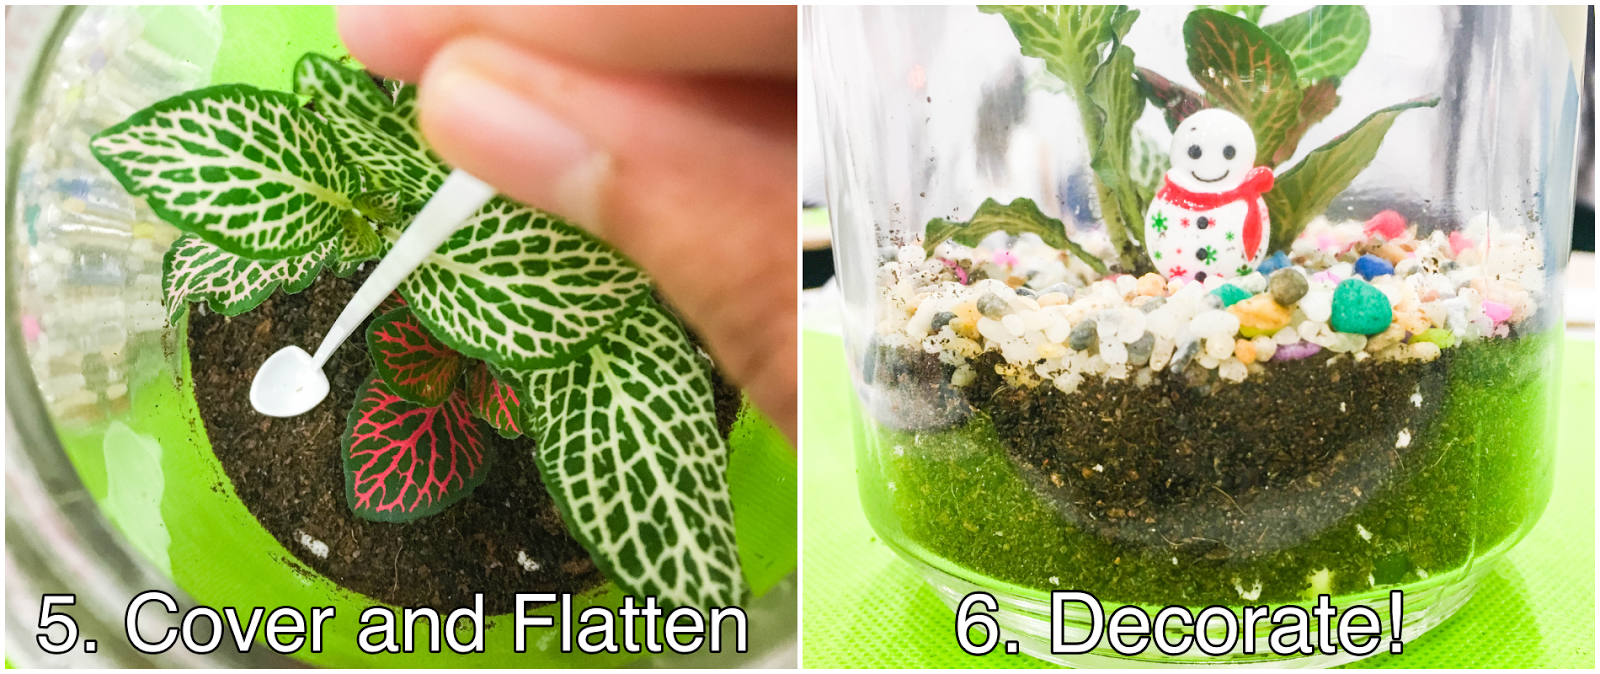
The challenging part was to flatten the soil around the plant. This will make sure that the plant stay rooted and stably upright. I had uprooted my plant once during this process HAHA but luckily i managed to get it nicely covered again without destroying my plant.
 |
| I love this tool, it's like a stirrer but with a flat scoop used to flatten the soil. |
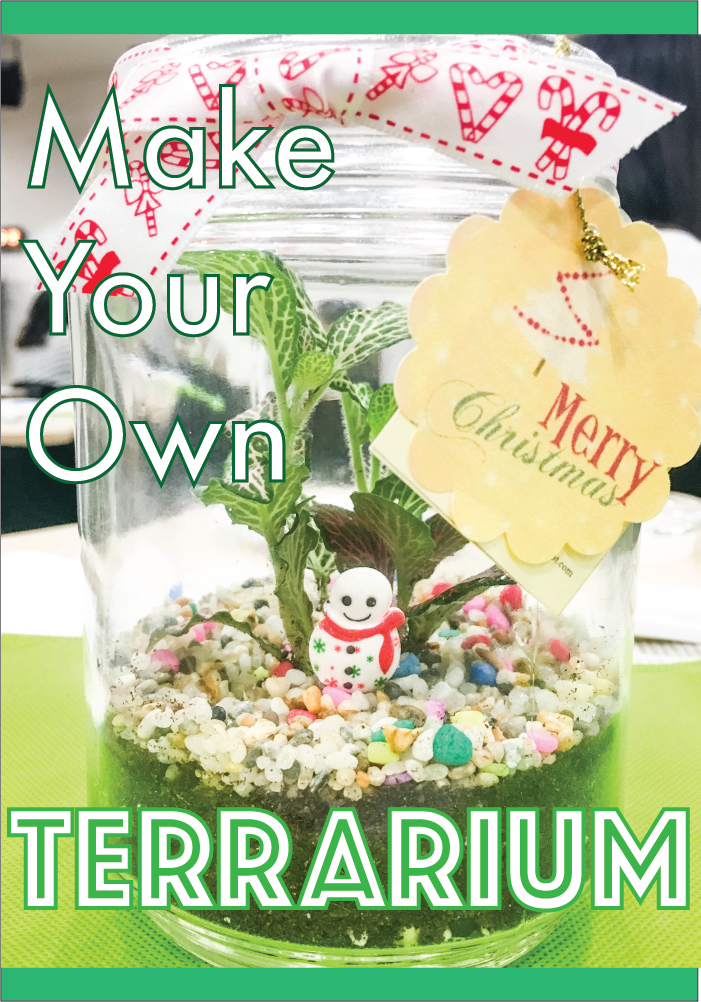
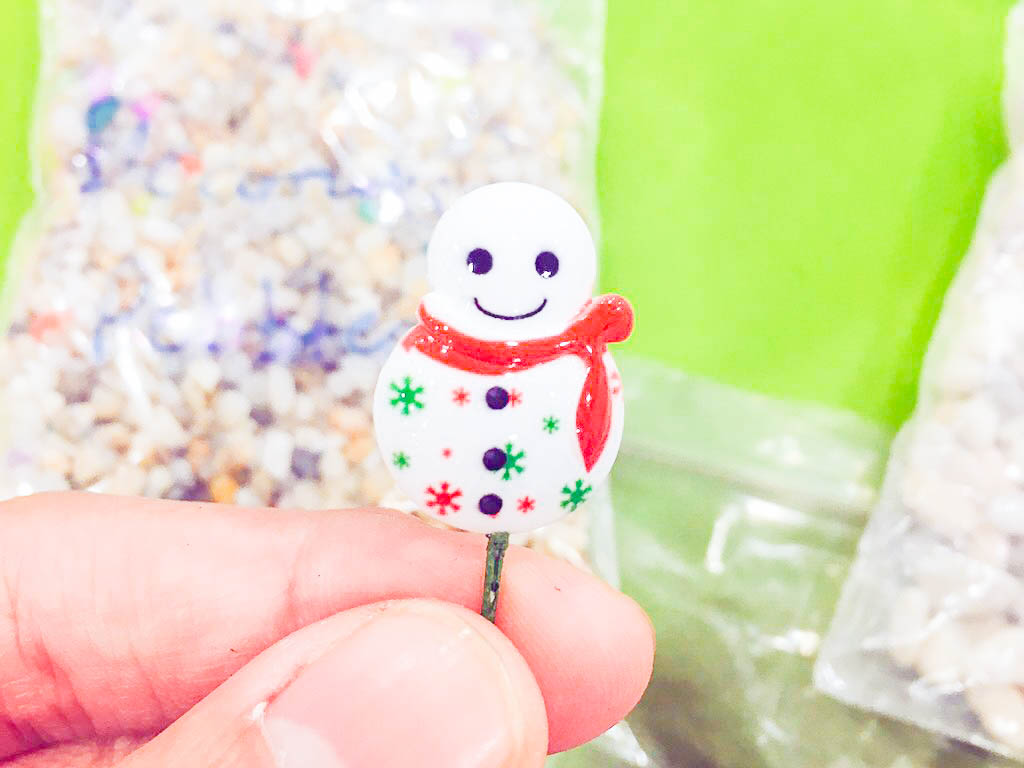
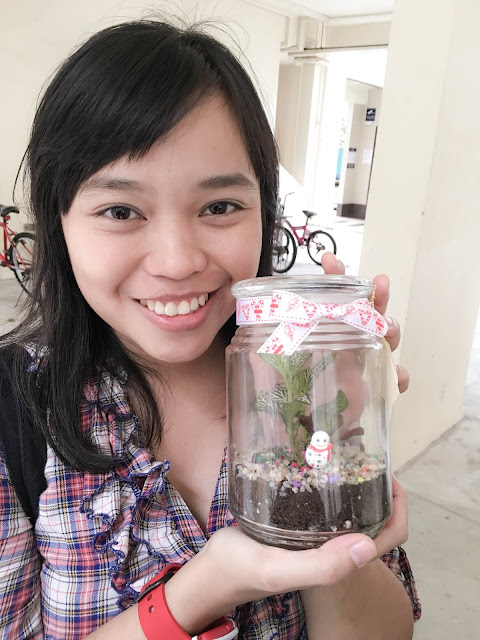
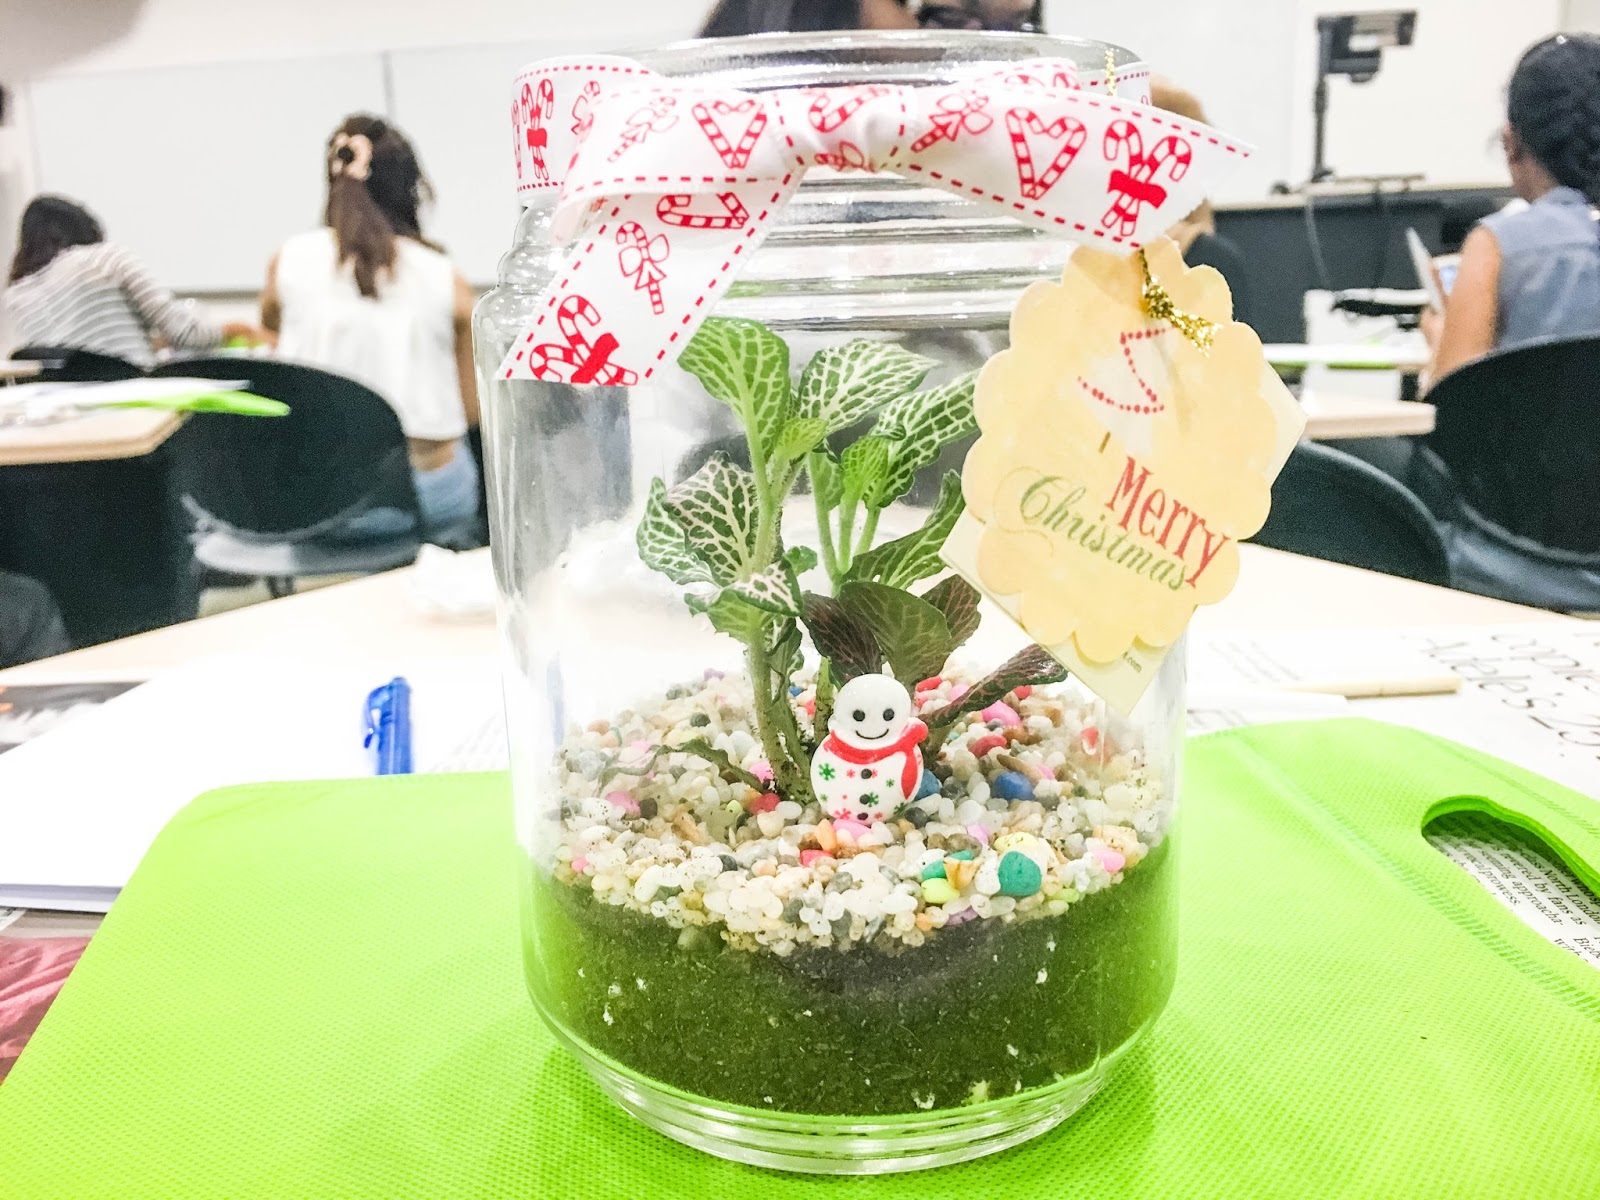
The next step is simple - DECORATE! We were given colourful decorative pebbles and a mini deco item each. And then it's done! It's so simple right?
 |
| My happy Olaf in a tropical climate |
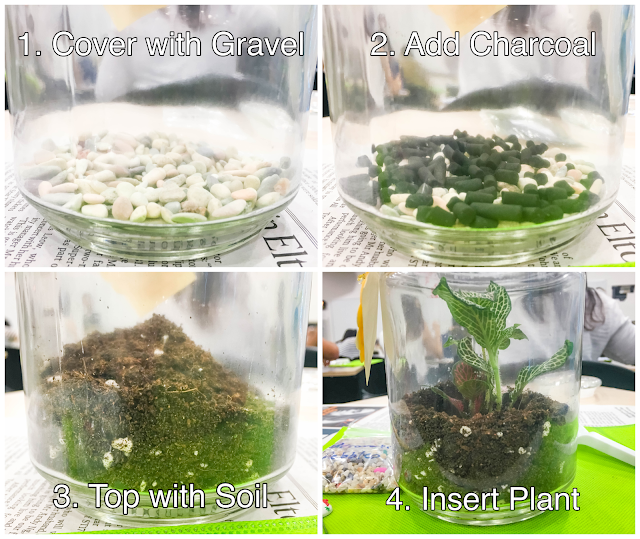
Here are the summarise steps with pictures:
I really loved the workshop and I would recommend it to everyone. You don't even have to have green fingers and the maintenance required is almost none! These mini gardens are definitely pleasing to the eye and will make a wonderful decoration for home or office.
I am planning to decorate my future house with them! heh :D
 |
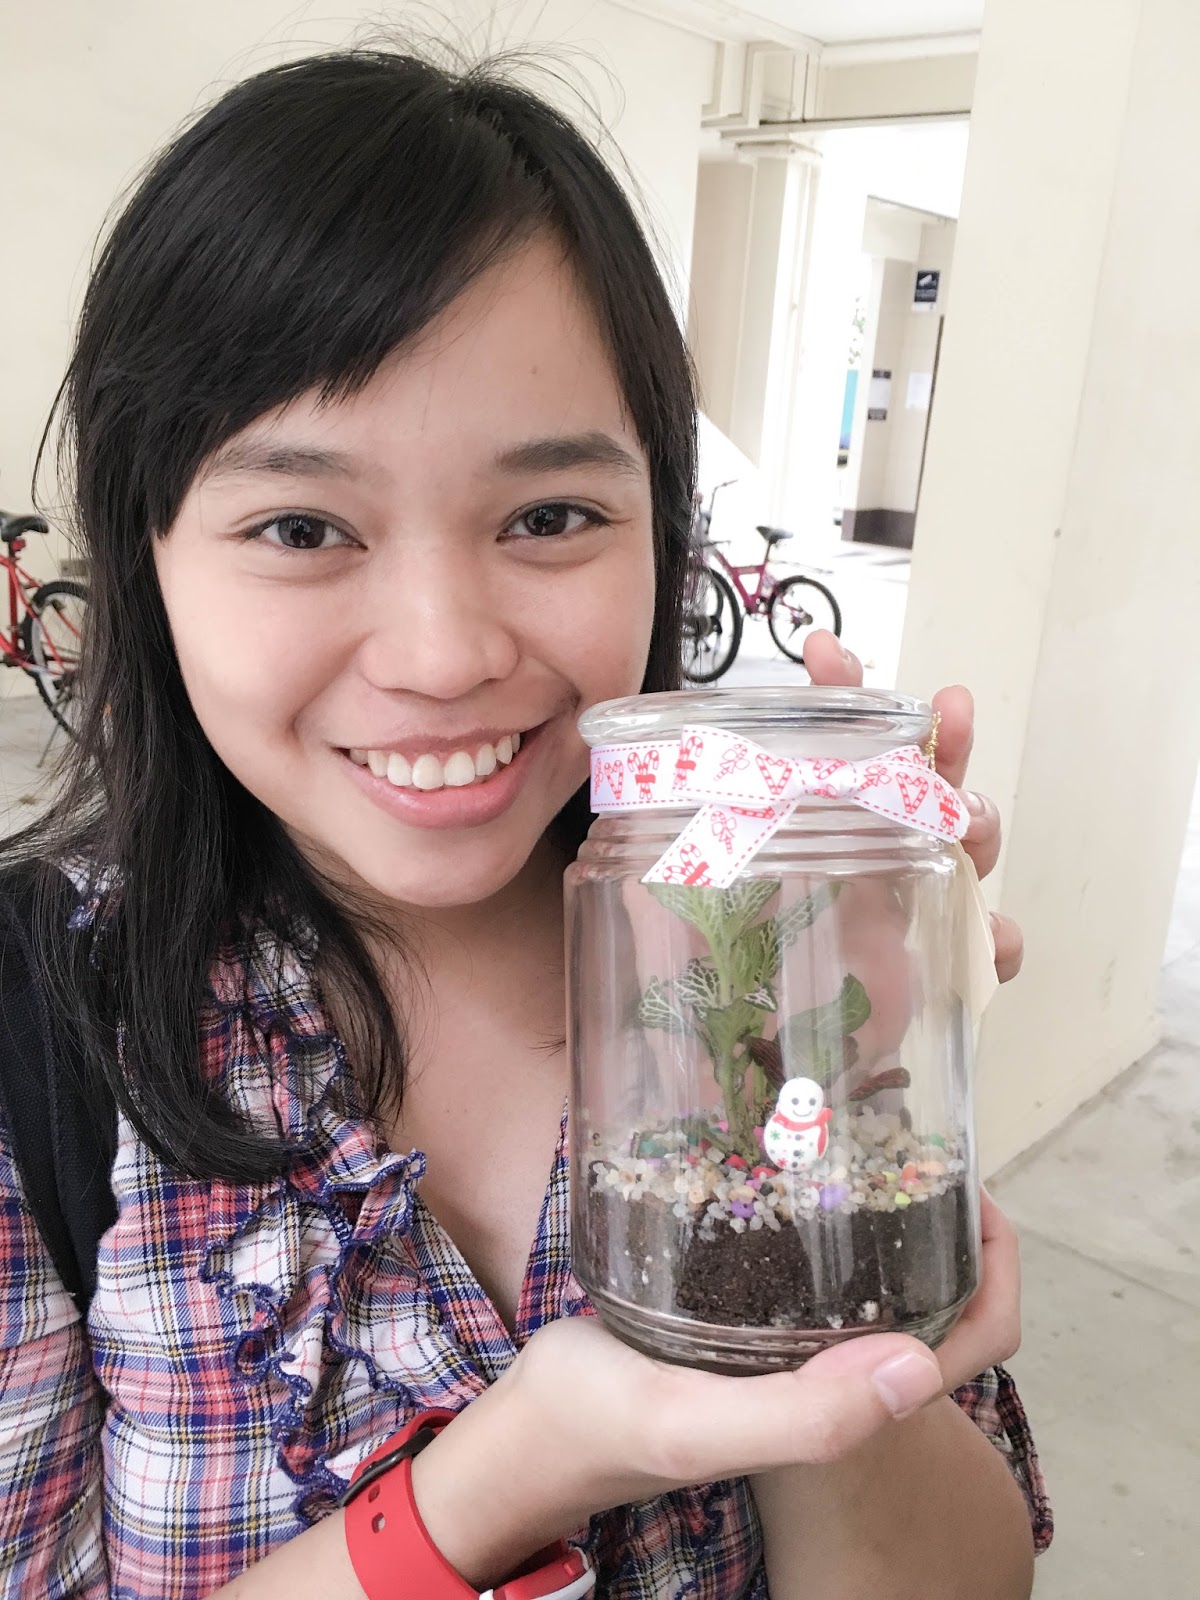
| My terrarium alongside one of the other student's |
If you want to find out more about terrariums, you can visit
Little Green Pot or their
Facebook page to take a look. They usually hold 2 workshops per month and you can find out more information by e-mailing them.
Hope you've enjoyed this post!
Please let me know what you think in the comments below and share the post if you like it :)