Showing posts with label DIY. Show all posts

Saturday, 26 June 2021

Canva Practice + Free Digital Paper


If you're here for the free digital download, scroll down till the end...

I suddenly felt like blogging again.
And who knows, this time round I'm here to stay eh?

So.. We're blessed with a 2nd child, another boy! The last few weeks have been mostly me snuggling with him in the daytime and staying up at night just to have a bit of me-time and regain my sanity (by playing Nintendo switch haha).

I'm going to work in 1 more week.. i think it could be the reason why i'm suddenly having this a moment of clarity that I NEED and WANT to do something before my maternity leave ends.

It's not perfect but it's done.
Like how the grid is actually not equally divided in thirds...

I wanted to learn Canva so i created my first Pinterest template. i actually created real printables :) The digital paper is designed on Procreate and it can be used them in instagram, as wallpaper or anything really. They are of high-res quality too, so they can be printed out as well.

I'm was excited to design more things with Canva.
So i tried out my digital paper and also created some templates .
Here are some of the uses of digital paper on Instagram:

Personal IGstory

I like this actually.
cos i always forgot to water my plants lol

I hope you like my sharing. Thanks for reading :)
Here's the link for the free digital download:


Let me know what you think!

-Hazwani

Thursday, 17 December 2015

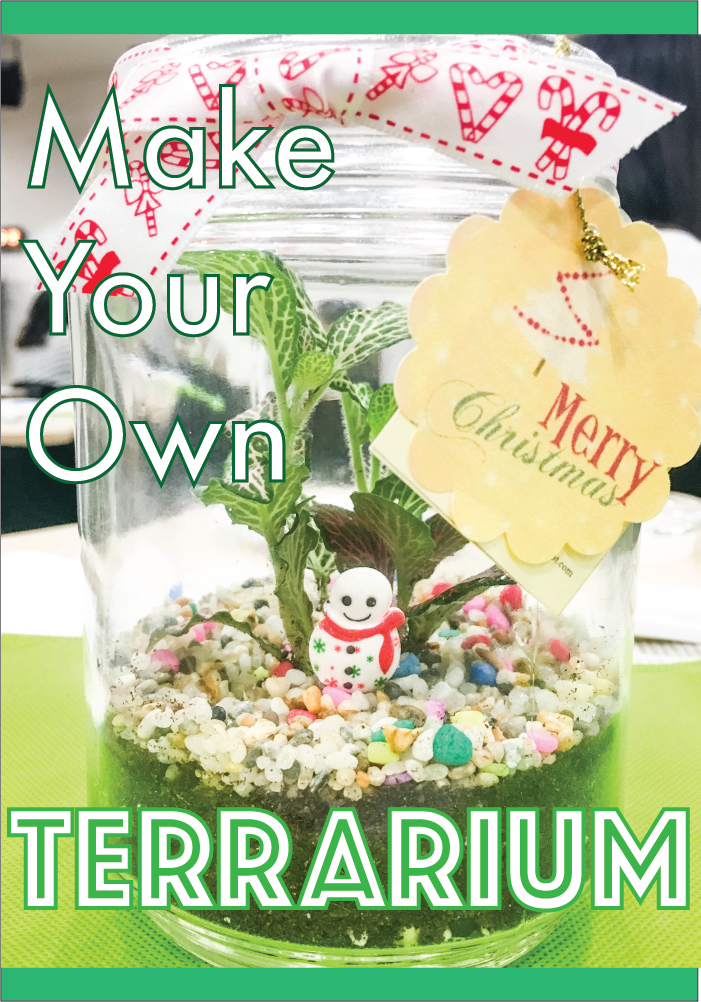
Activity: Make Your Own Terrarium


So, what is a terrarium?


I've always wanted to create a terrarium of my own and my mini dream came true when UNISIM offered a 'Make Your Own Terrarium' workshop held by Little Green Pot.
Early Saturday morning
The workshop was only a short 1 hour so you can definitely tell that making a terrarium of your own isn't hard work. But i can tell you that the workshop definitely opened my eyes to the world of miniature plants.
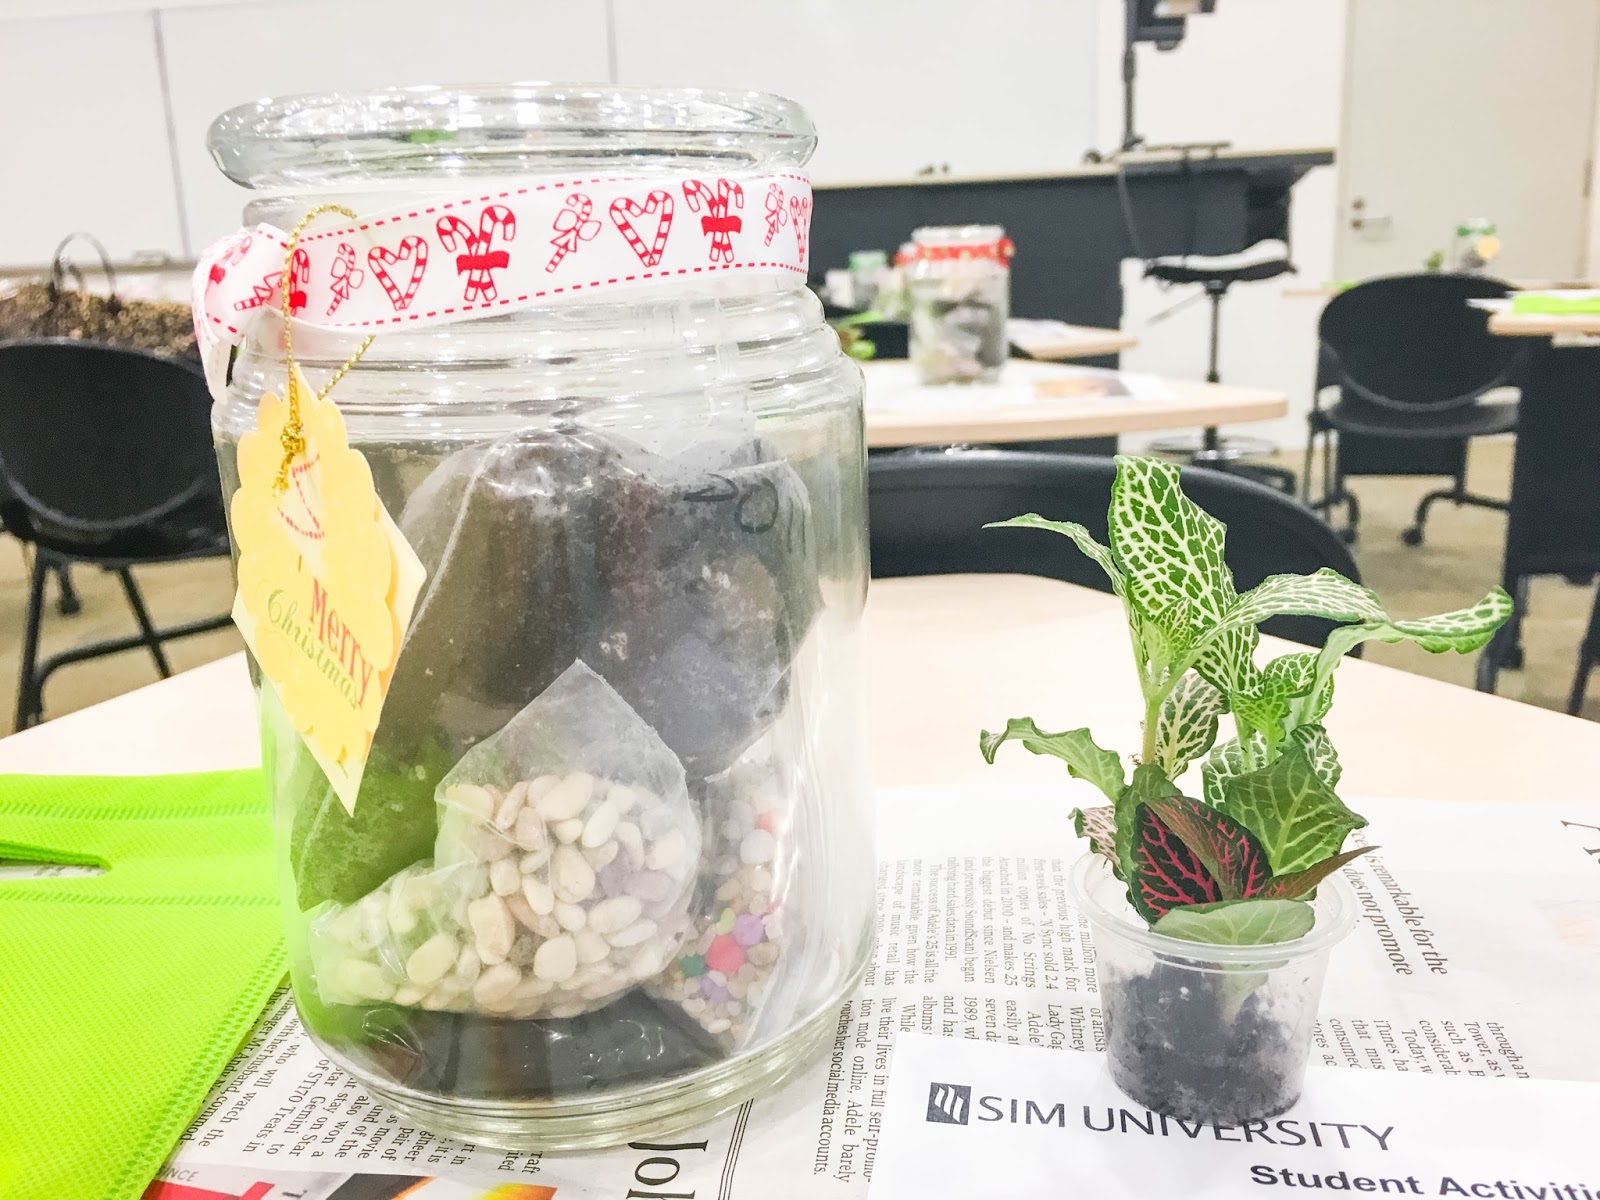
My chosen plant
The workshop instructor was also really good. He provided useful details and information (so that our terrarium wouldn't die by the next week :p). Theory-wise, it was a short jog of memory to my Plant Biotechnology days in Singapore Poly.
We were given a jar filled with the items needed and a plant each
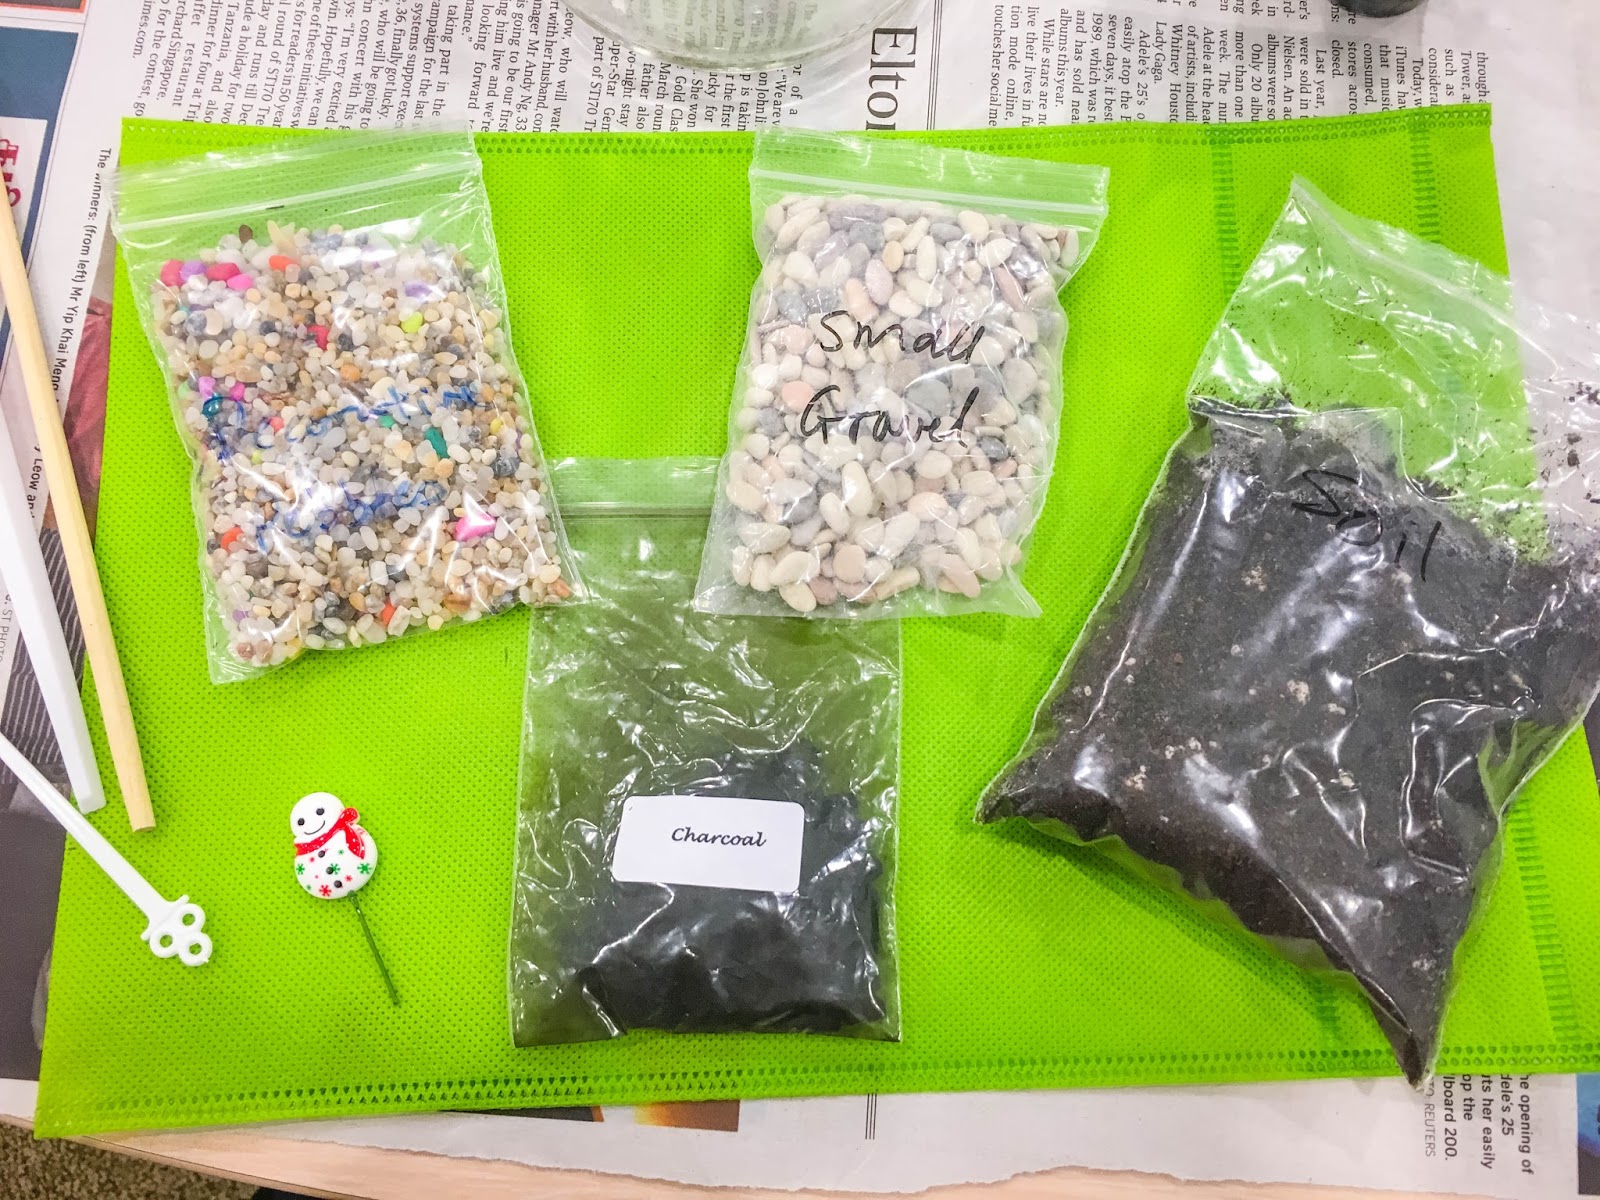
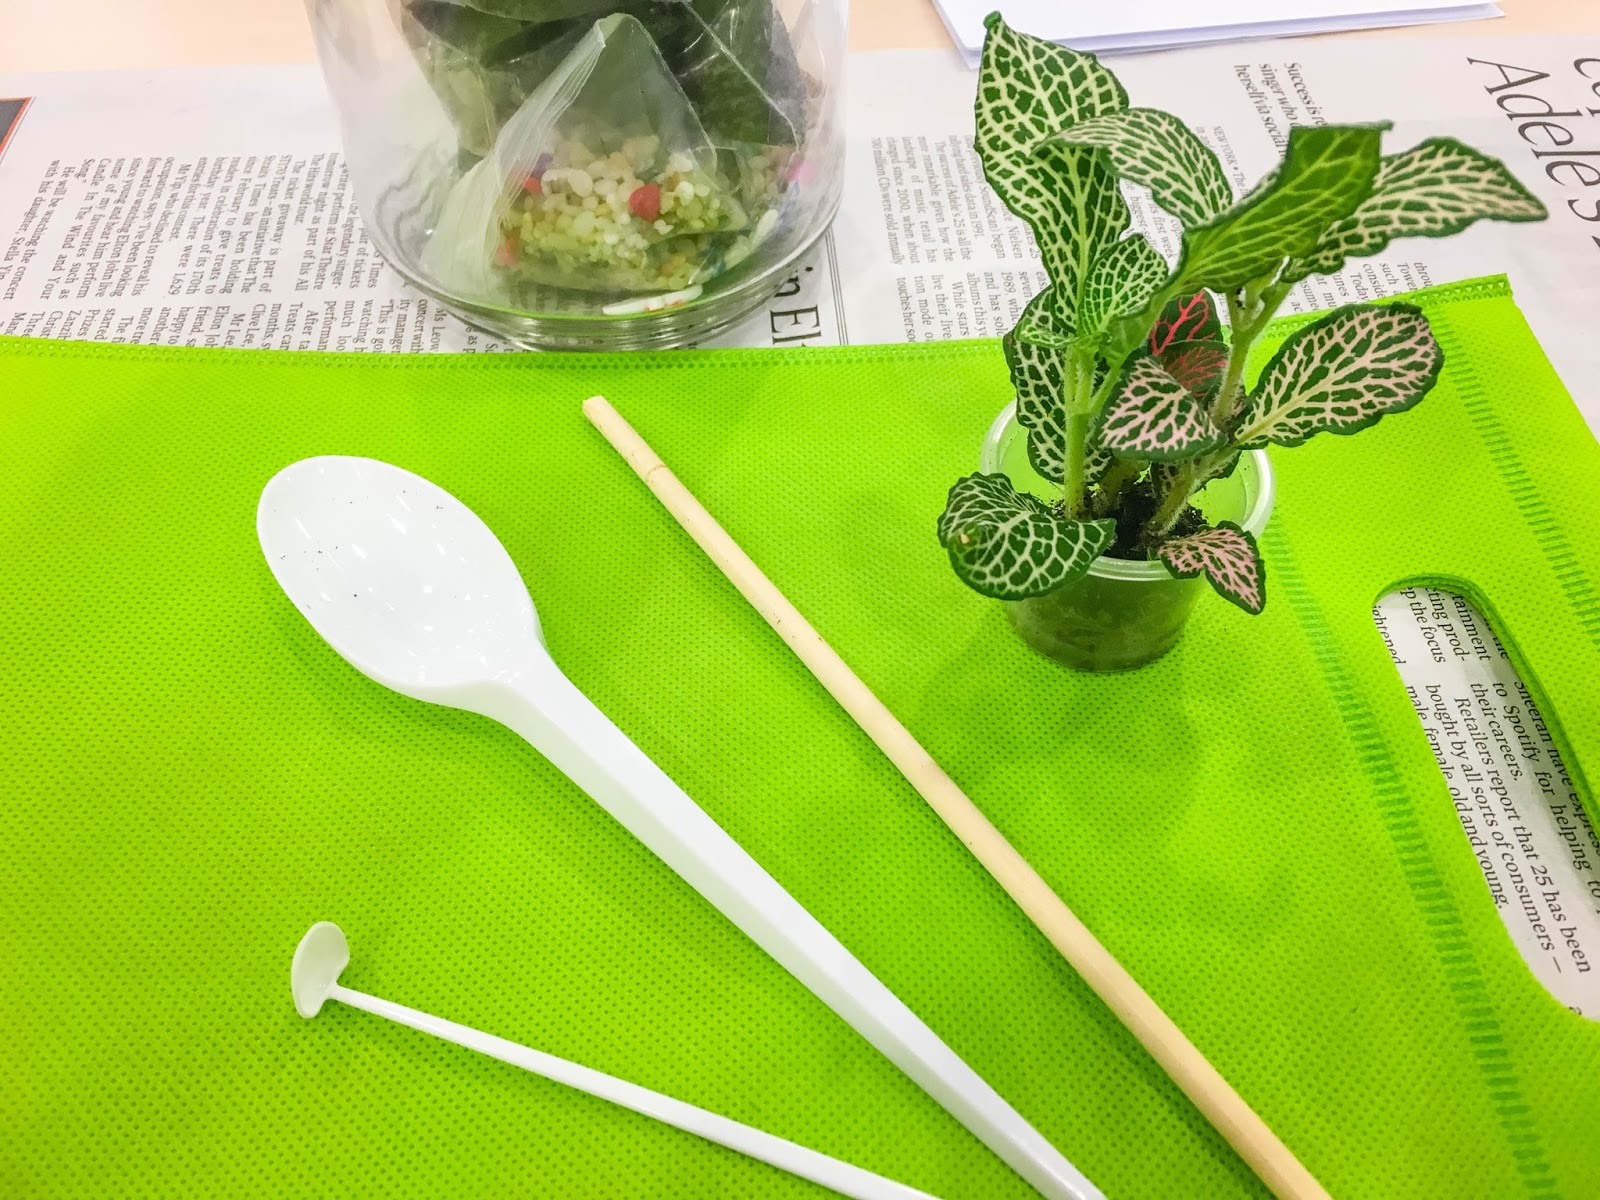
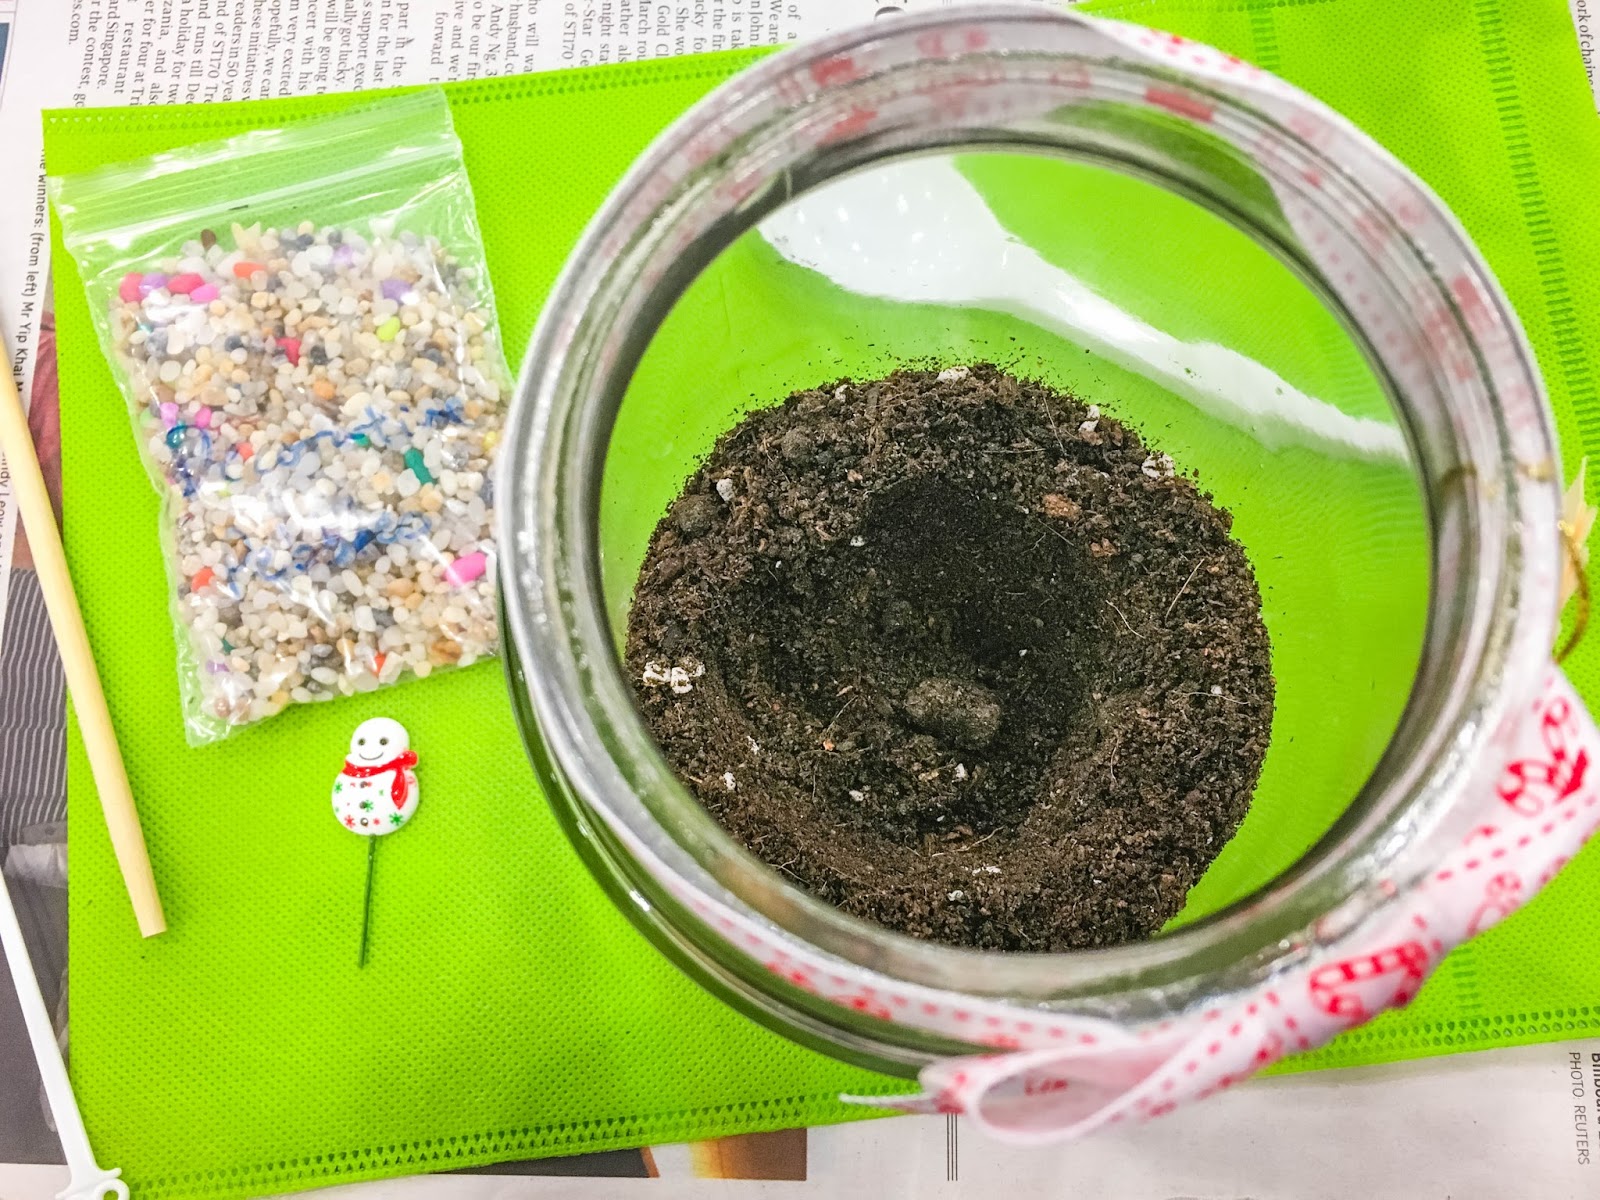
The 'ingredients' - Small gravel, charcoal, soil, decorative pebbles and decoration
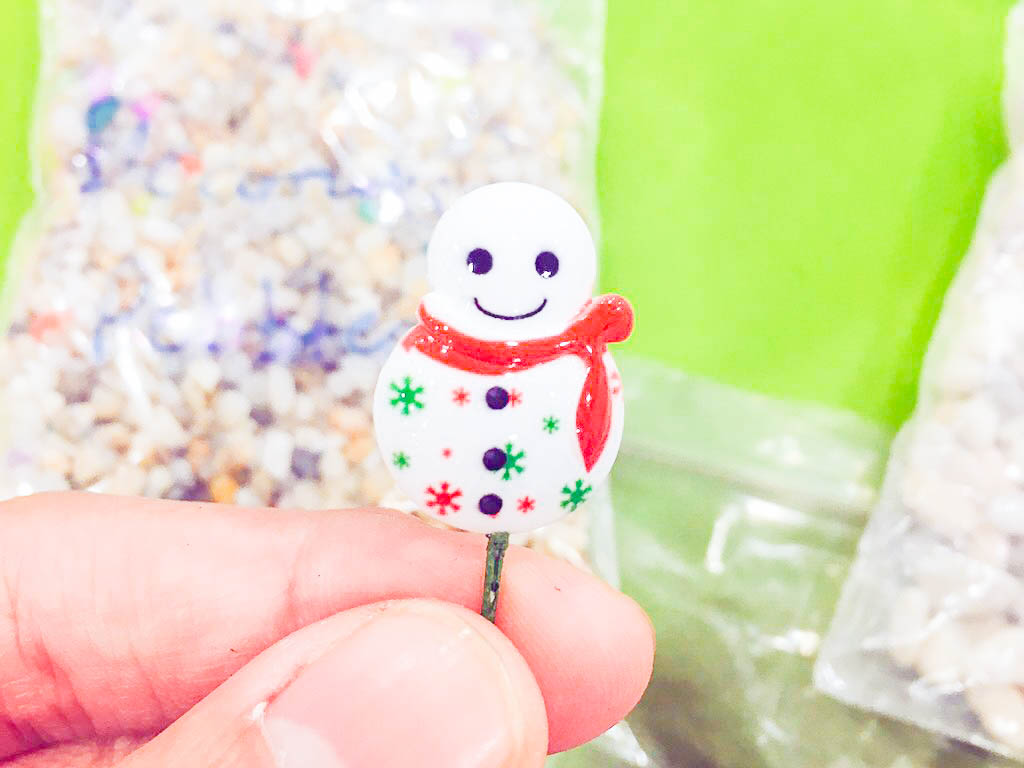
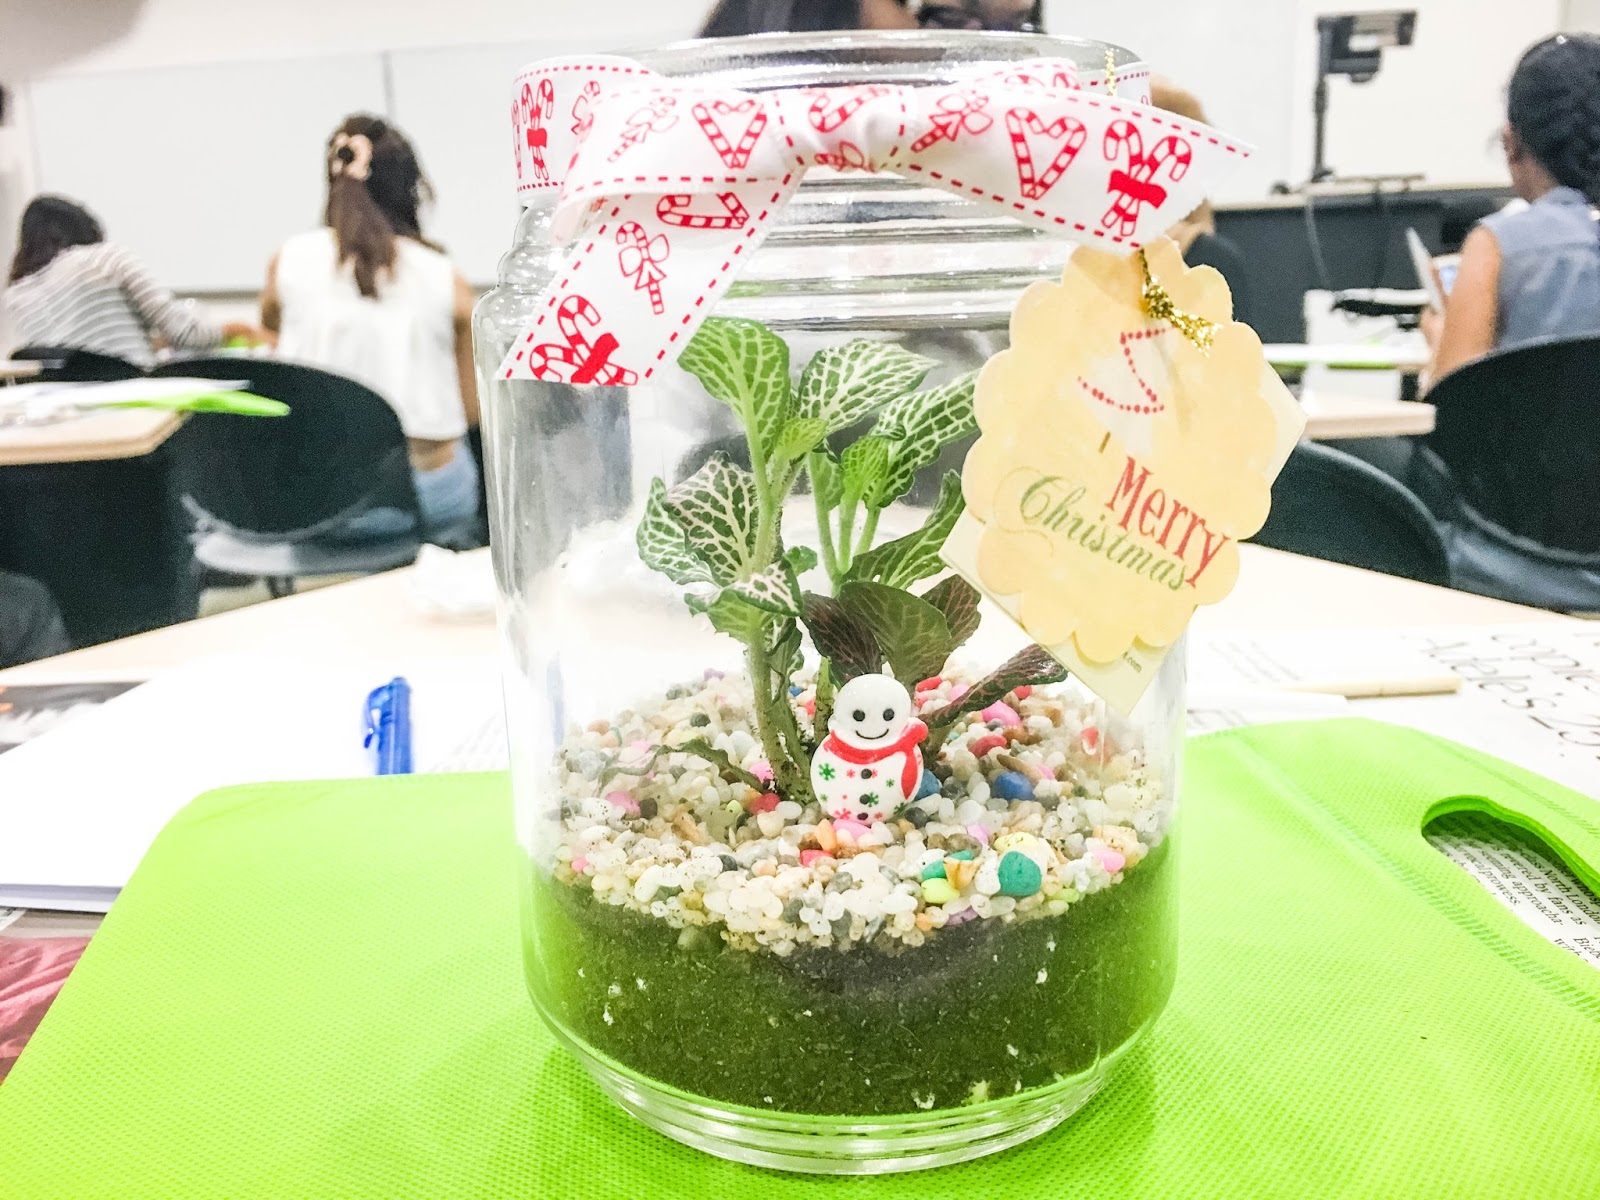
I'm so lucky that I got a snowman deco! I call him Olaf hehe
Before the hands-on, we had a mini theory session. A terrarium may live as short as 3 days to 3 years depending on how well it is maintained. (Which is really little as it is self-sustainable). These are the 5 useful tips I've learnt from the workshop:

  1. Keep the environment closed: A terrarium is self-sustainable meaning the entire water cycle and photosynthesis process will happen within the jar without any external help.
  2. No direct sunlight: Natural light is enough. Office desks work as well.
  3. Minimal water required: Only water once every 6 months.
  4. Condensation is normal. If big droplets appear, air the container for around 15 mins
  5. Once the plant is too big for the container, you can either:
           - Trim the plant
           - Open the top and grow as an open condition
           - Leave as it is, the plant will find a way to grow within the container

The tools
Our hands on sessions was facilitated and we followed the steps together.
The workshop instructor was there to make sure that we're doing it right and good enough.

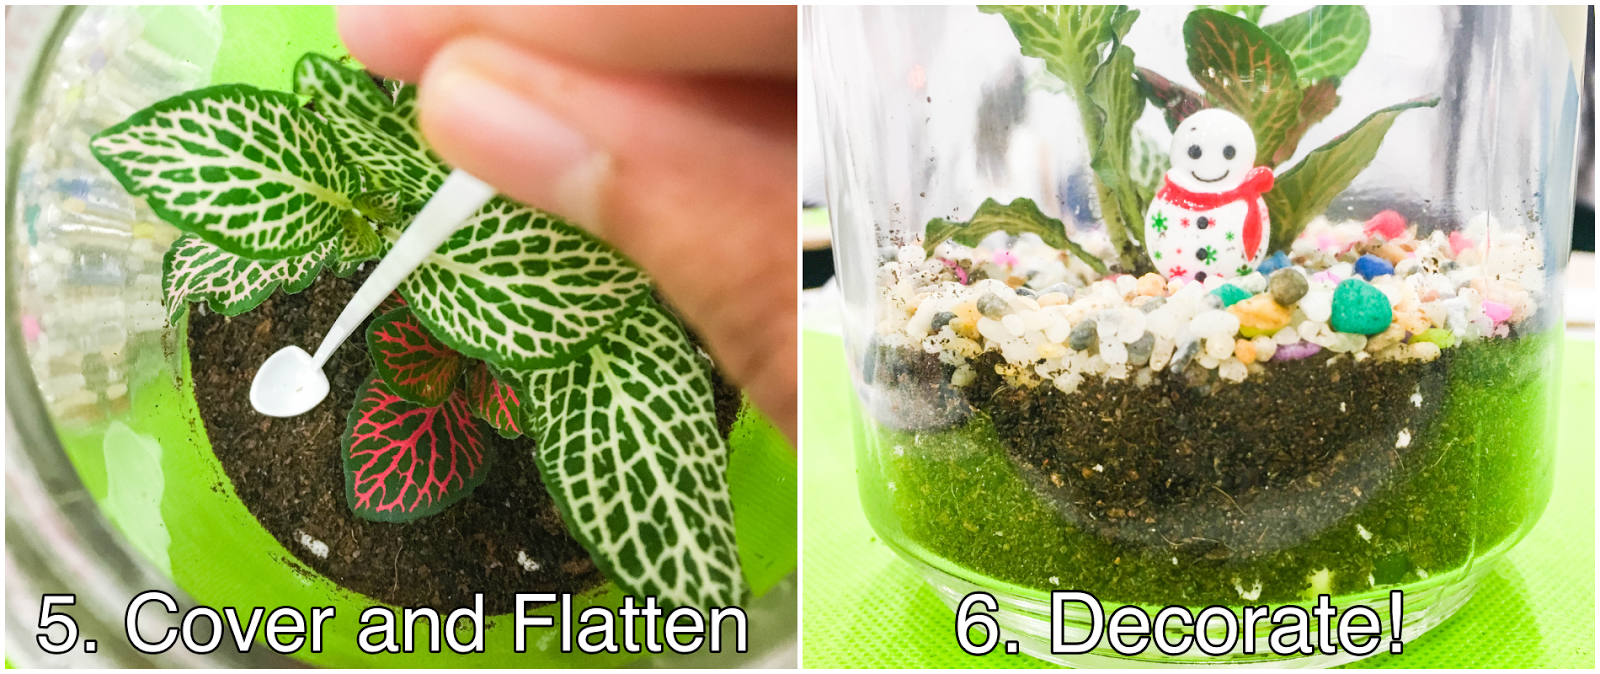
My favourite part was when we had to dig a hole as big as possible for our plant to be placed in. Soil was then scooped in from the sides to make sure that the roots are fully covered.

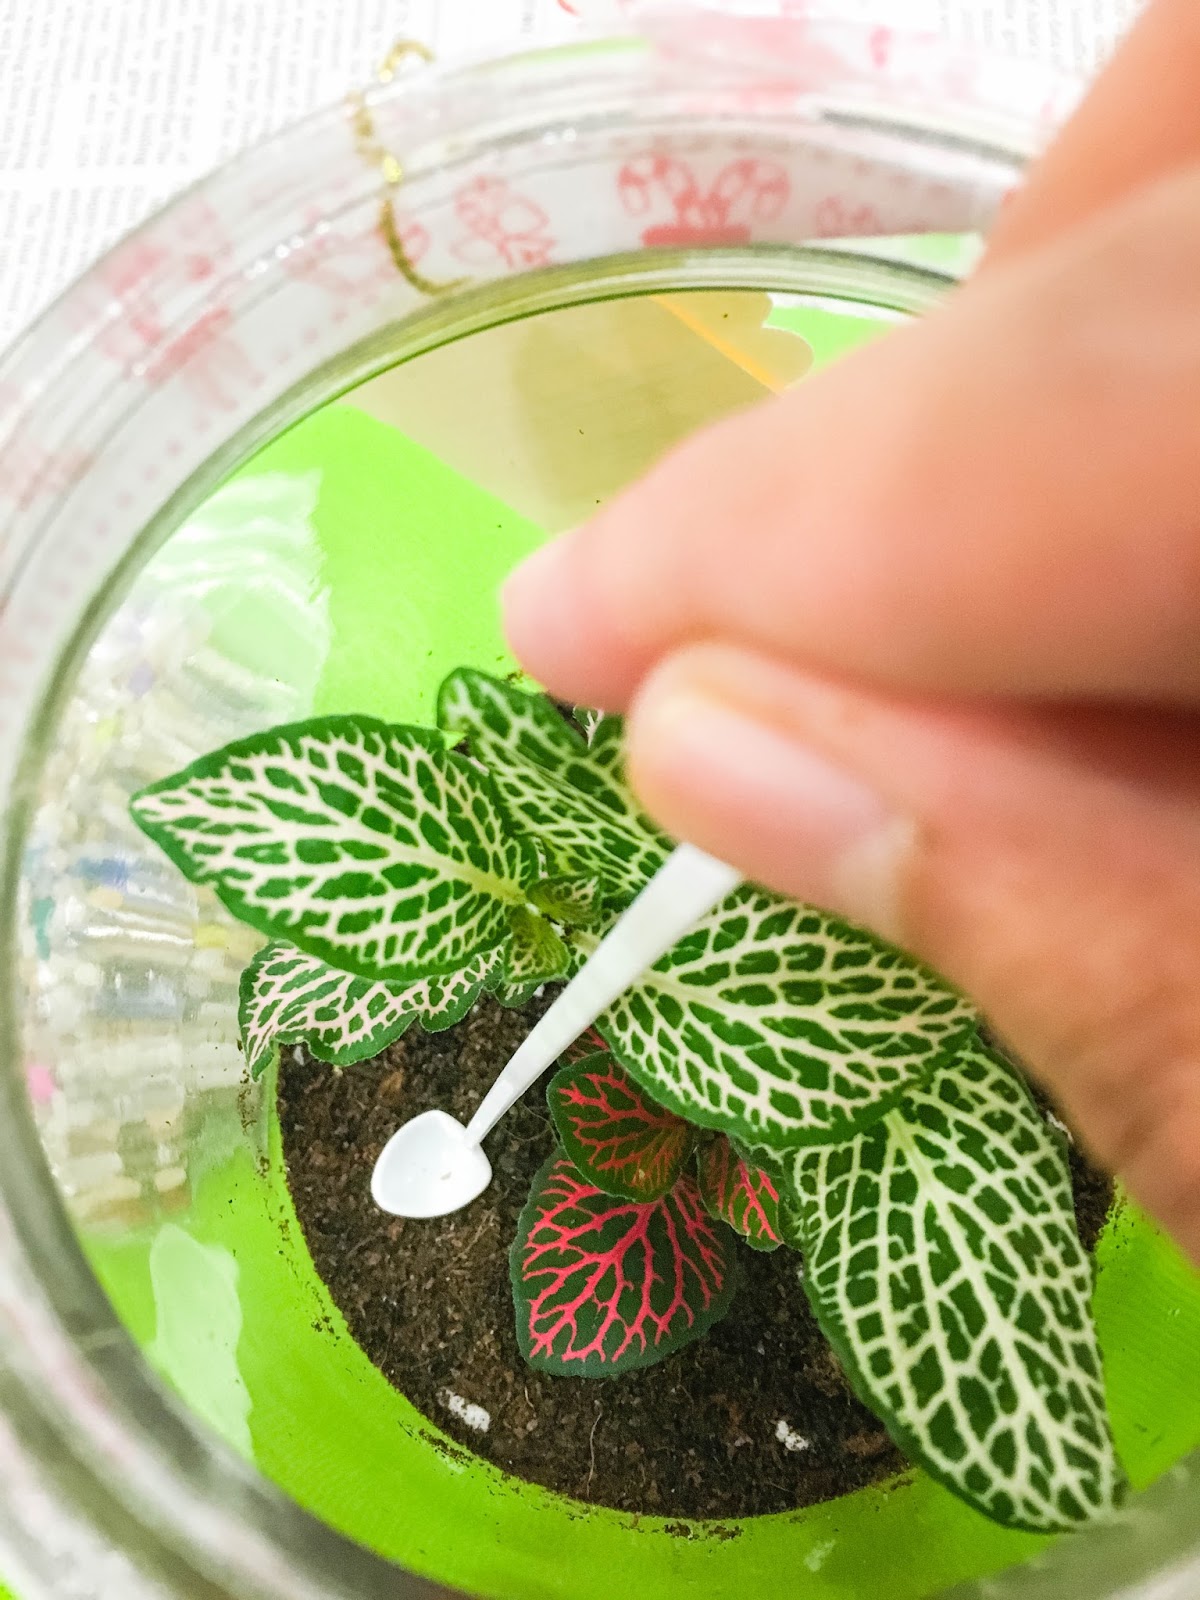
The challenging part was to flatten the soil around the plant. This will make sure that the plant stay rooted and stably upright. I had uprooted my plant once during this process HAHA but luckily i managed to get it nicely covered again without destroying my plant. 

I love this tool, it's like a stirrer but with a flat scoop used to flatten the soil.
The next step is simple - DECORATE! We were given colourful decorative pebbles and a mini deco item each. And then it's done! It's so simple right?
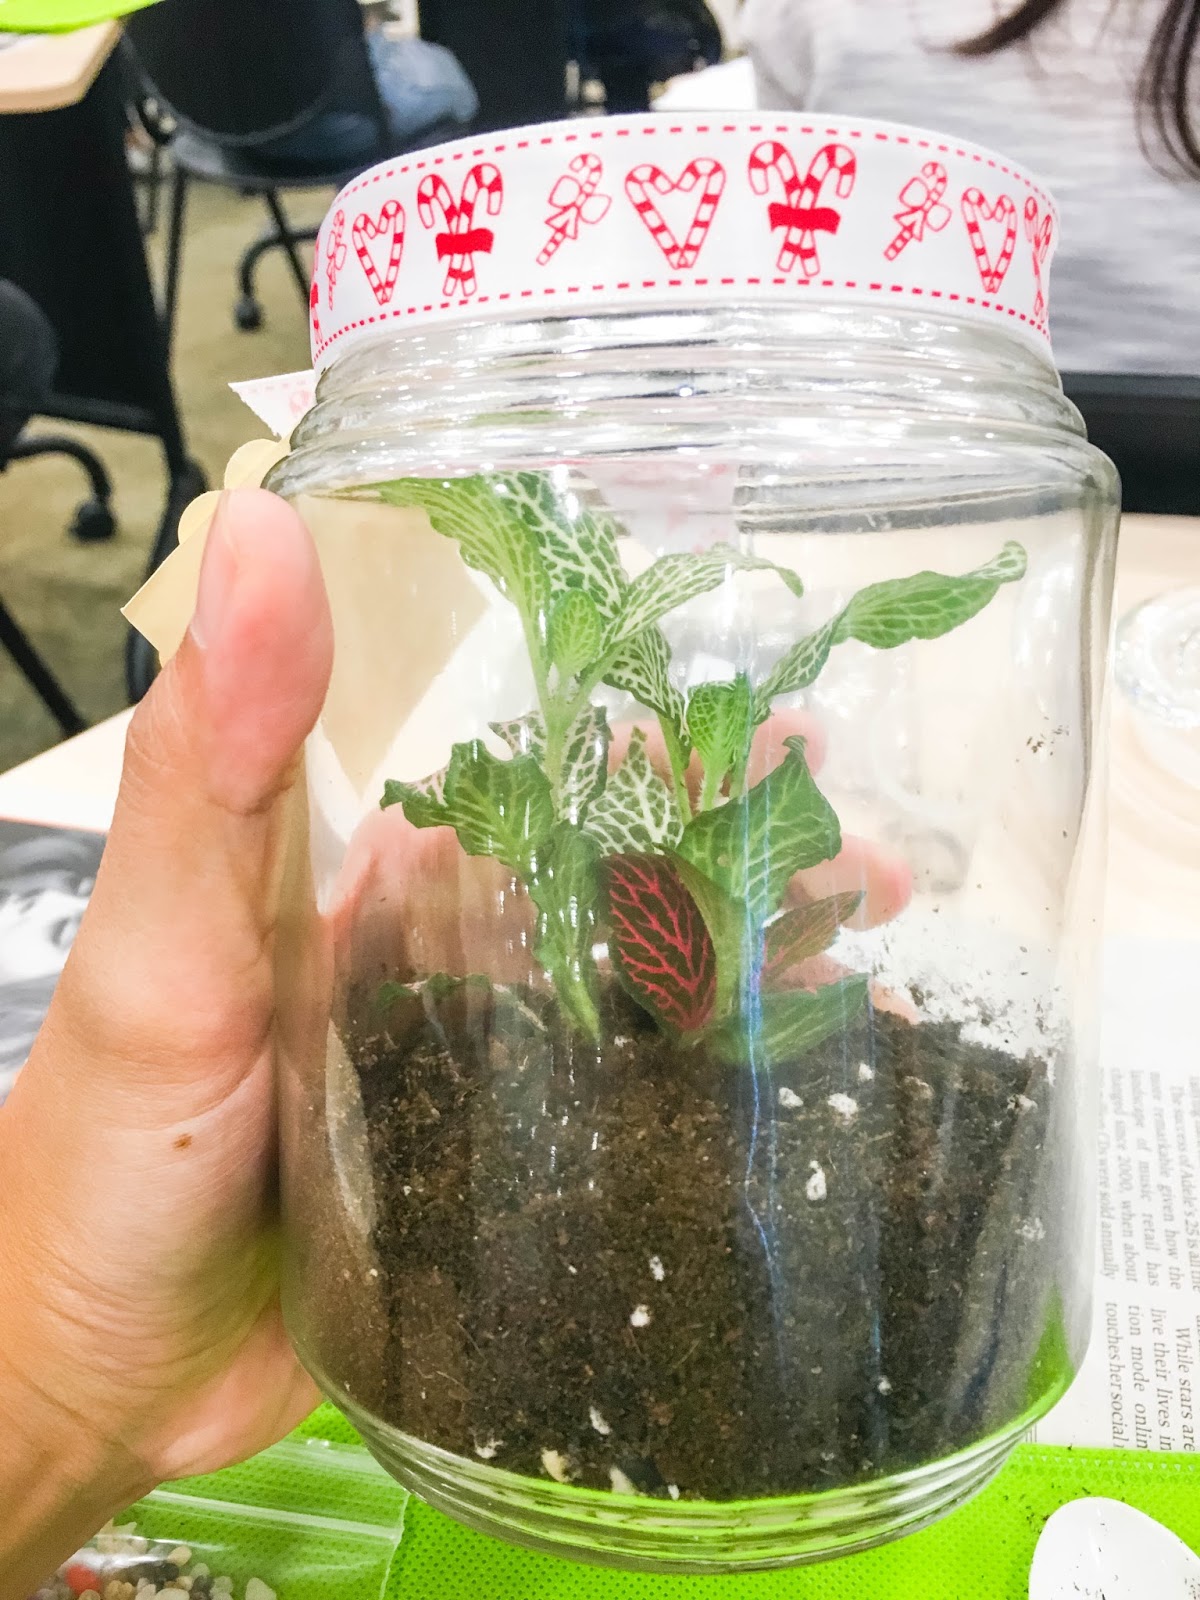
My happy Olaf in a tropical climate
Here are the summarise steps with pictures:

I really loved the workshop and I would recommend it to everyone. You don't even have to have green fingers and the maintenance required is almost none! These mini gardens are definitely pleasing to the eye and will make a wonderful decoration for home or office.

I am planning to decorate my future house with them! heh :D
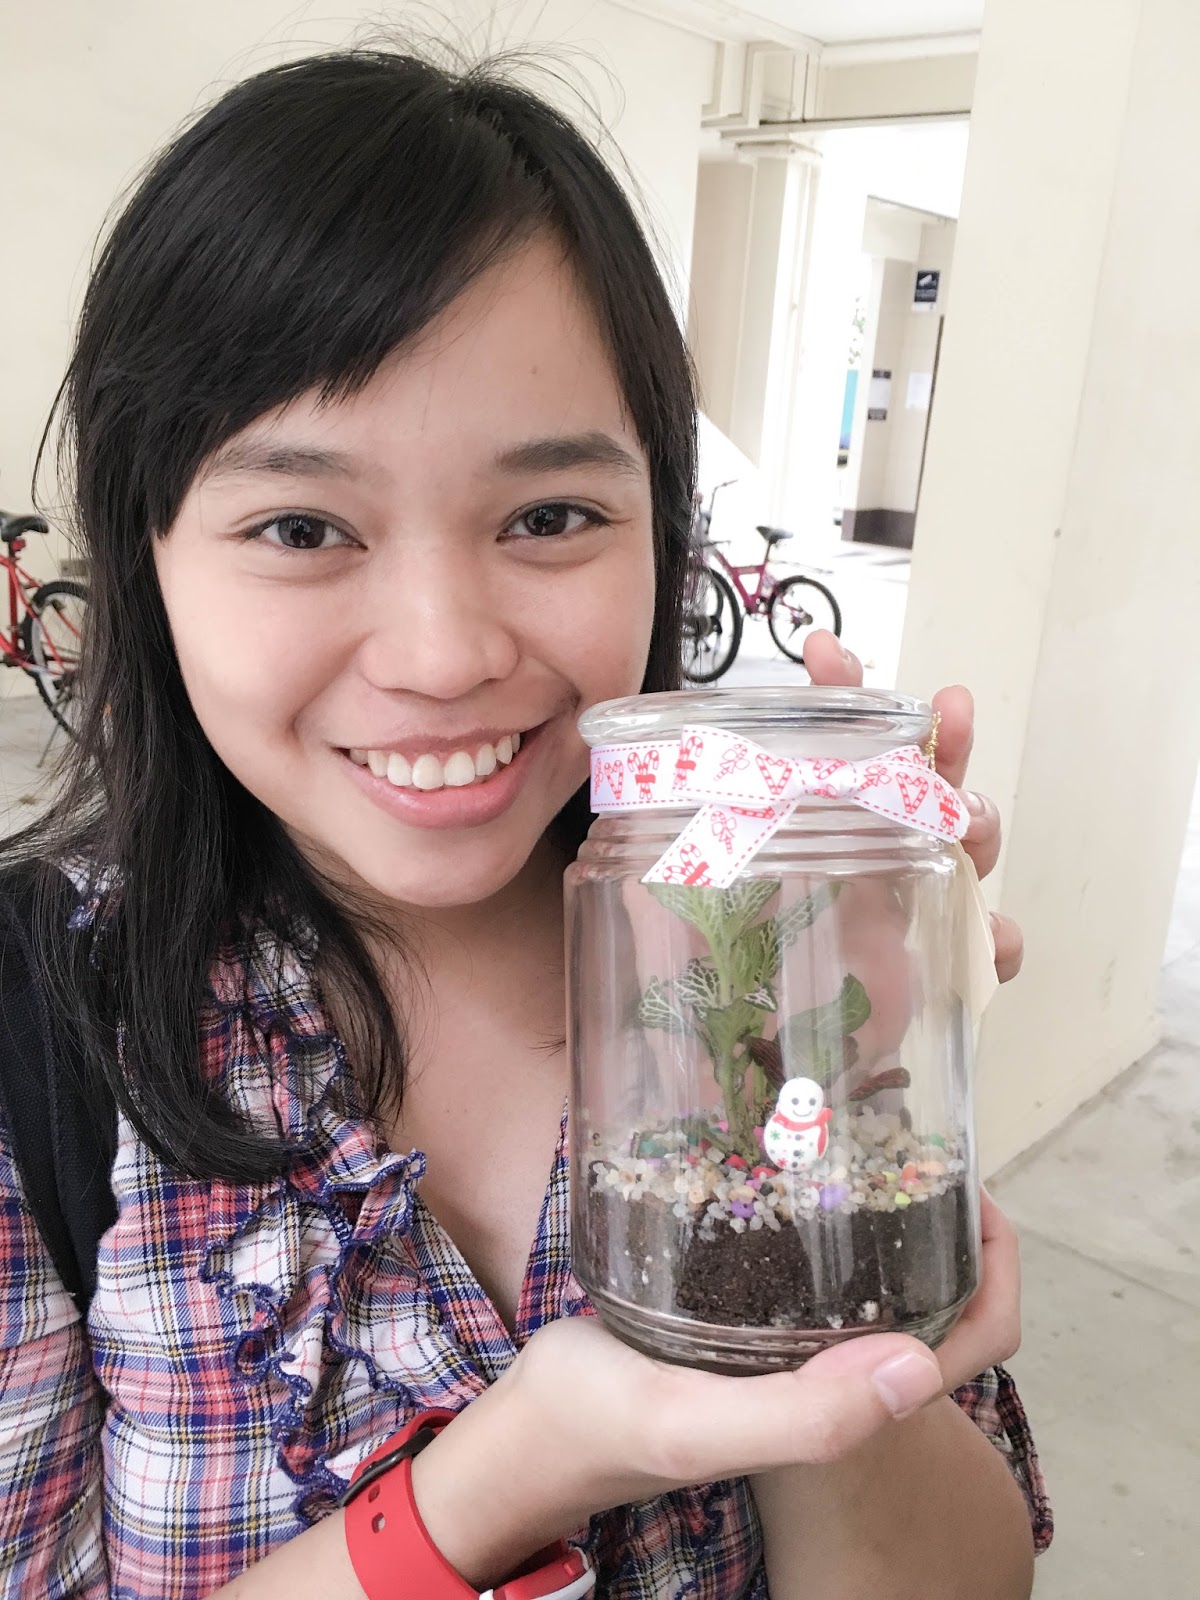
My terrarium alongside one of the other student's
If you want to find out more about terrariums, you can visit Little Green Pot or their Facebook page to take a look. They usually hold 2 workshops per month and you can find out more information by e-mailing them.


Hope you've enjoyed this post! 
Please let me know what you think in the comments below and share the post if you like it :)

Saturday, 17 October 2015

Food: Wimi Coconut Ice Cream

There has been a craze for coconut ice cream after some videos popped up on Facebook showing the dessert being served along roads in Thailand.

Link from @DallasFood Youtube Channel
In Singapore, you can recently find this dessert at pasar malams (night markets) and the first one I tried was back during the Ramadhan bazaar at Geylang. 

The Singapore style was to have it with lots of sprinkles :D
Me and my sister were running some errands at Clementi and i wanted to get some supplies from Art Friend. So how awesome it was to find a coconut ice cream shop after we did our shopping! 

 COCONUT + ICE CREAM = HEAVEN IN THE MOUTH. lol.

Wimi! Cute name
I know there are a lot of jokes about the West side of Singapore but here you'll also find some of Singapore's best food and interesting places to visit! Furthermore, we have our own mini Orchard Road at Jurong East already with all the popular brands such as H&M, Uniqlo and TopShop.
My sister posing with the fridge filled with many small coconuts.
The weather was quite hot and humid today so there was a bit of a queue during lunch hour. We took this opportunity of waiting in line to snap some photos of the shop. The shop was really small but it didn't really matter as it's more of get-and-go kind of concept.

All the more we should drink coconut water :)
The coconuts they used were the small baby coconuts kind which i personally preferred to drink from. The flesh or meat from these coconuts are usually more tender and sweeter than their bigger counterparts. So who says bigger is always better? ;)

Instagram: @wimiicecream
Facebook: facebook.com/wimiicecream
There were other coconut desserts but what we were aiming for was the Traditional Thai Coconut Ice Cream. At $4.90, it is at a much steeper price compared to the $3.50 one i had at Bazaar Geylang. 

They don't have soft serve for now but they have gelato for the same price instead :)

Normal toppings cost 50¢ while the Premium toppings cost 80¢. There is a more extensive range for you to choose from at the counter.

The price includes 2 scoops of coconut ice cream with 3 normal toppings and one small cup of coconut water. The normal toppings include the ones listed above and also others such as ice jelly, pineapple and nata de coco. For the premium toppings which cost 80¢ each, you can also choose lychee, pomegranate and sea coconut. 

Excited! hee
There were around 3 persons in the queue in front of us but service was quite fast and before long it's our turn to order. I let my sister choose her favourite toppings. The guy asked me if i wanted the 'normal' or 'stronger' ice cream. I asked him back, "Which is nicer?" and in the end he said, he let me try one scoop of each. :'D
Where is my ice cream?????

Our 3 Normal Toppings: Grass Jelly, Peanuts and Nata De Coco

Review: The coconut water was so good as a thirst-quencher but my sister doesn't like it. It is quite an acquired taste for some. For the ice cream, I'm not too sure which is the stronger flavour but there is certainly a difference between them both. One tasted milkier while the other seem to have more coconut bits. I would recommend for you to also get one scoop of each to try both variations.

Hope you like this post and try it out if you're in Clementi.

There are so many new shops popping up in the area as well such as Kowloon Express, which is a halal Dimsum restaurant and Toasties, the halal version of Subway. We will also review about them soon so do bookmark our page and share it with your friends :D

Wimi Ice Cream
321 Clementi Ave 3
#01-13
Singapore 129905
Opening Hours: 11am - 10pm

Thursday, 19 February 2015

Recipe: Mandarin Orange Cookies

Happy Chinese New Year to all our Chinese friends and readers!!

It's a long weekend, what are you guys doing to enjoy these few days? Probably collecting hong baos right? :D If you're like Mr @amsyarstifler, he's currently at work. Time doesn't stop for our Singaporean heroes like him ;) Well as for me... I had a lazy morning and then baked some goodies for tea! 

In the spirit of CNY what best to celebrate it with other than Mandarin Orange Cookies!

Orange butter cookies
You can use any butter cookies recipe. Scroll down if you're interested to use the recipe I used. To get the orangey flavour, I added about a tablespoon or two of grated orange peel and half the juice from a mandarin orange.

After that, the dough is chilled in the freezer for about half an hour while I preheat the oven and prepare the frosting.
Into the oven they go
Place the cookies on a cooling rack once they're out of the oven
The orange frosting recipe is very simple, the recipe is provided below but I didn't do any exact measurements. I kept my frosting very thin (it's almost like a glaze) and not too sweet. The orange flavour is intense and the smell is really wonderful!! I love this frosting so much, I will probably drizzle it on cakes next time :)

Remember to place a sheet of plastic below to catch the excess drips!
I would recommend to add a bit of cinnamon powder, it really does wonders!

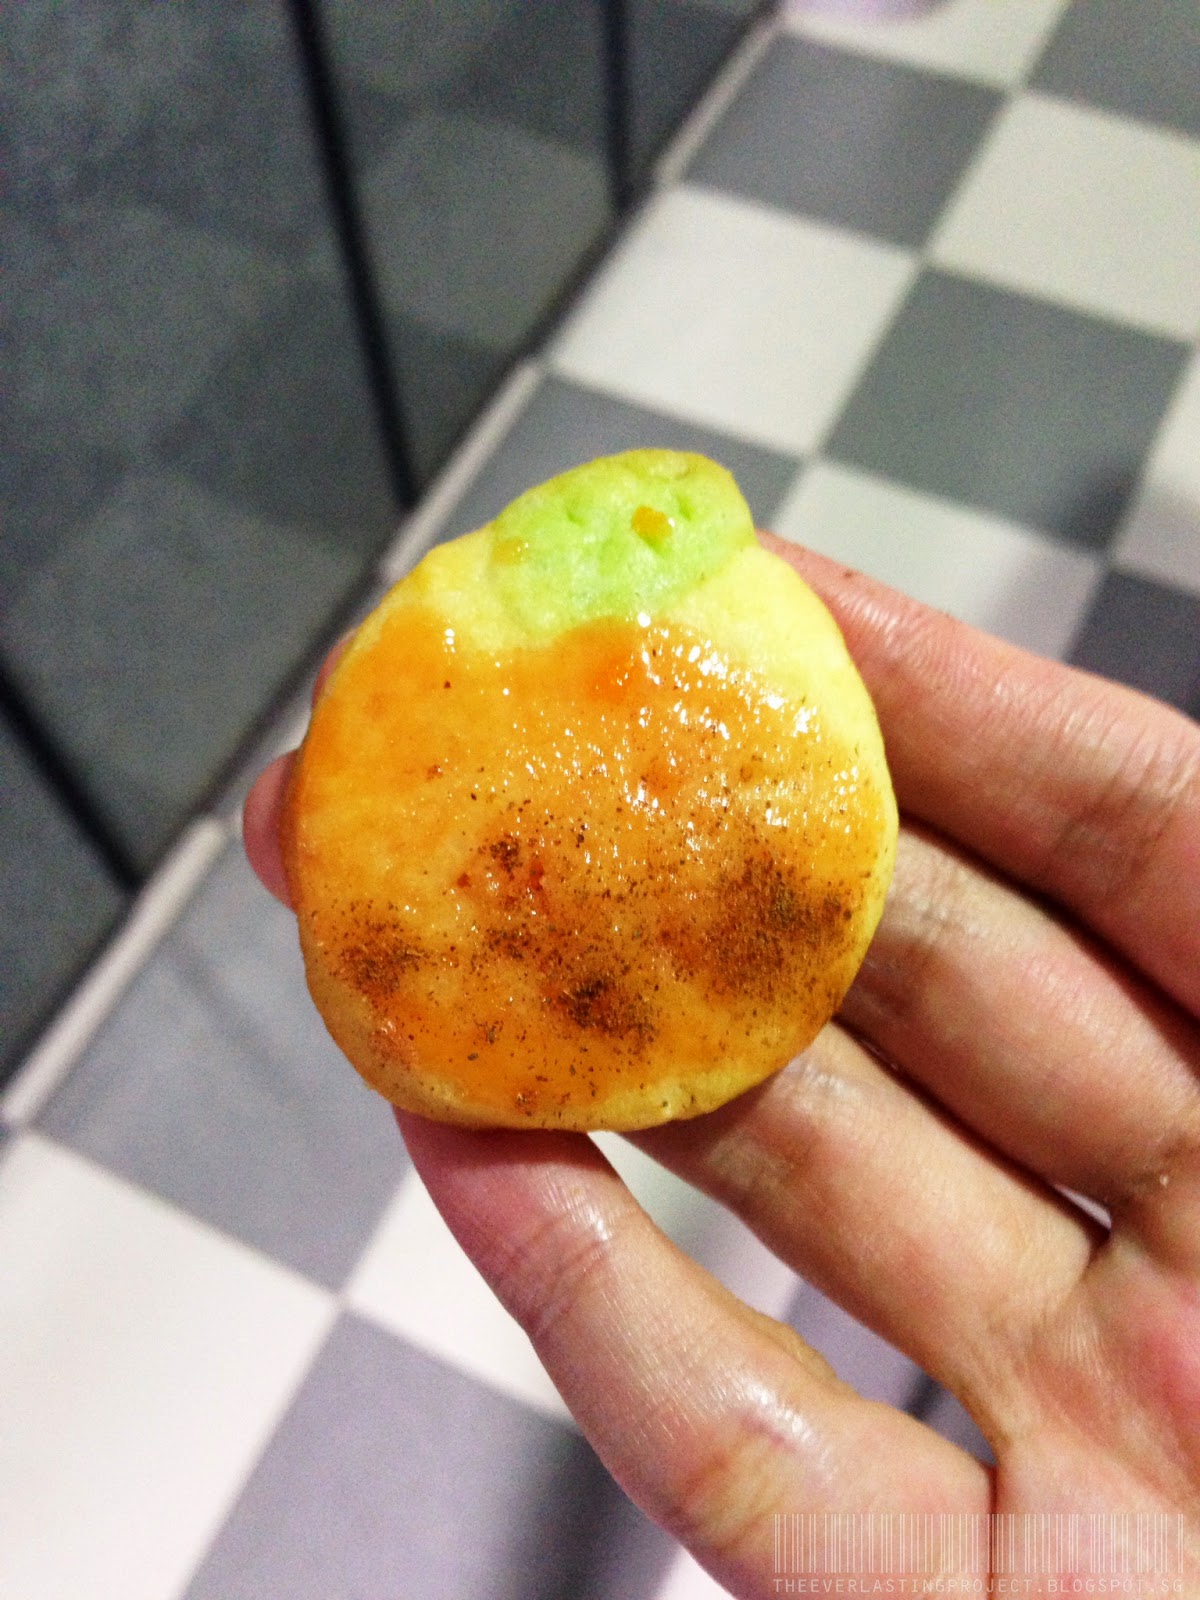
Hehe. My cute orange cookie!

...and half of it! :D yumms

Mandarin Orange Cookies Recipe:

Serves 5-6 45 minutes Butter Cookie mix
250g unsalted butter (softened)
220g sugar
1 egg
Squeezed juice from 1/2 of mandarin orange
2 tablespoons of grated orange peel
1 teaspoon vanilla
300g all-purpose flour
1 teaspoon baking powder
A pinch of salt

Combine butter, sugar and egg in a bowl. Beat at medium speed until creamy. Add orange juice, orange peel and 1 teaspoon vanilla. Mix well. Add flour and baking powder, beat at low speed until everything's combined together.

Divide dough into thirds and shape each third into a ball. Cover each ball in plastic wrap and refrigerate (by right, it's supposed to be for 2-3 hours but I couldn't wait that long). For the last third, add green food colouring. (this will be for the leaves). Meanwhile, preheat oven to 190 degrees Celsius.

Roll out one ball of dough on lightly floured surface. Keep it at about 1/2cm thick and use cookie cutters to cut it into round shapes. Place about 3cm apart on baking sheets and bake for 8-11 minutes, or until corners appear slightly golden brown. Once done, remove to a cooling rack immediately. Cool completely and apply frosting.

Frosting
Powdered sugar ~80g
Butter ~20g
Juice from the other half of the mandarin orange (Add lesser for thicker consistency)
1 tablespoon of grated orange peel
Red and yellow food colouring = Orange!
Cinnamon powder

Mix everything except the cinnamon powder and it's done!
Frost cookies and sprinkle with a bit of cinnamon powder.


There you did it! Your very own mandarin orange cookies!
*applause*

Best enjoyed with a mug of homemade Ice Lemon Tea!
Thanks for reading! Hope you liked it :D

Happy holidays everyone!
And happy baking ;)

Saturday, 2 August 2014

DIY : Write a Love Note

Hi everyone, 


Tonight as i lay in bed, i thought about the times i had received a letter. Letters are lovely simply because:

1. They (The words) seem more sincere than store-bought cards.
 
2. Handwritten words by a loved one looks way cuter than a computer font, anytime. Especially if they think that they have ugly handwriting. (Which never seems to be true) And,

3. It is a simple gesture affirming that even though your partner is busy with work, school and everything else, they had allocated a special time slot in their day just thinking about you (without you realising).

So maybe... Tonight before you go to sleep, during lunch break at work or while you're in the bus on your way home, take out a pen and a piece of paper. Let the words flow. Or gogogo, write that e-mail if your loved one is far from home.

It may not be easy for us to come up with words, but remember, the one who loves us wouldn't judge. 

We can tell them how much we like their smile, or how they can easily make us smile. We can say we miss them and wish they're near. It doesn't even have to be about love, it can be words of encouragement or just sharing about the day we had. 

We can even write a simple poem like one of those we'd probably learnt back in primary school:

Roses are red,
Violets are blue;
You and me,
Stick like glue. 

You know, as cheesy as it seems, it will make your partner smile just thinking about how silly you are. And that's the point right? To make them smile?

:) 
Goodnight everyone. 
Stay sweet. 

Wednesday, 23 July 2014

DIY : Heart Surprise

Hi everyone!


Want to surprise your partner or your friends with something cute and easy to make? I'm sure everyone agrees that a handmade gift or card makes us feel extra loved, so why not make one for someone today! Read on to learn today's make-it-yourself craft :)

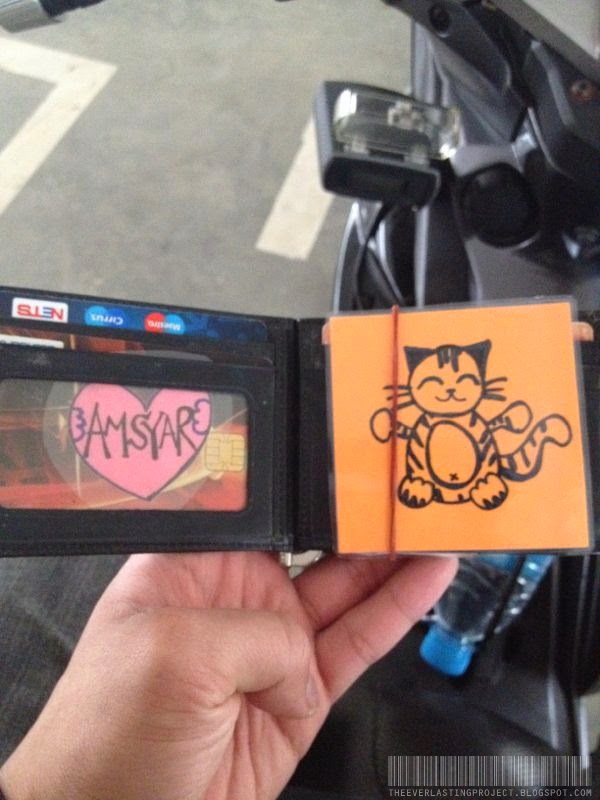
2 years back, I made this for the Mr. It was the same idea, but I didn't have a proper way of presenting it. He kept it inside his wallet for some time... So today, I'm doing an improved version of what I did before.

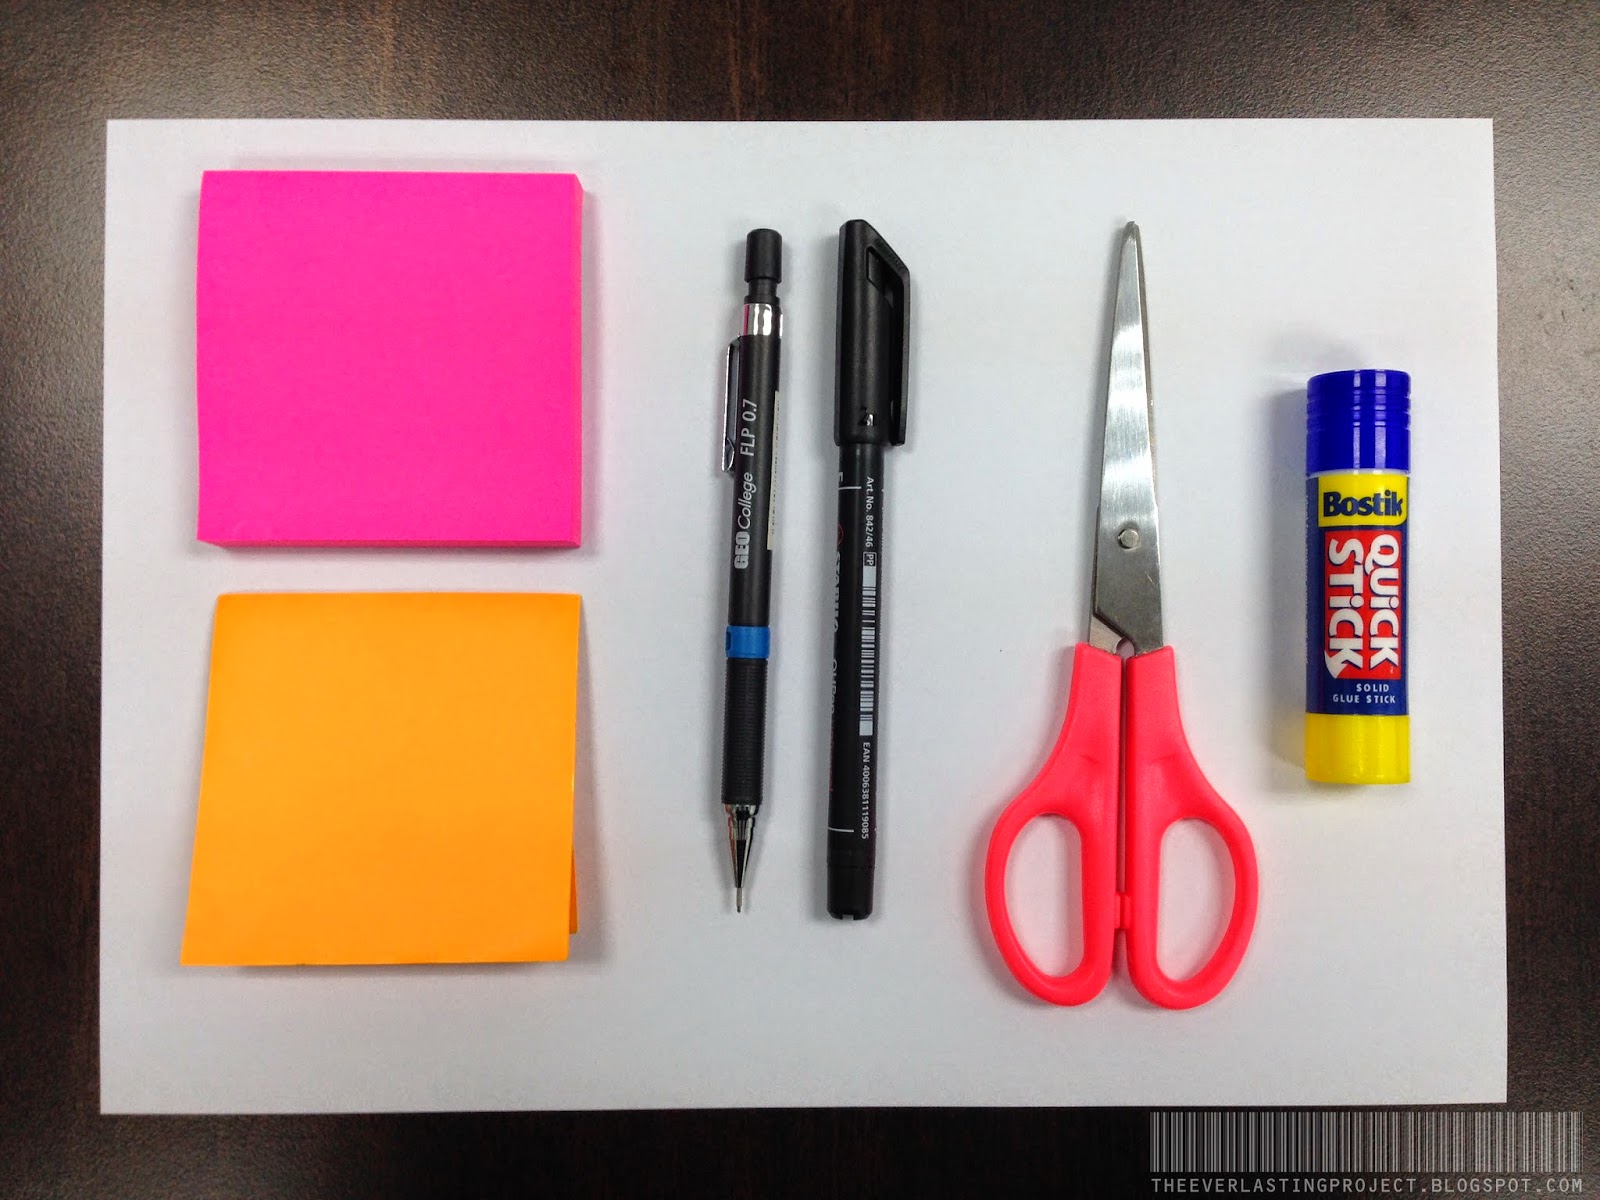
These are the materials you need:

Coloured paper (I'm using post-its, you can use anything you have)
Pencil
Black marker
Scissors
Glue stick
Eraser (optional)

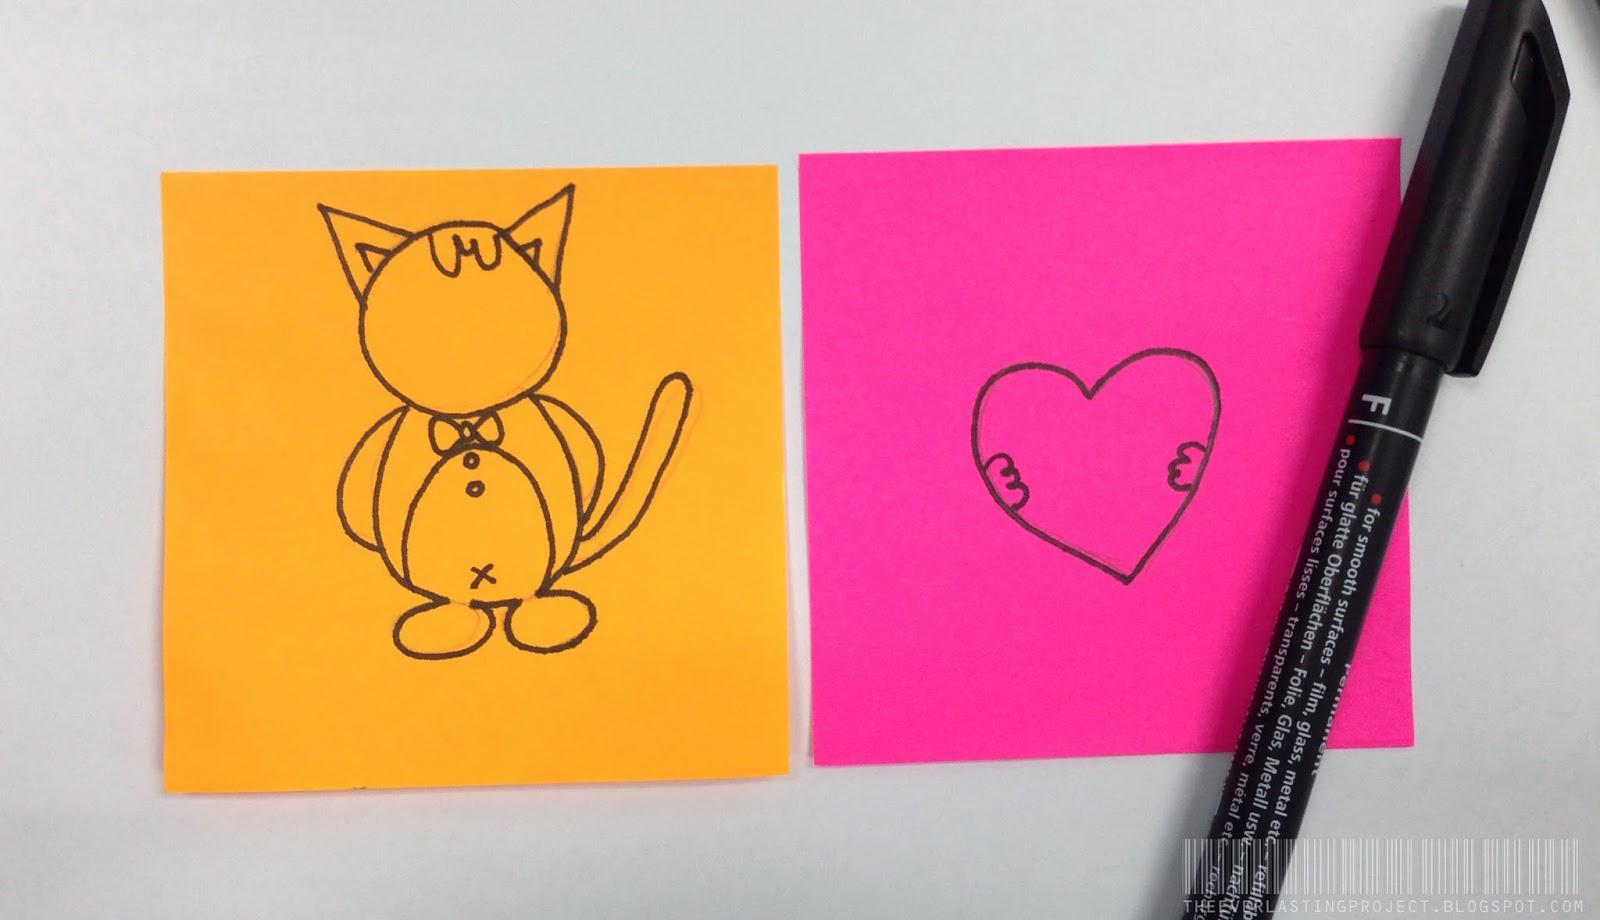
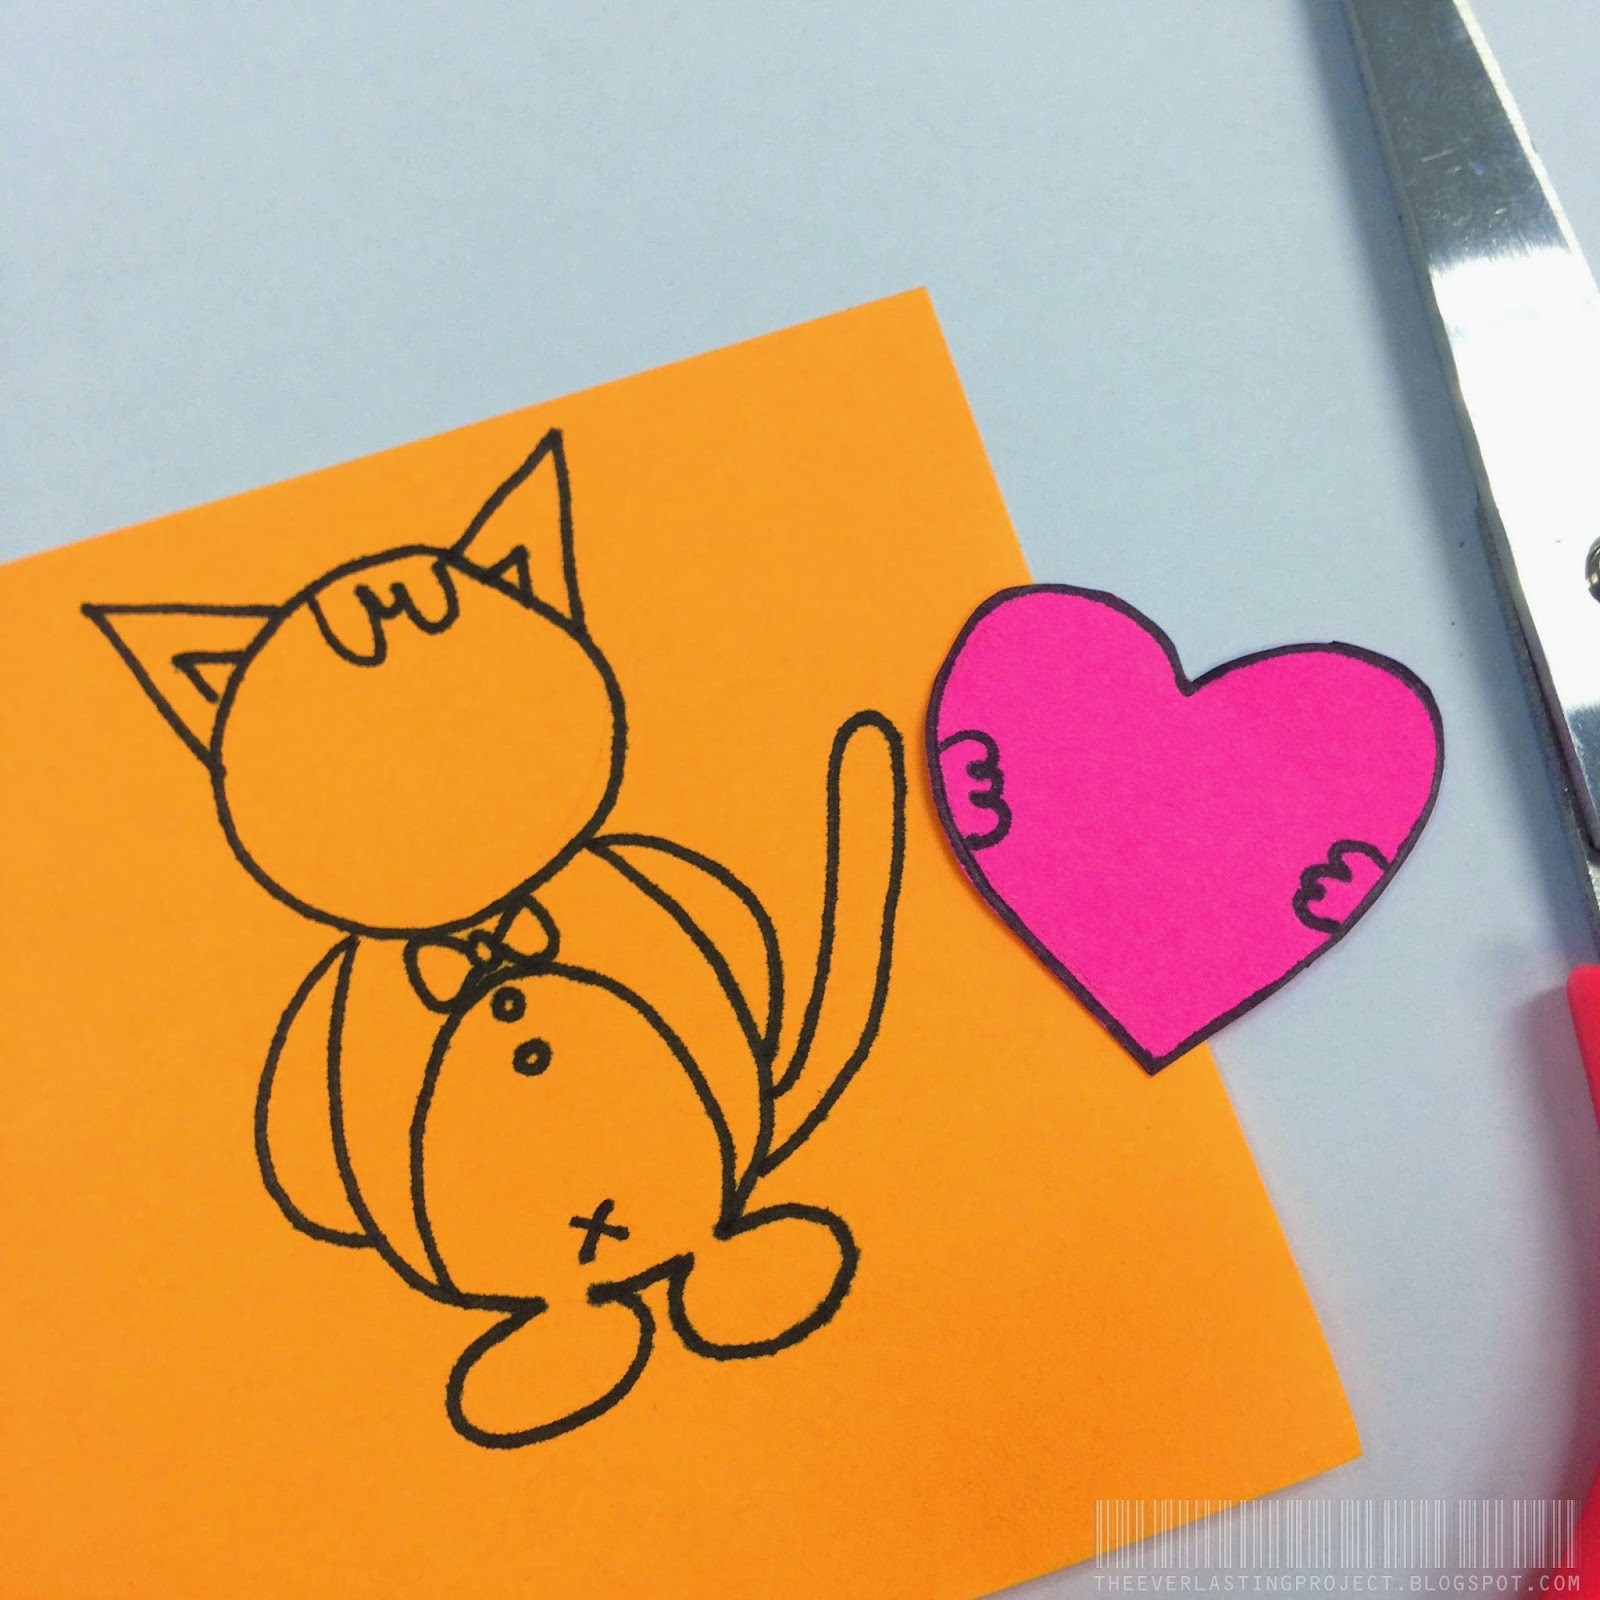
With a pencil, draw any character you like on a piece of coloured paper. It can be an animal, a boy, a girl or even a cartoon/anime character. 

On another colour paper, draw a heart shape which is approximately the size of your character's tummy.

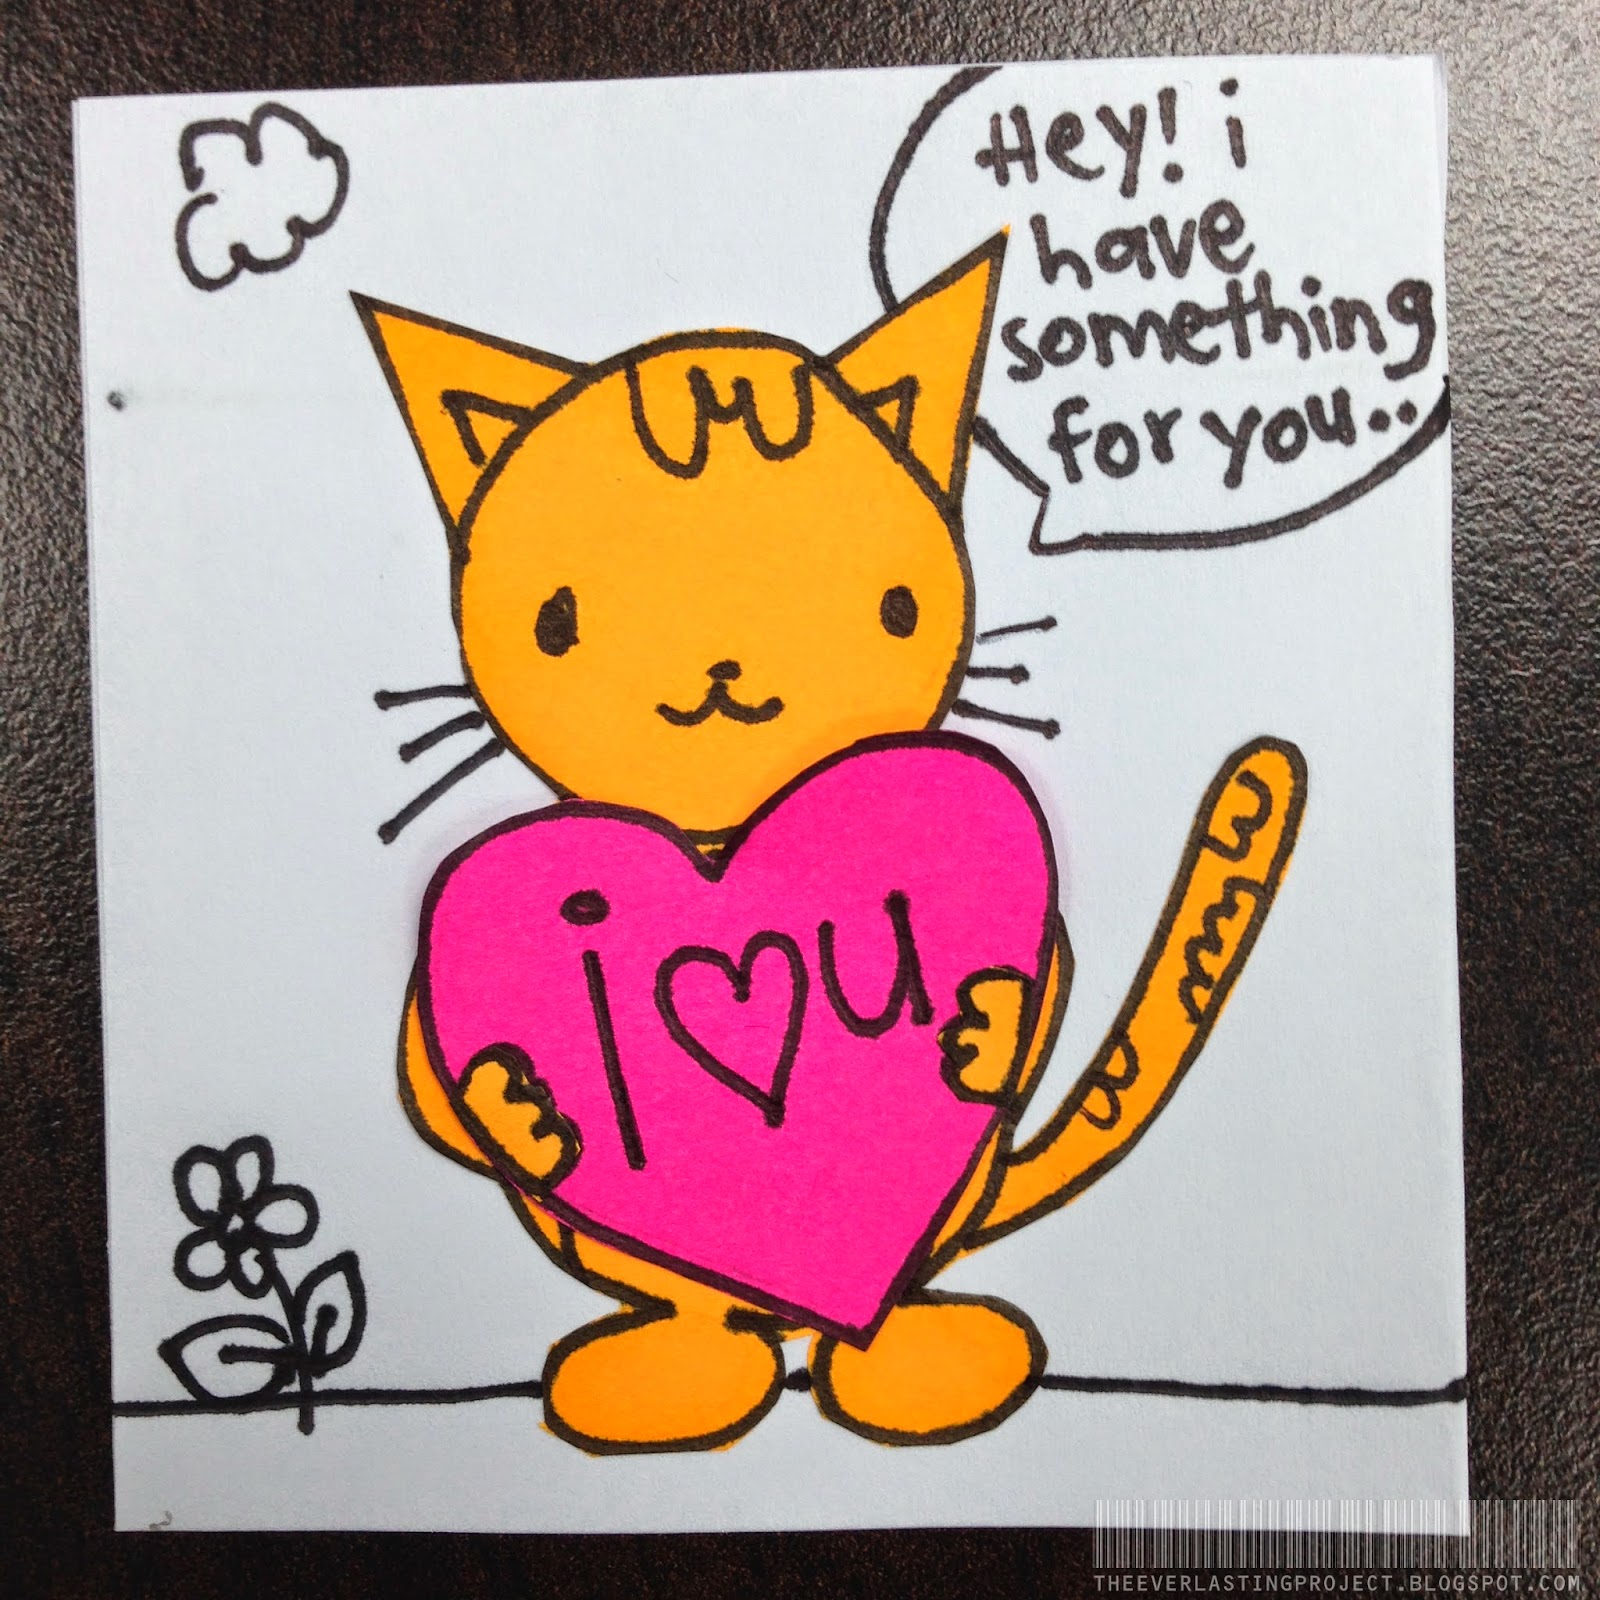
I drew a cat because we both love them. :) Keep it simple for now. You can follow exactly what I have done so far. 
Next, outline with a black marker. Add on details for your character. I'm giving my cat a tuxedo. (!!) On the heart, draw a paw on each side. I erased my pencil lines after this. 
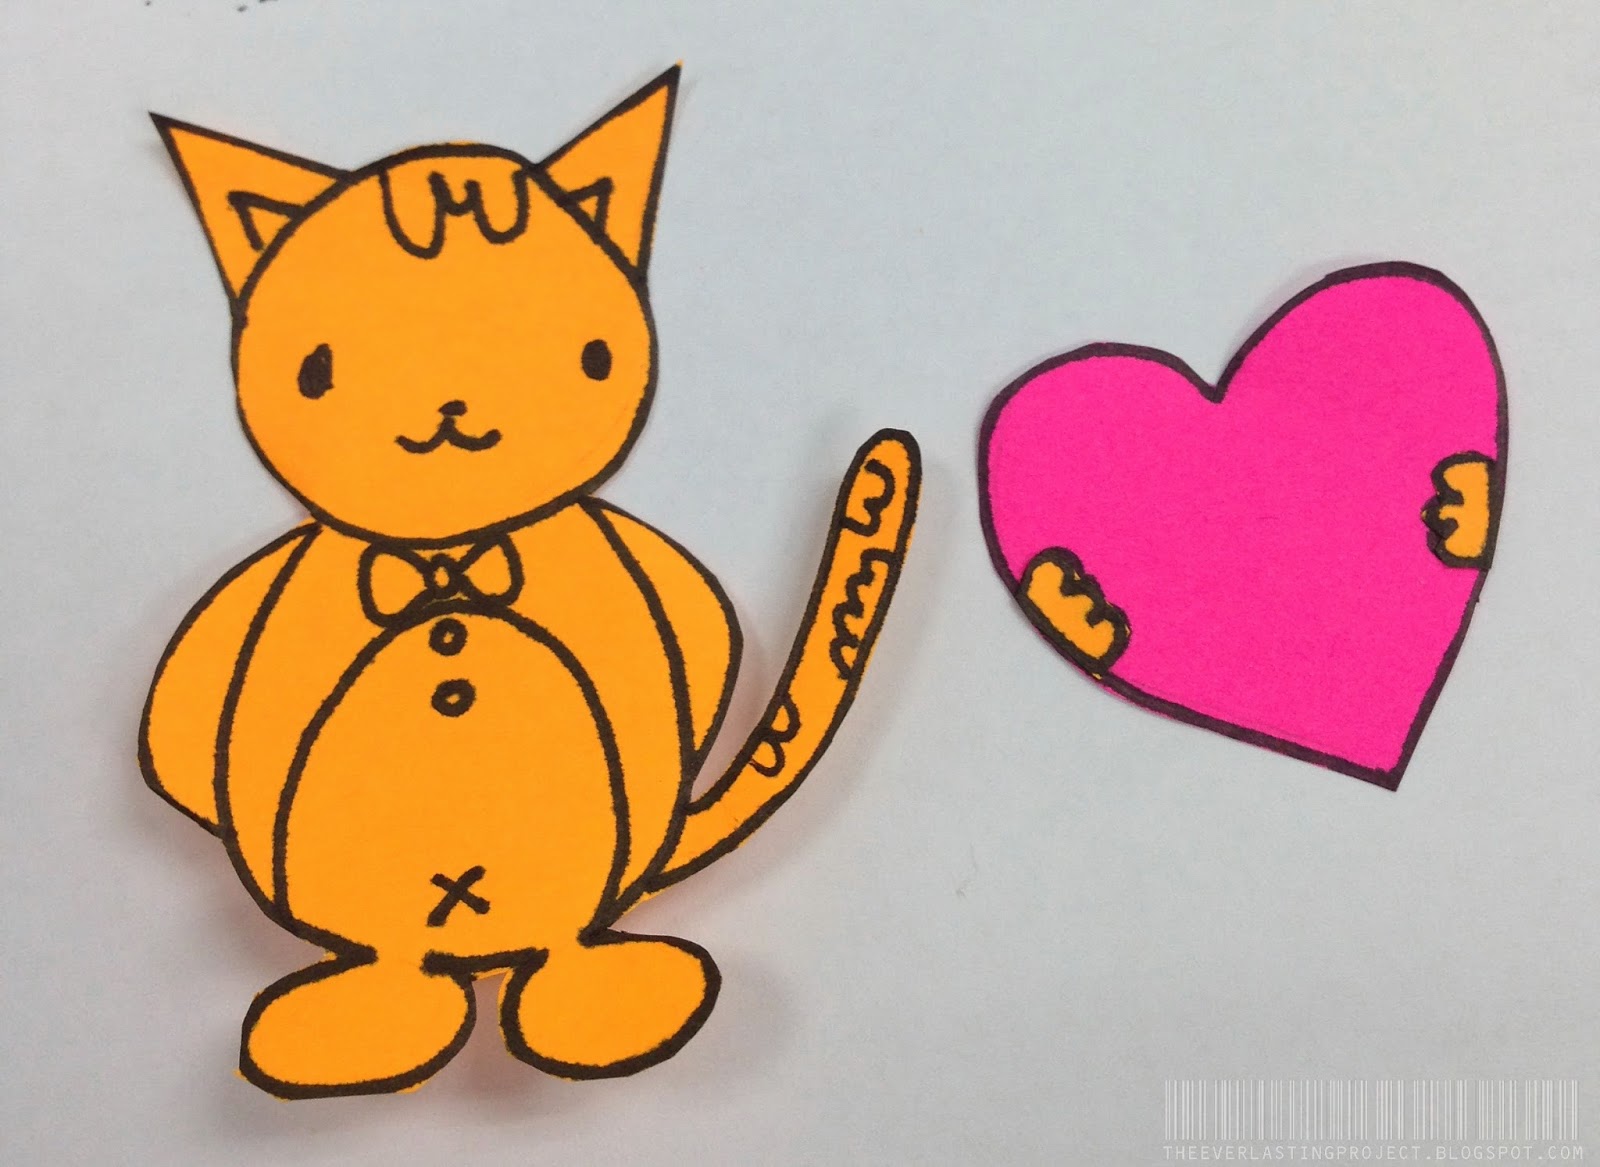
Just cut out the two pieces with a pair of scissors.
Trace out the paws using the leftover coloured paper and cut them out as well. Glue them in place over the heart.  
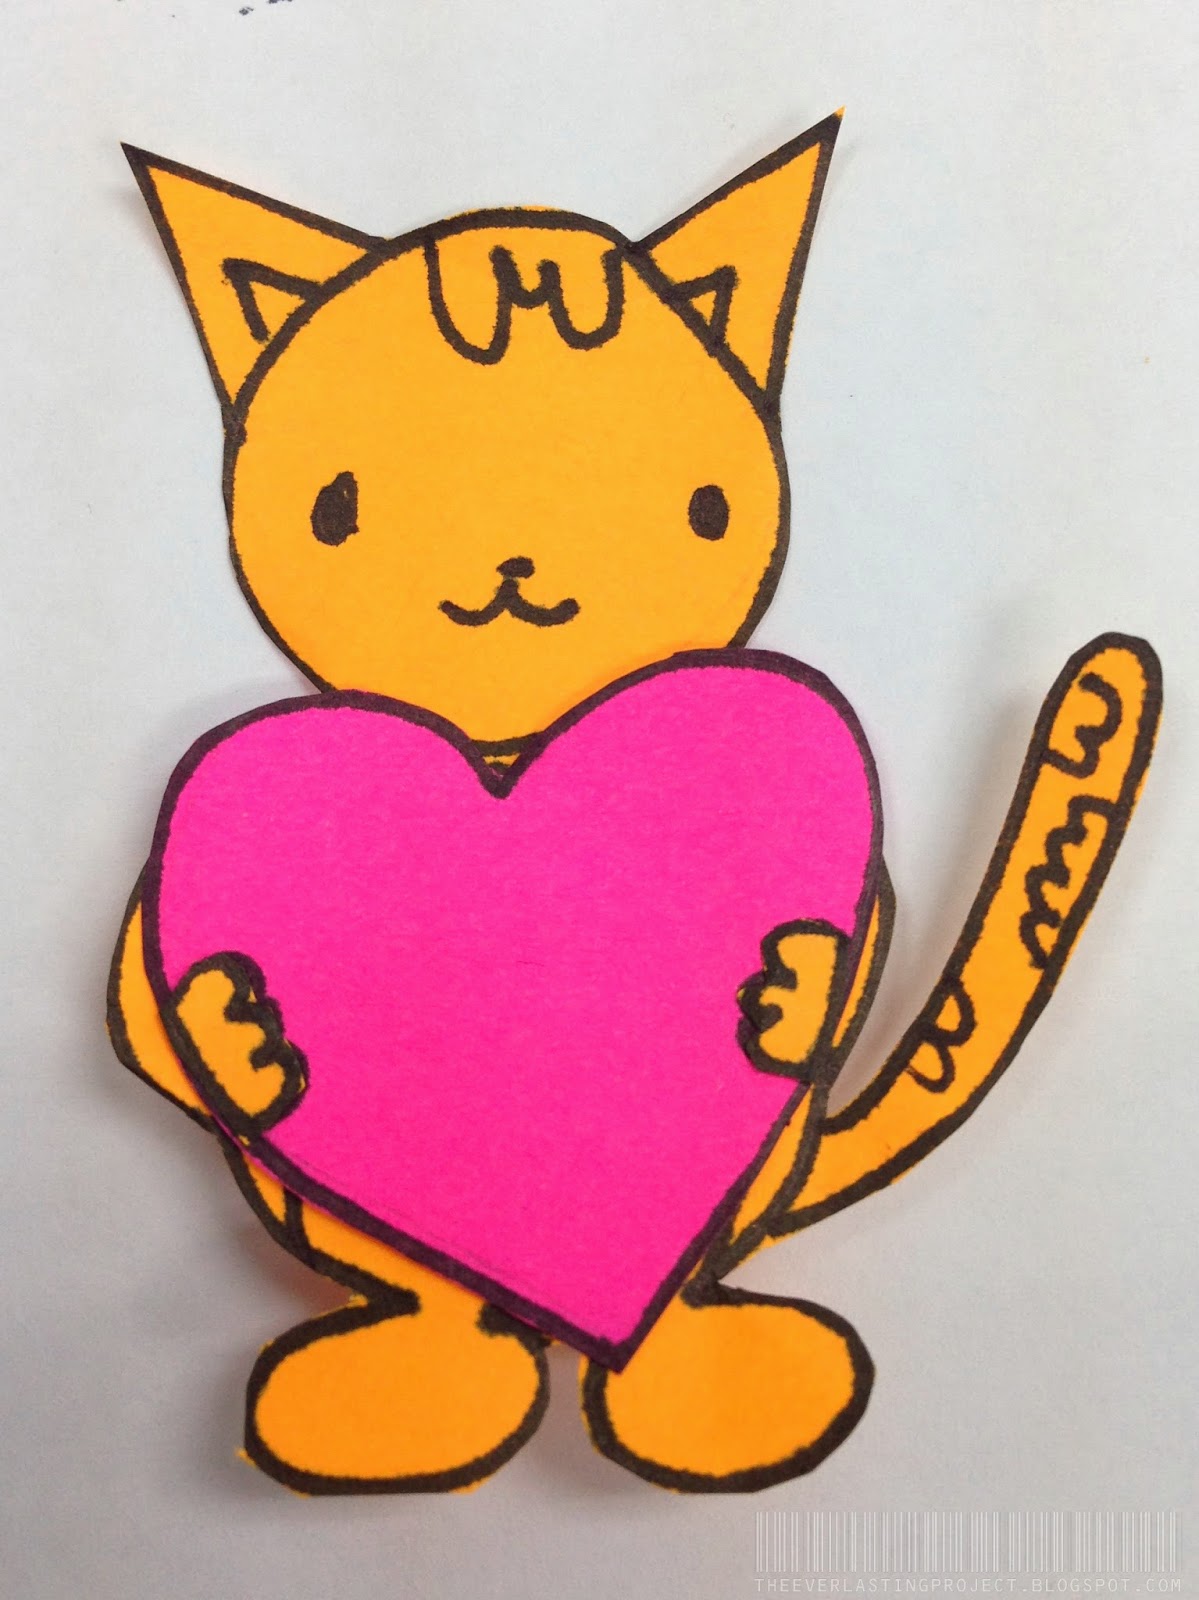
You're almost there! So you have 2 pieces now. One of a cat with his hands behind his back. And one of a heart with paws on the sides...

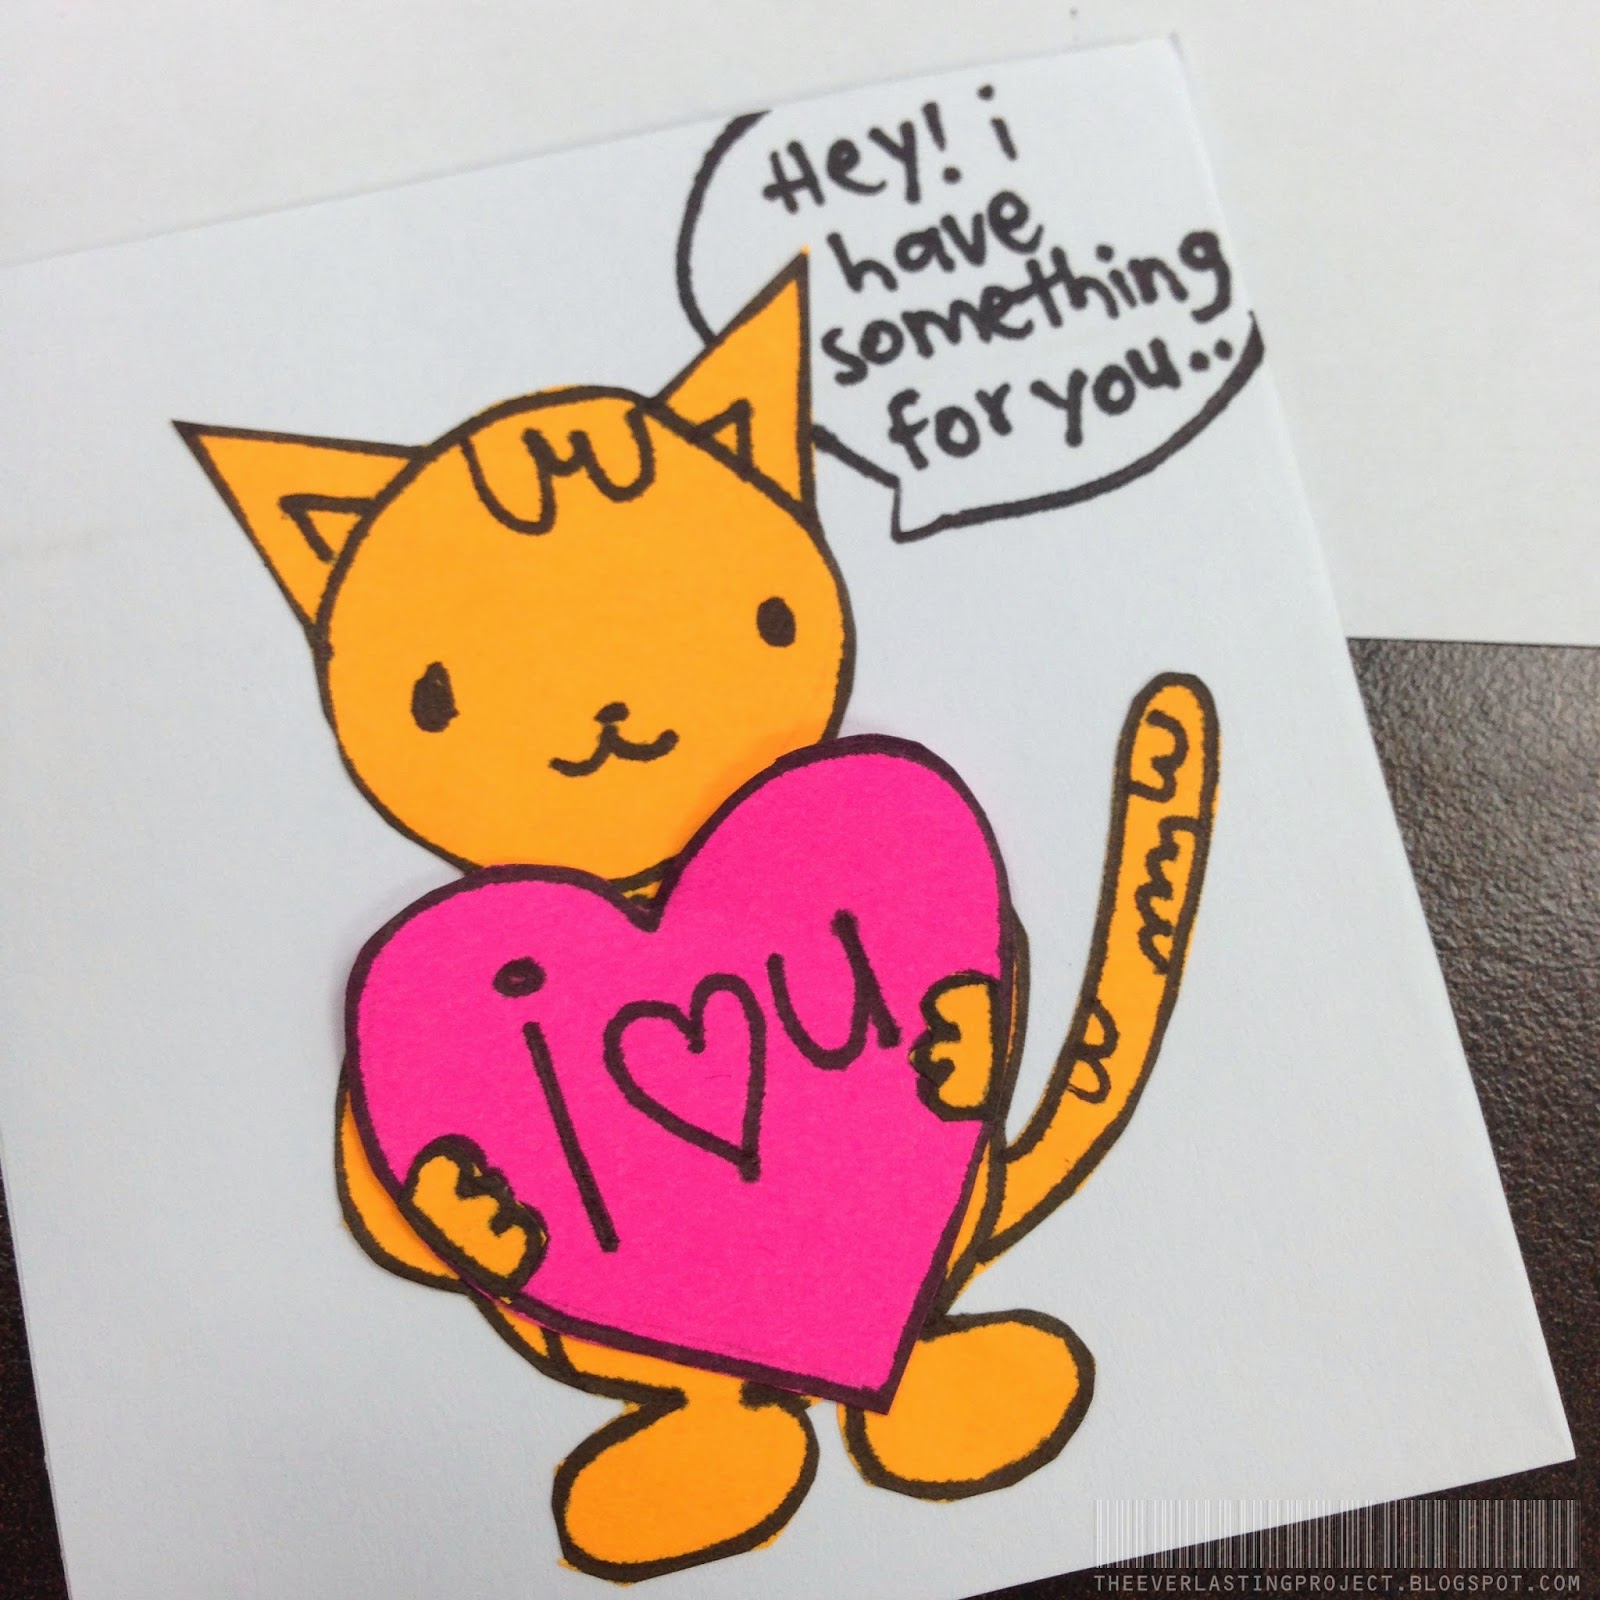
But if you align the heart on your character like this, it will look like it's holding the heart! :)

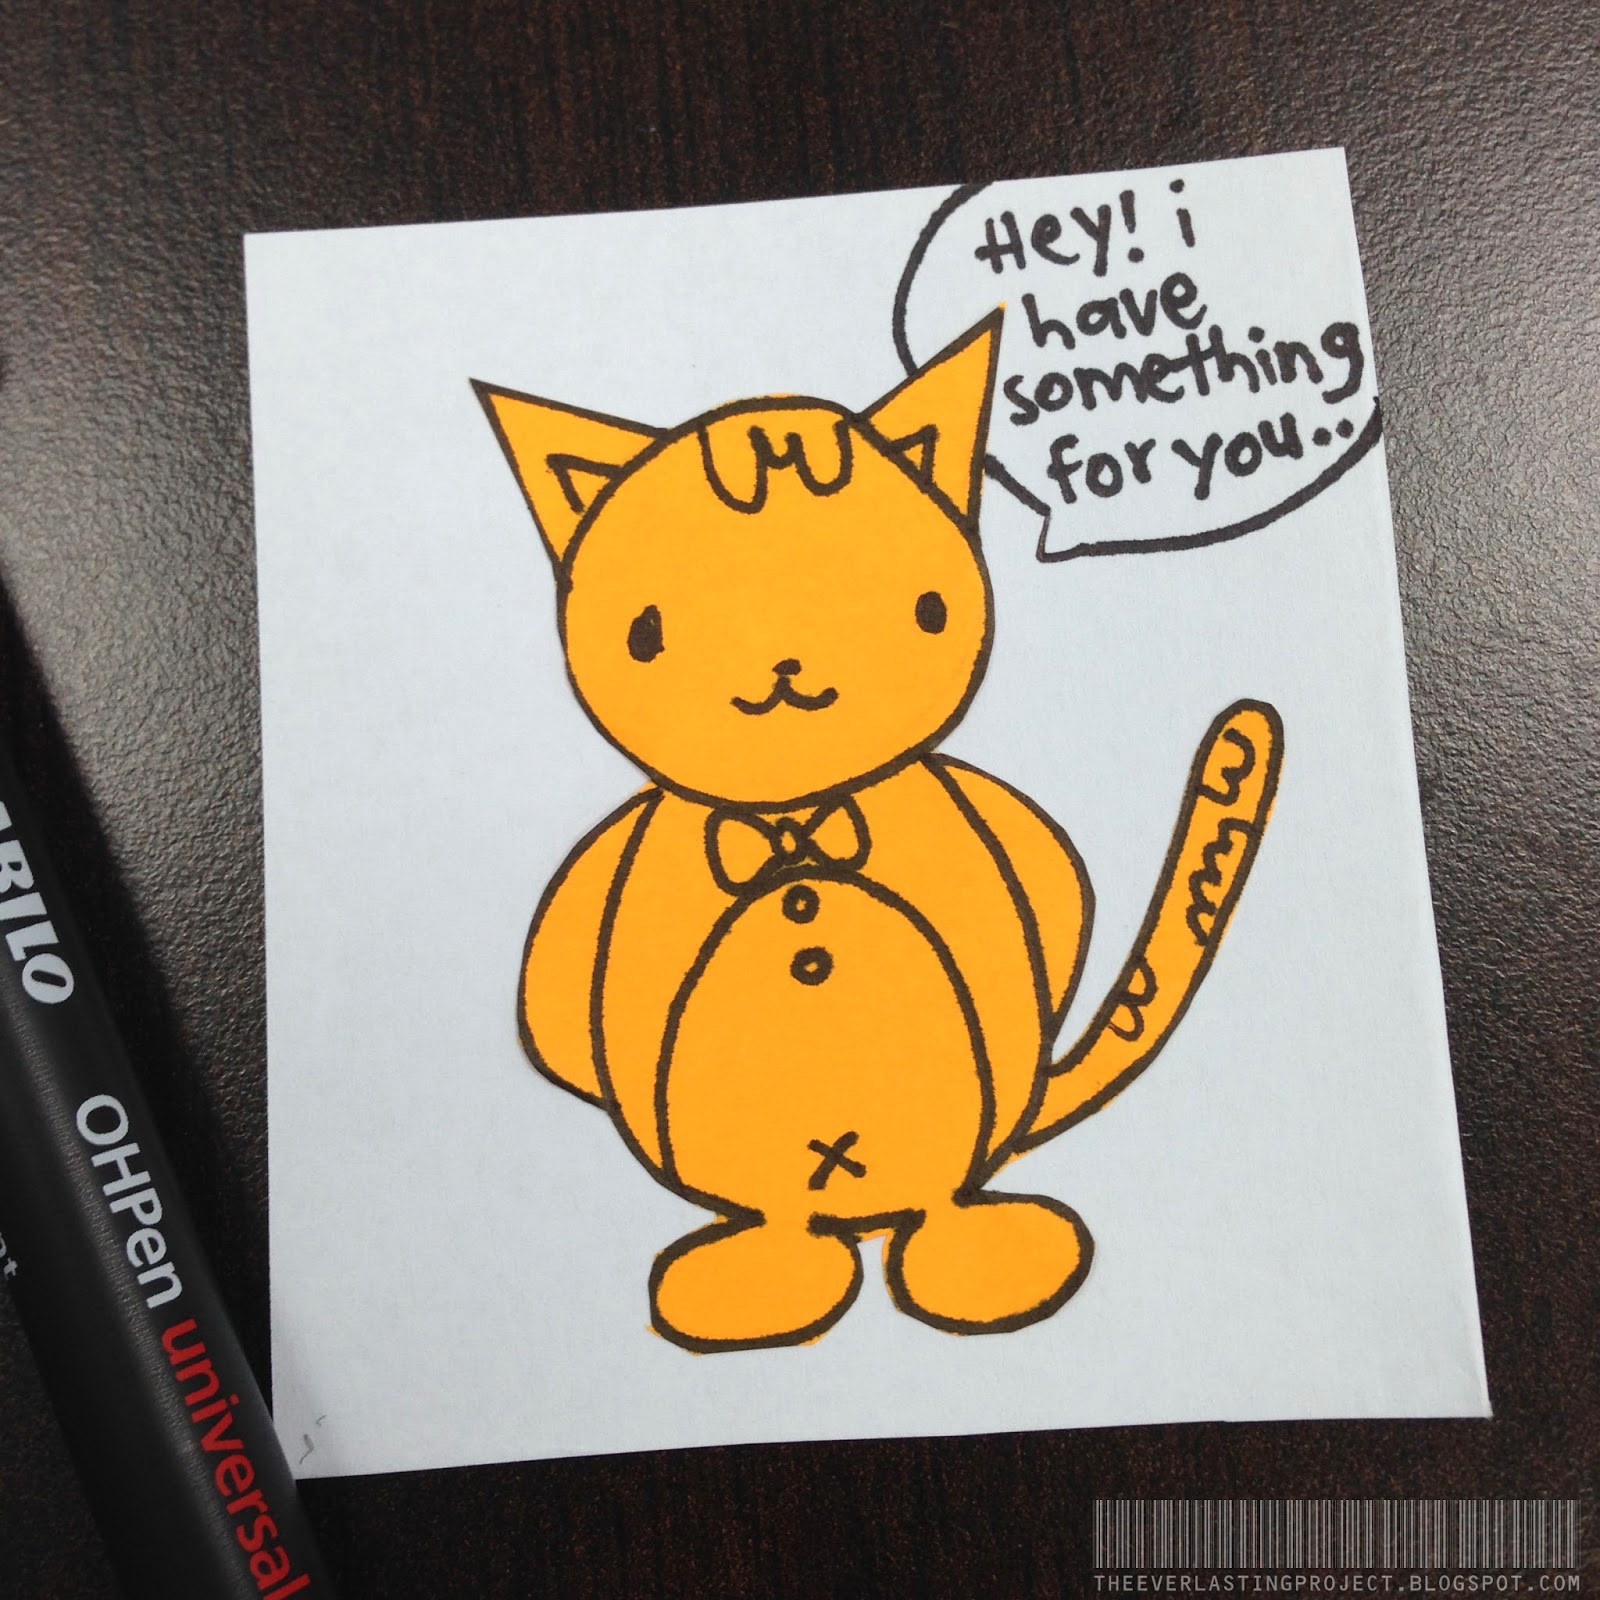
So next is just finding a way of presenting it to your loved one. For me, i'm doing a mini card today. 
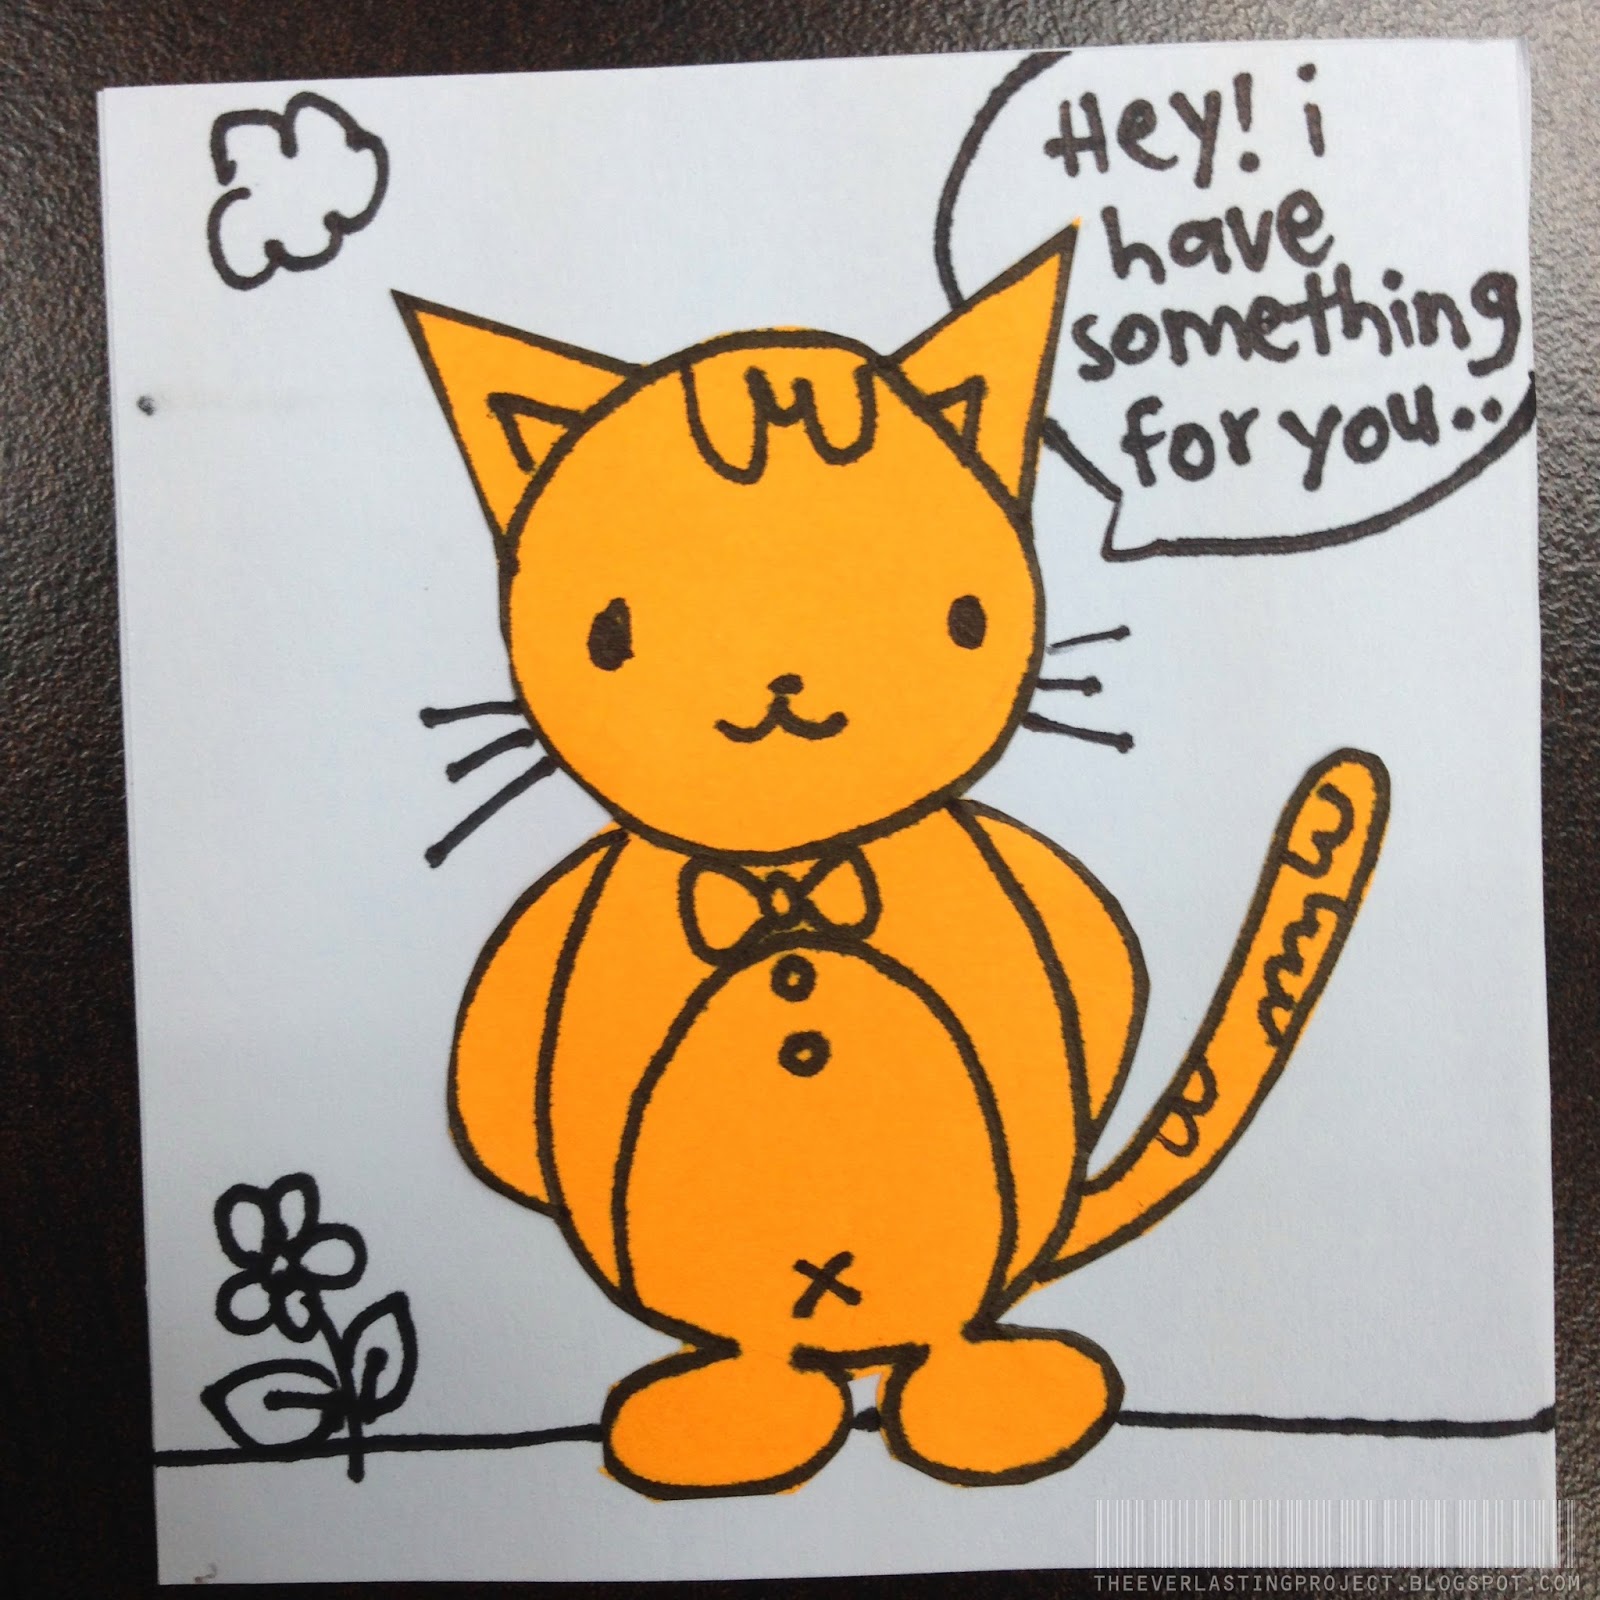
I glued my cat on a small piece of paper and added some dialog. You can be creative here. 

It's better if you are using a thick paper or card material. I'm using normal A4 paper so the ink had seeped through. I solved the problem by gluing another piece of paper to the back.

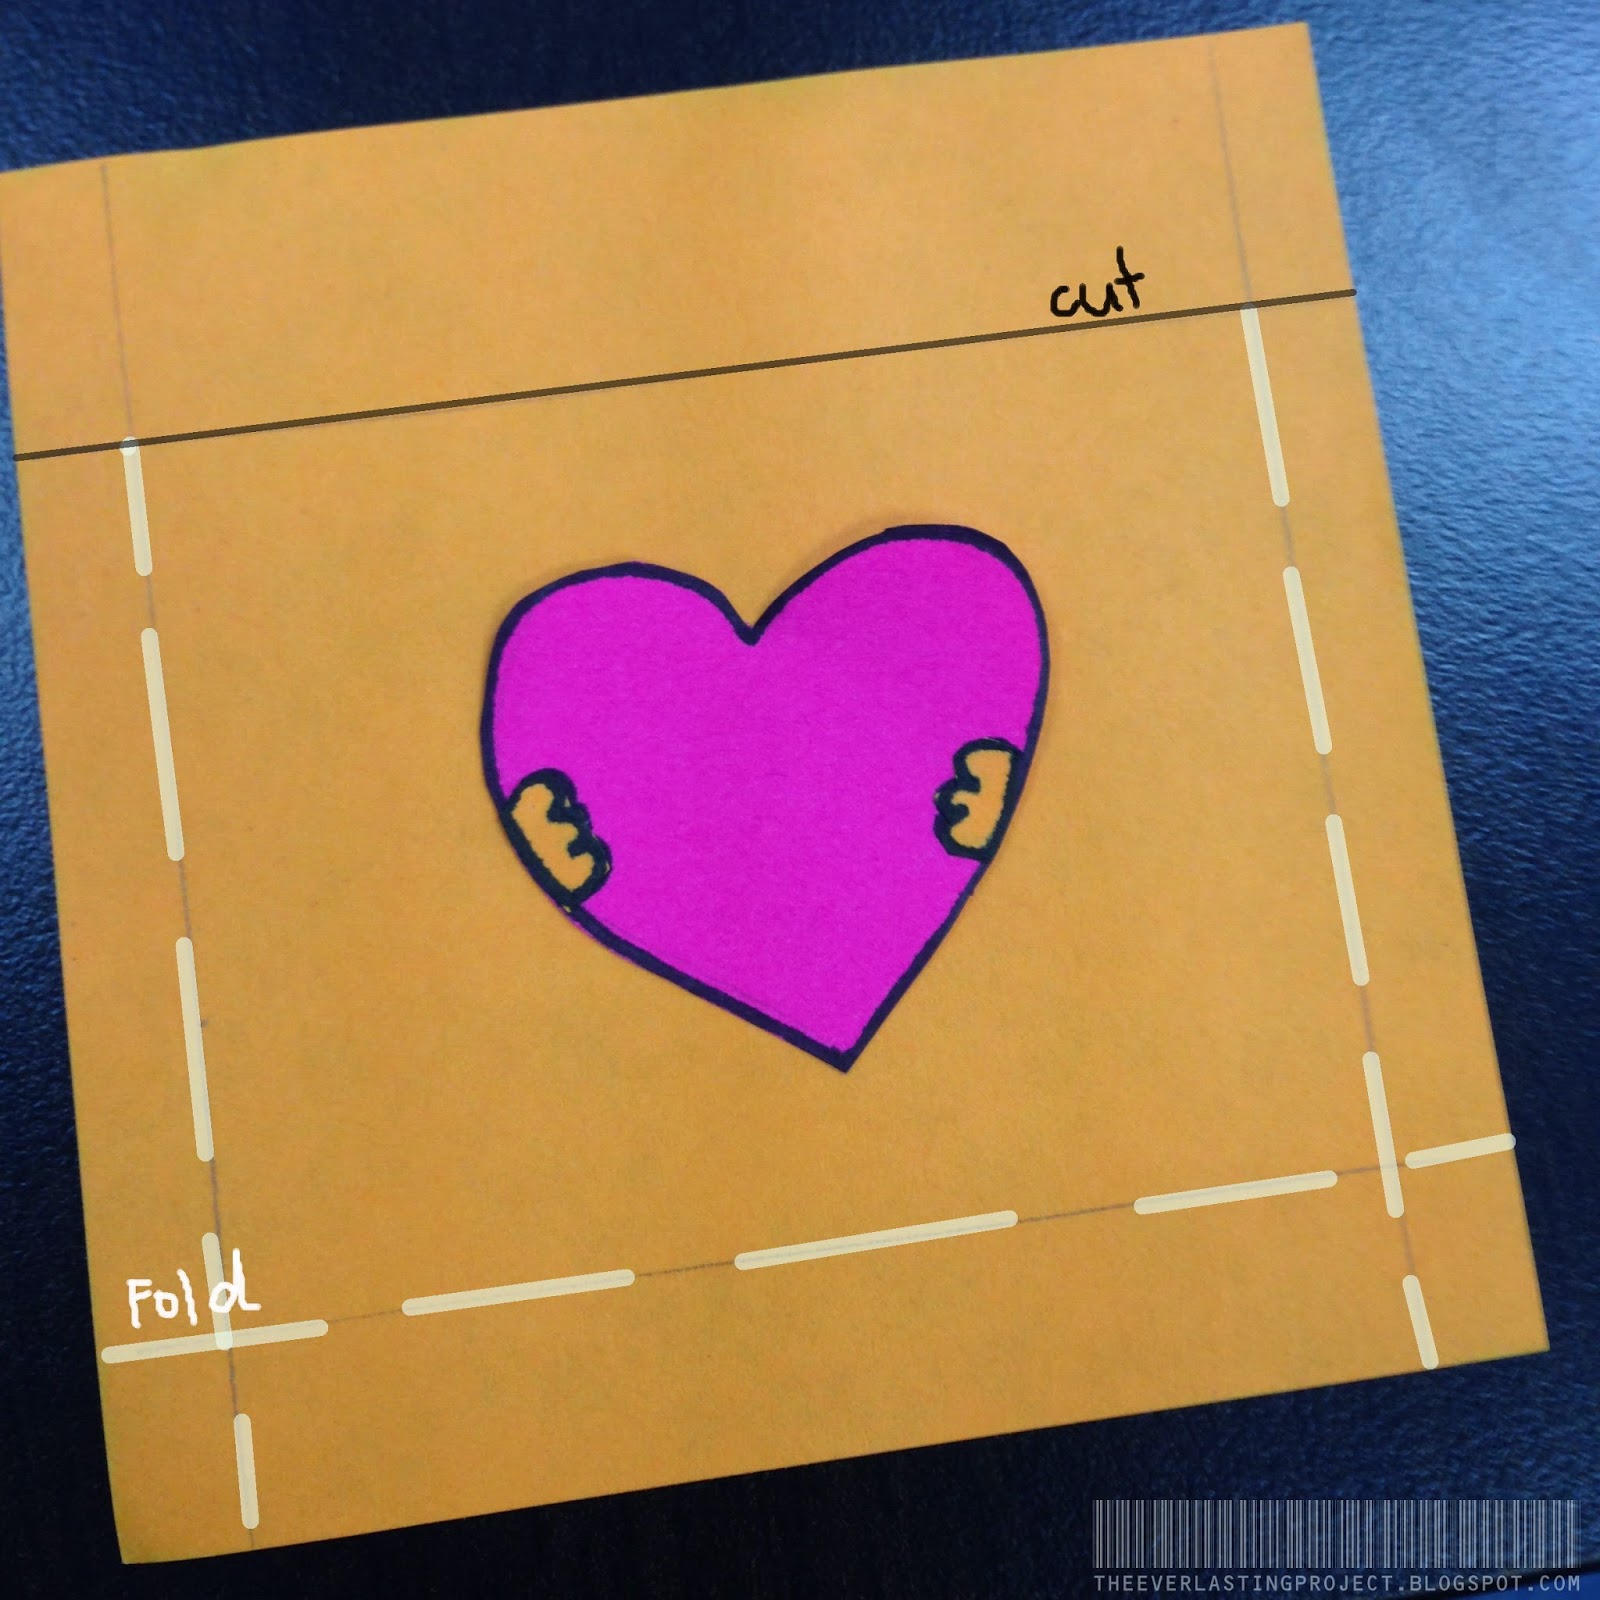
Now we need to make a mini envelope for the surprise. Draw lines (using pencil) similar to what I did above. The idea is to contain the heart in the middle box. Do not make it too small because it will be hard to take it out later on. 

Cut out according to the top line that you have drawn. Fold in according to the 3 sides (left, right, bottom).
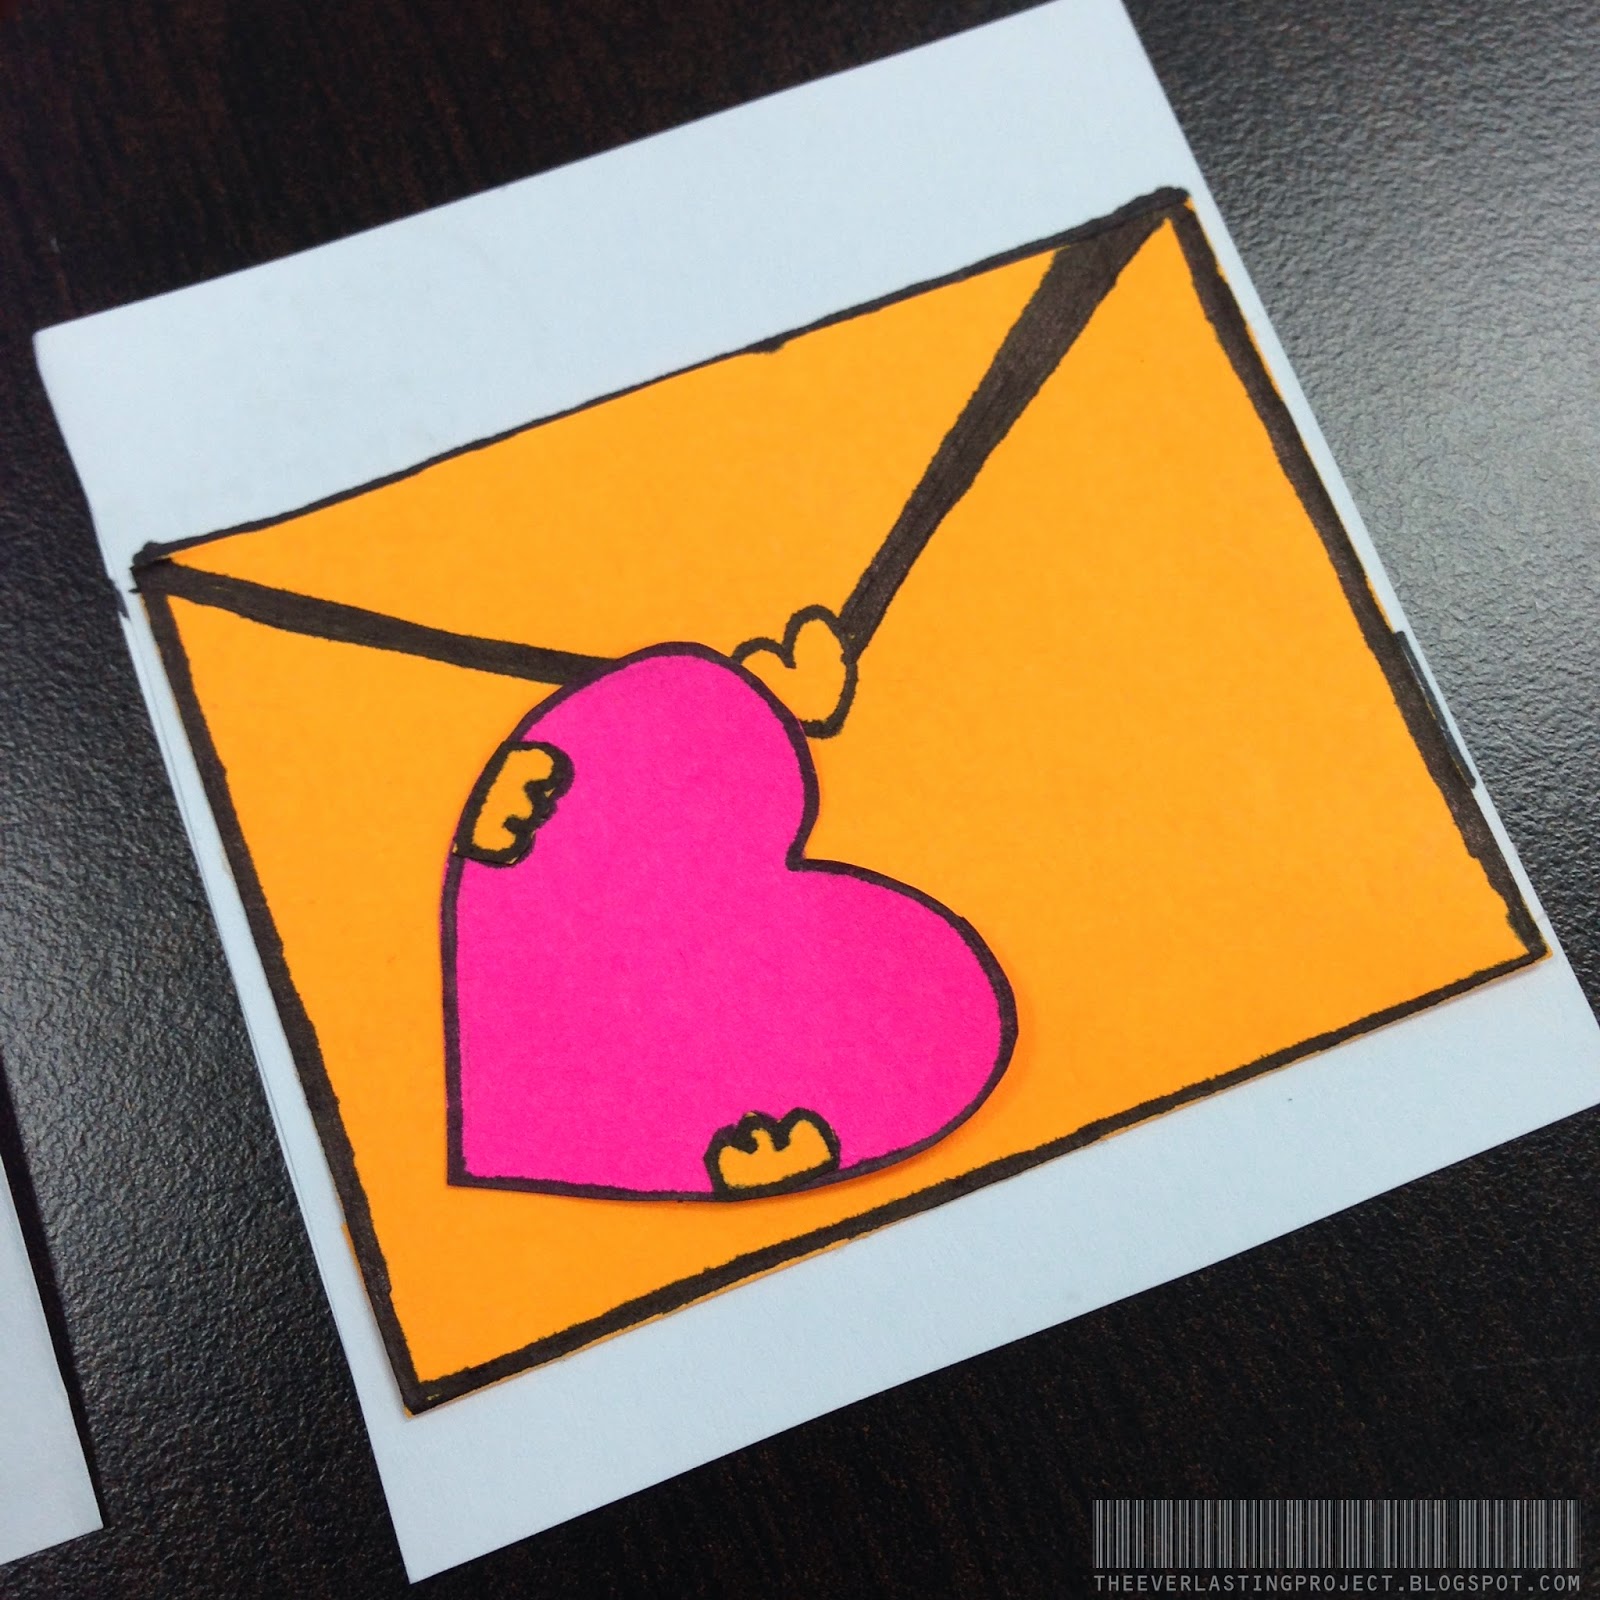
Apply glue to only the 3 folded edges. Paste it to the back of your card like this:
Draw an envelope design. Any way you like. 
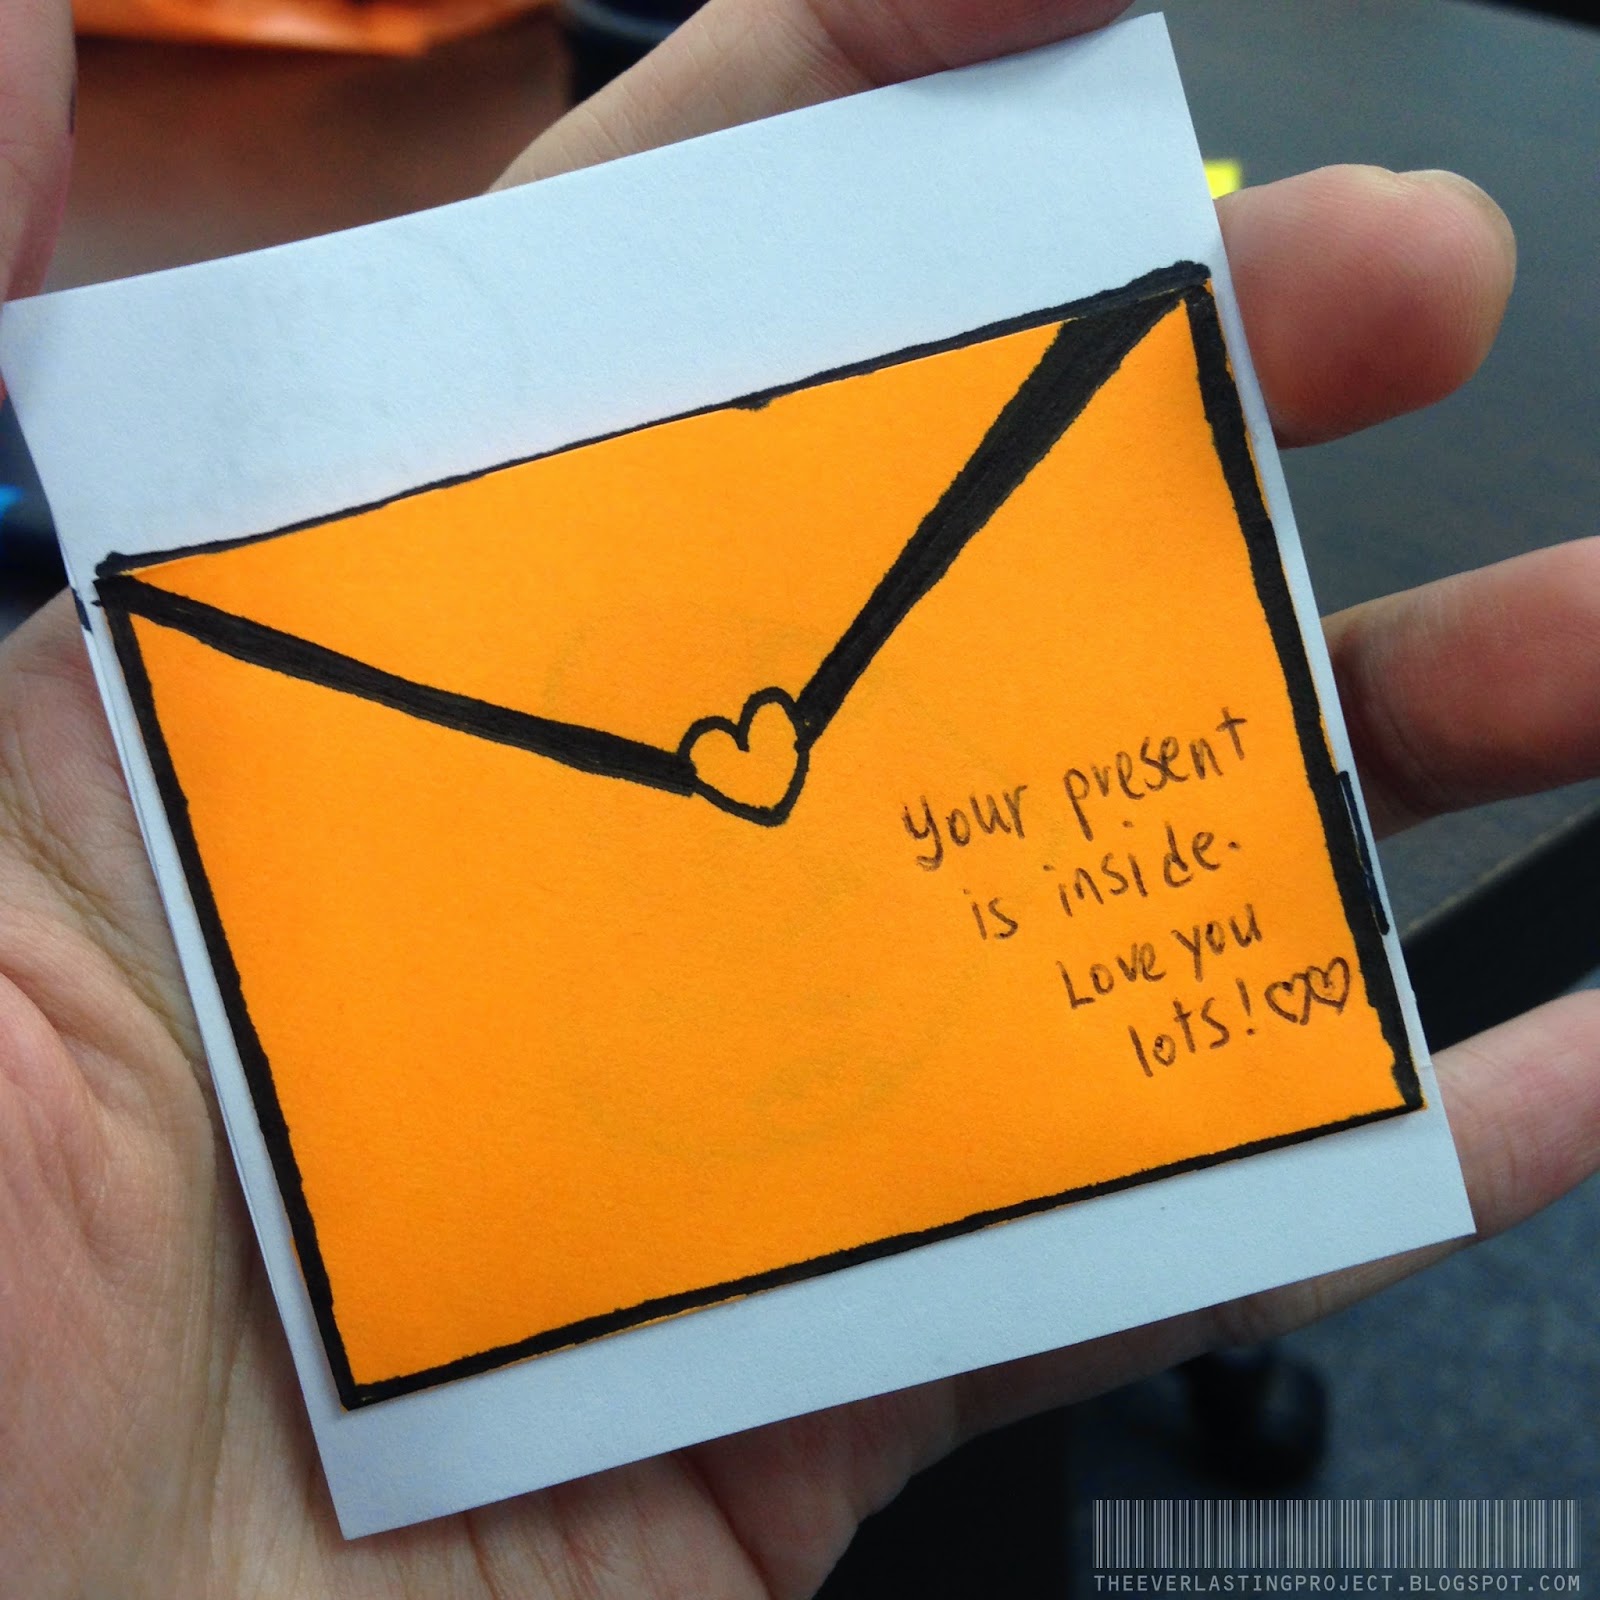
Here you can faintly see that i have slotted my heart inside the 'envelope' through the top. Write a mini note somewhere so that your partner will know that there's a surprise inside! You can also write a letter and slot it in together. Or throw in some stickers,etc. if your friend/partner loves them.

So when they receive your card, they will be like, hmmm.. Okay.. What is it? Where is it?
It will not be obvious to them at first. But they will definitely be surprised after realising that these are like 2 pieces of puzzle. ;)

It's especially lovelier that you had made this for them yourself. You can also replace the heart with a rectangle banner with the words 'HAPPY BIRTHDAY' for example. 

So why not try it today? It doesn't have to be a special occasion for making someone smile, right? And shhhh... I only used the stuffs i found at work. :p 

Hope you liked the Heart Surprise tutorial. Try it out and let me know what you think! I would love to see your creations and characters too. :)

Happy crafting~